
EPAX E6 Vat Accessories
I’d like to share with you a simple, yet extremely useful project I did recently.
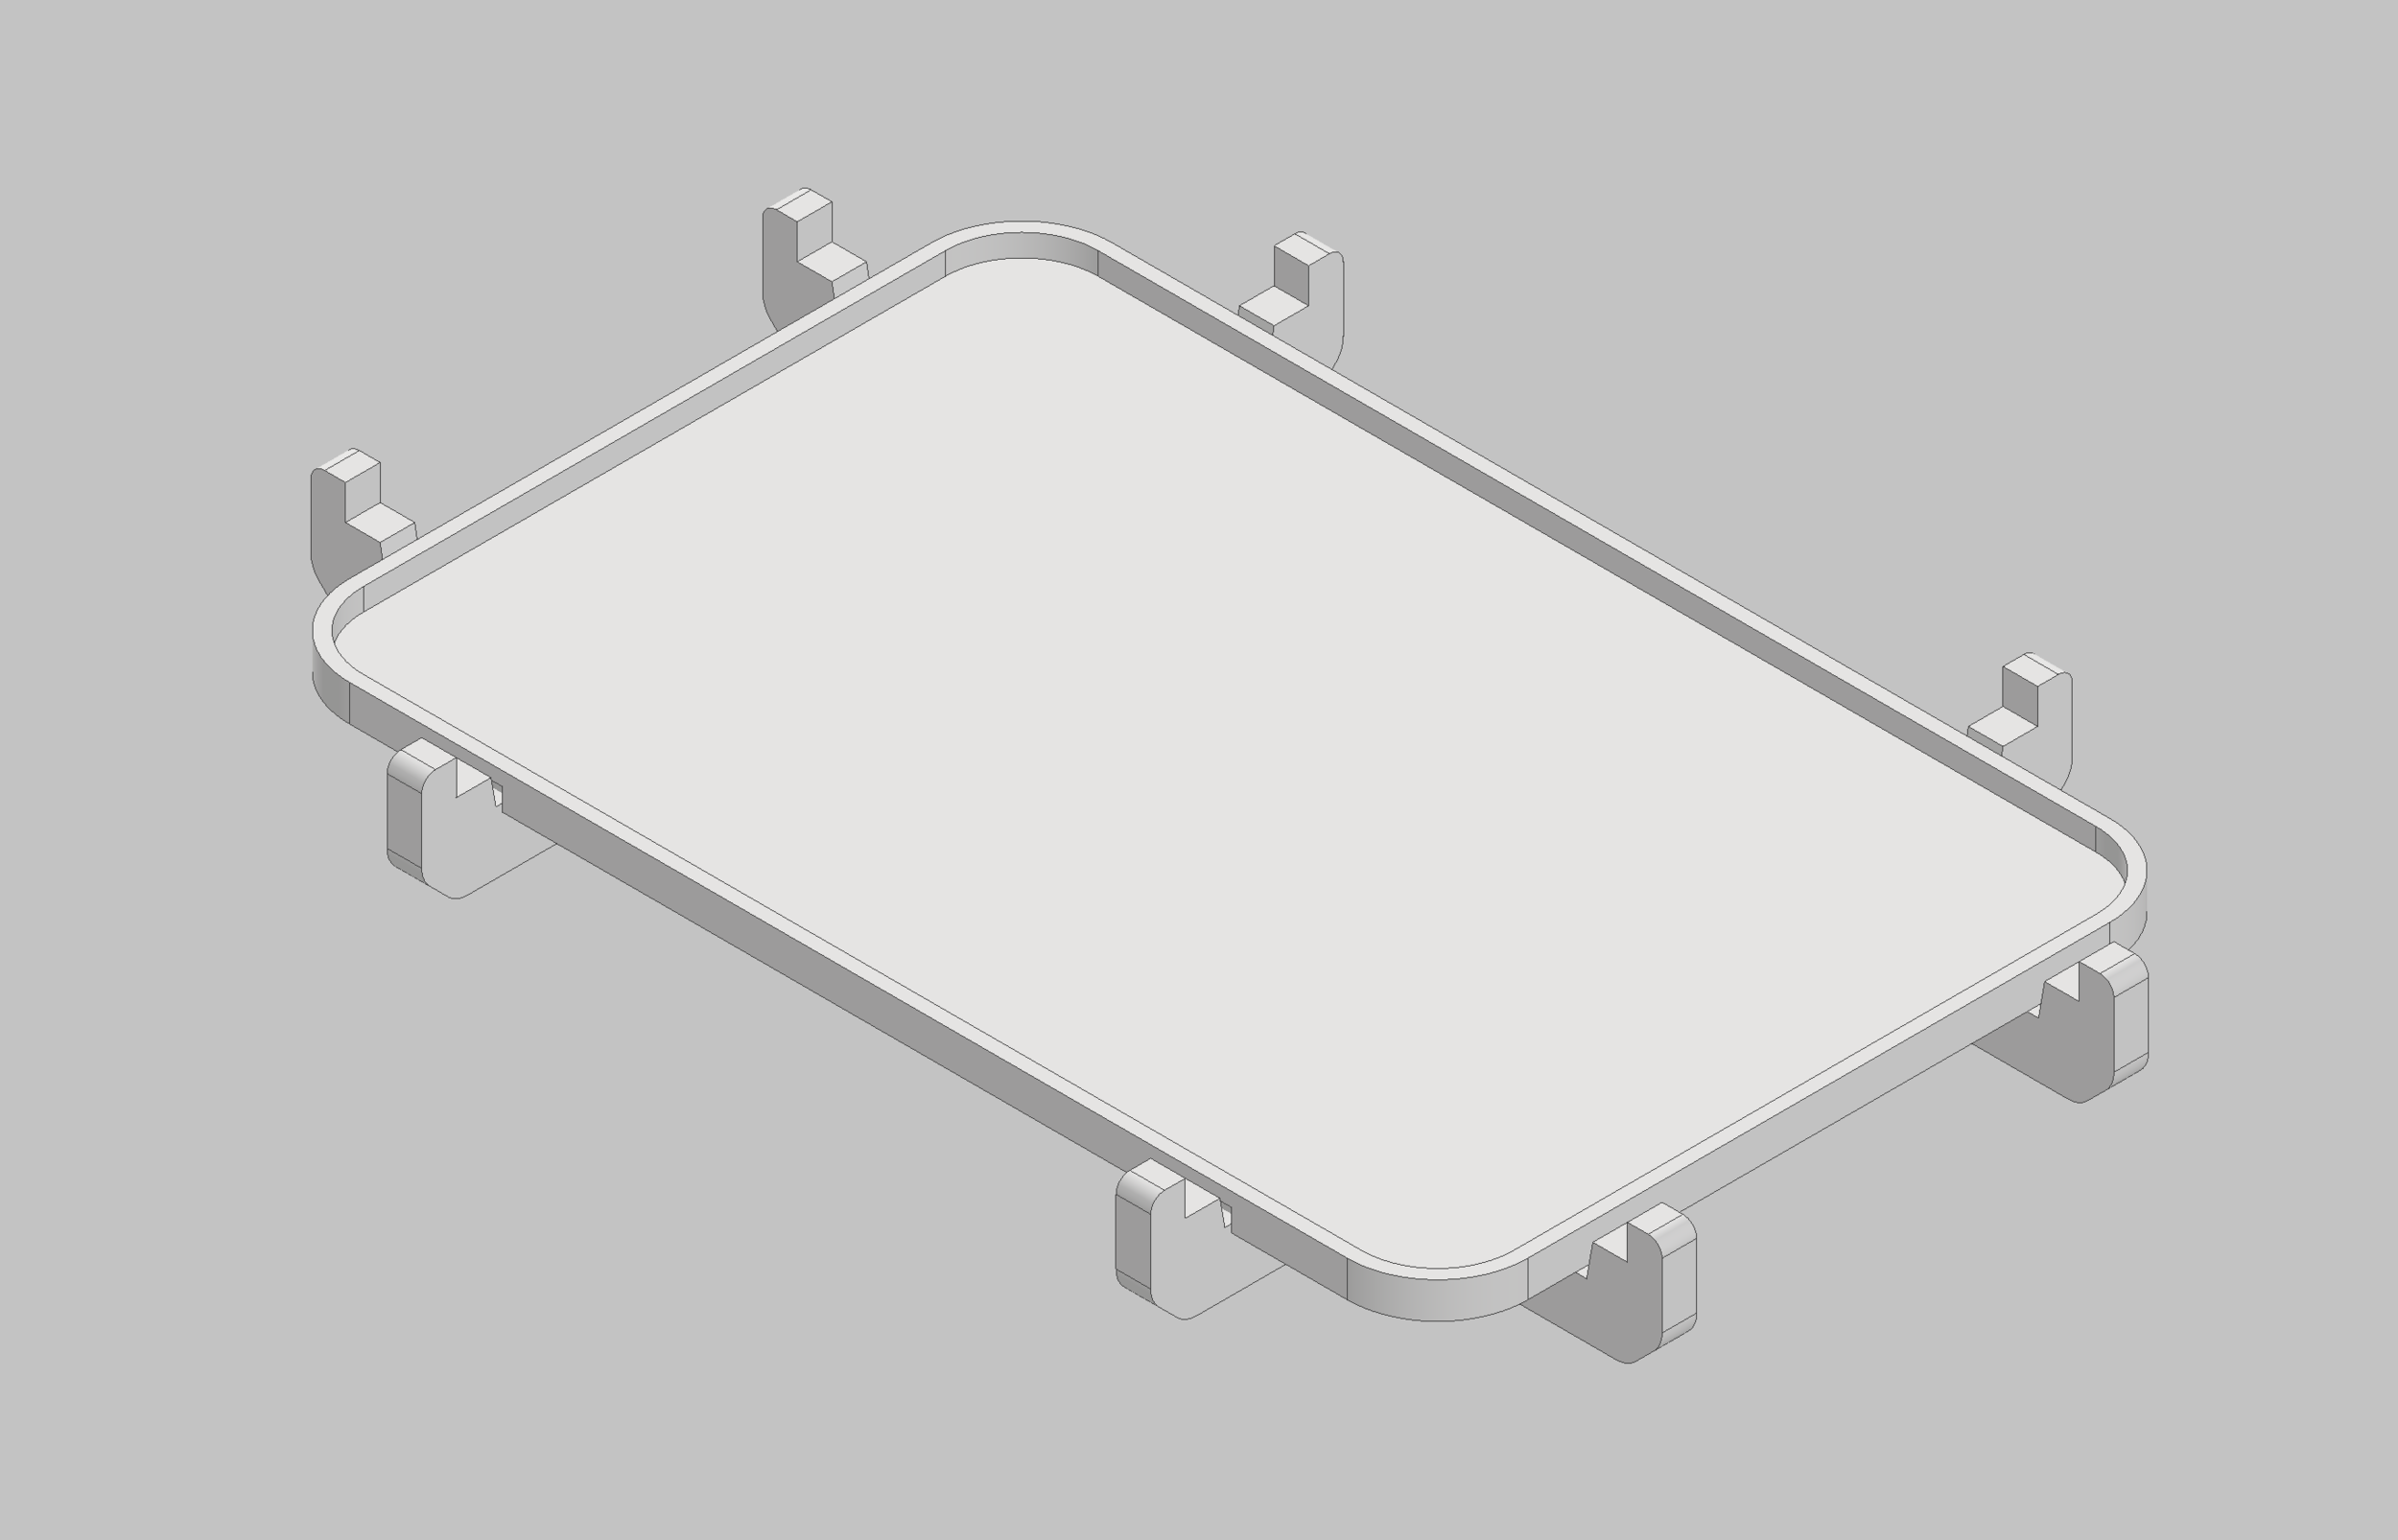
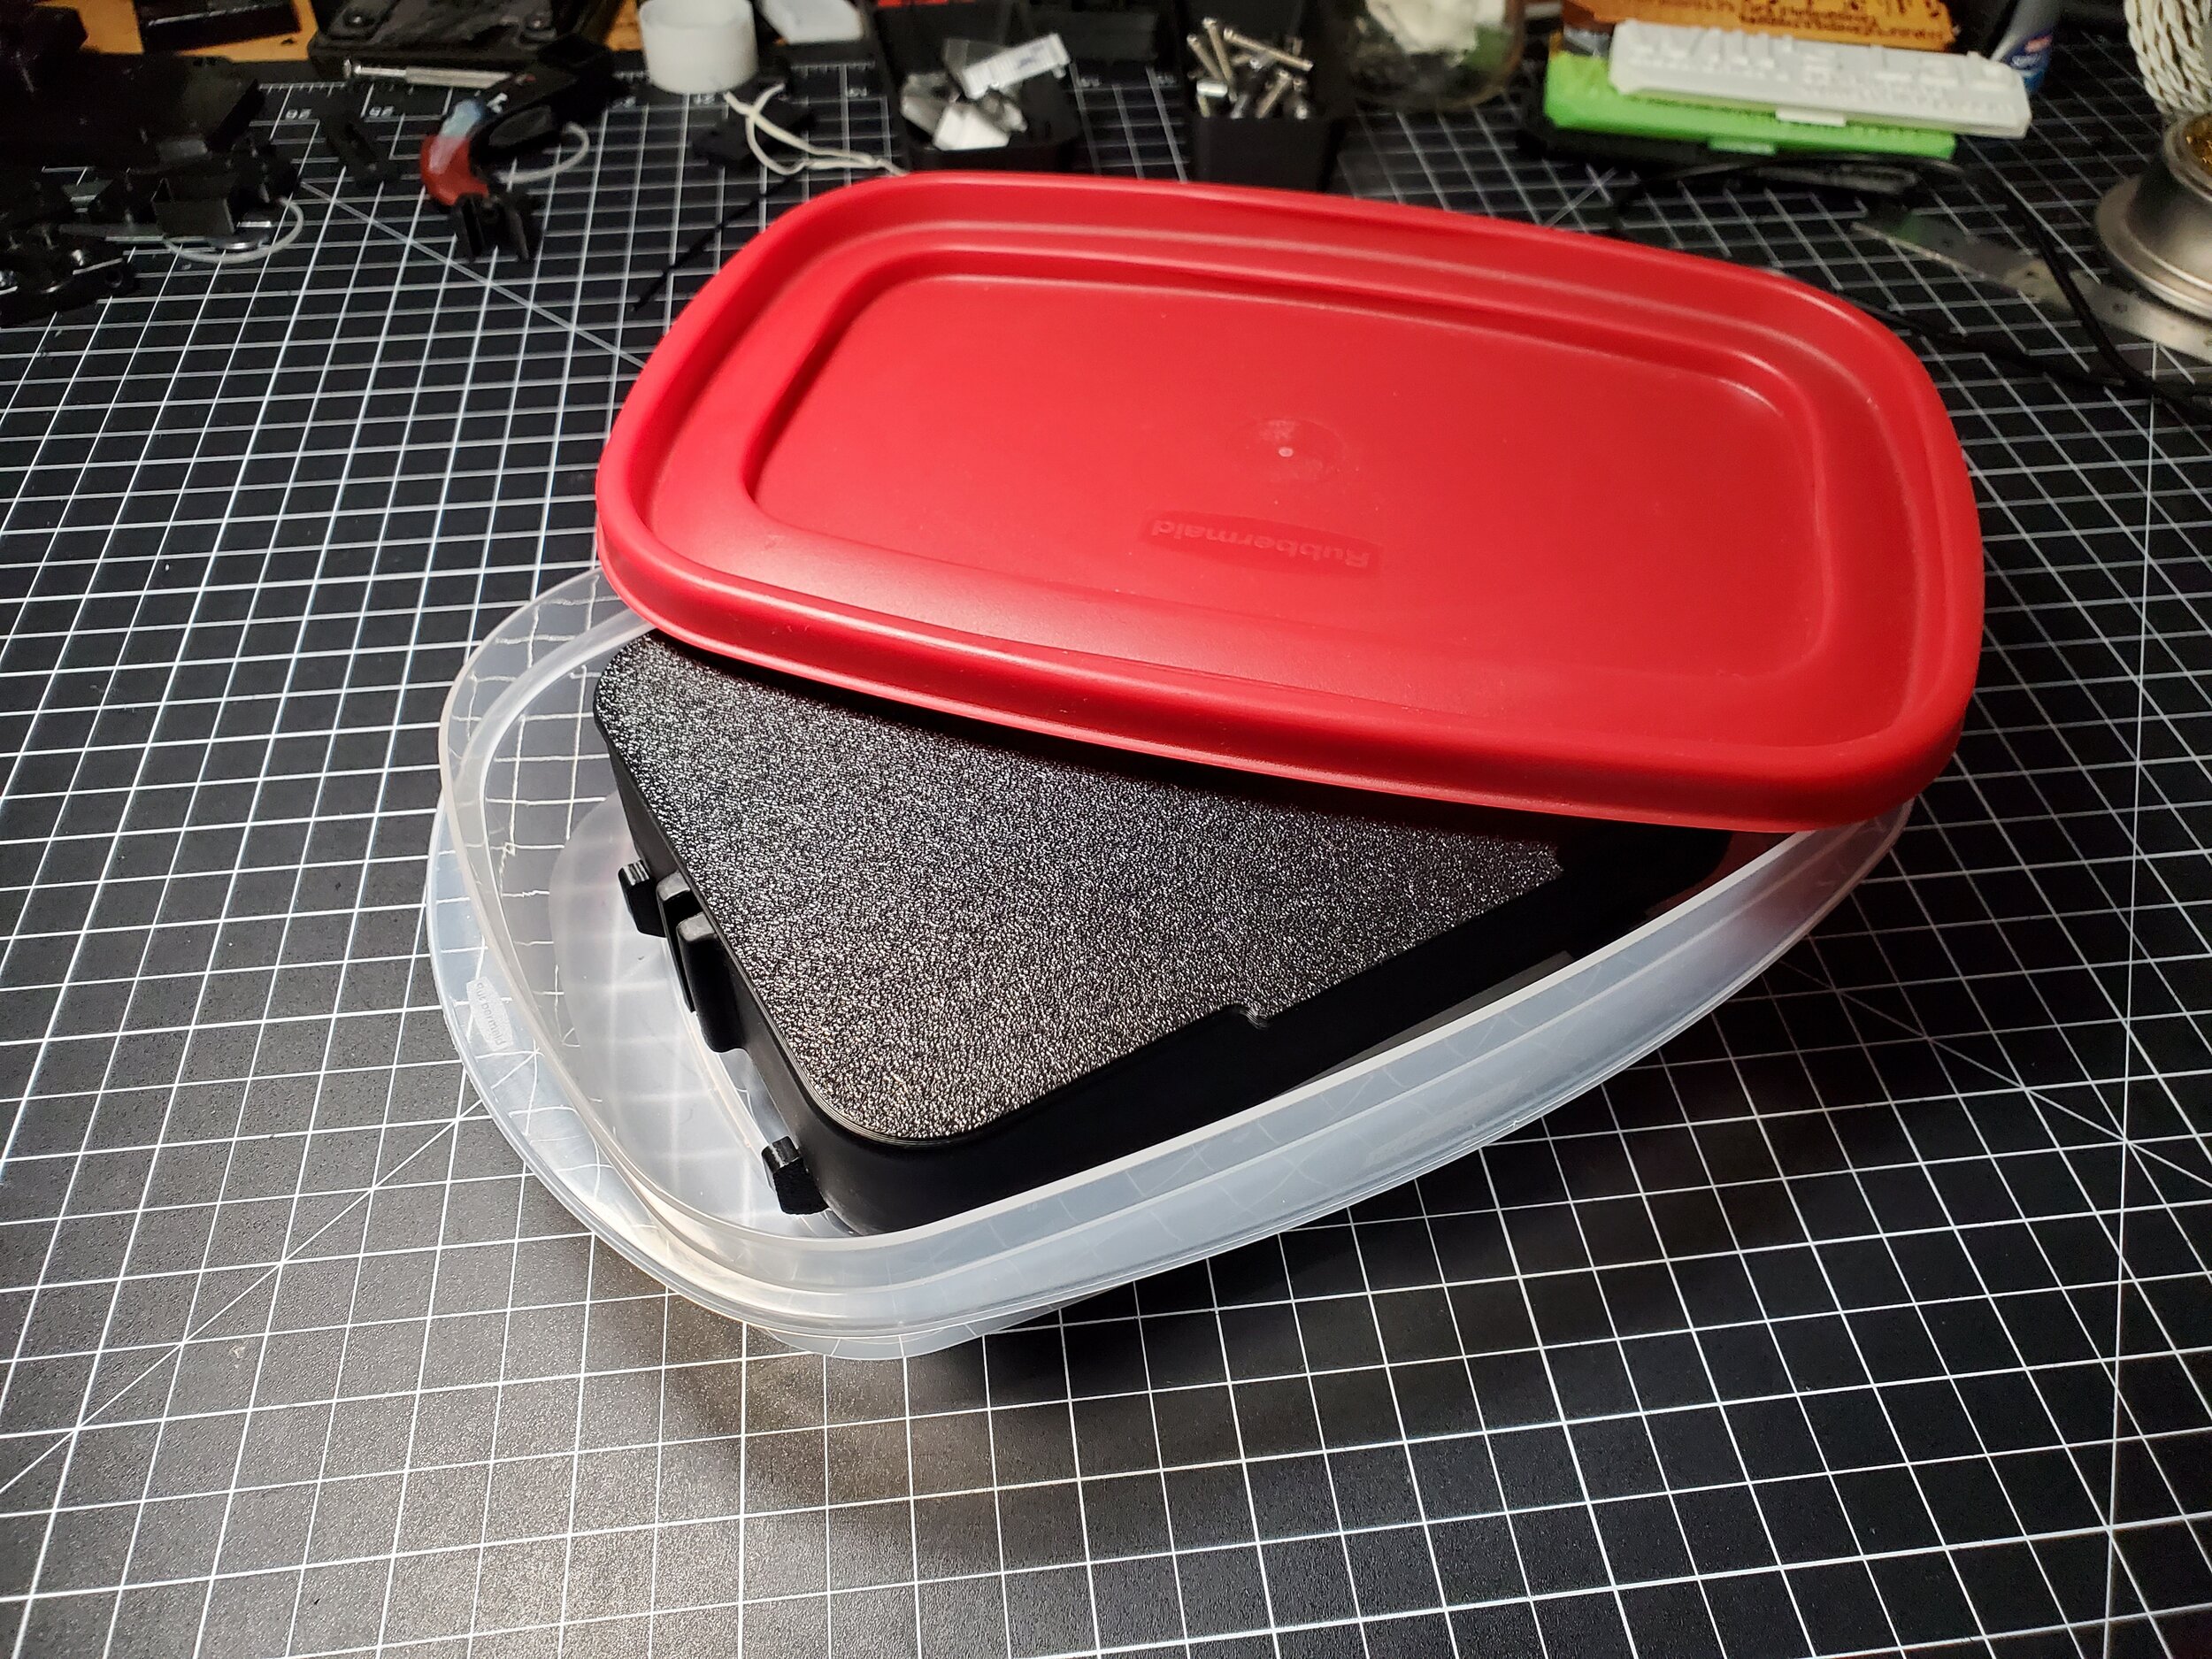
To the left, you can see a set of accessories I made for my E6 resin vats. These protect the nFEP from damage when the vat is removed from the printer, as well as cover the vat to keep unwanted UV light out, both in storage and in the machine.
As usual, you can find my STLs to print these yourself on MyMiniFactory. Links near the end of the article.
The Problem
People who use resin 3D printers will know how important the vat is. It holds the liquid resin which gets cured, layer by layer, to create each part. Specifically, people who do MSLA printing will know how important the clear film at the bottom of the vat is.
In the majority of MSLA printers, this film is called the FEP (which stands for flourinated ethylene propylene). Although, my printer uses an nFEP (Non-FEP), which is a special film developed by EPAX for their printers, but many people buy and install on their own printers for its superior properties over standard FEPs. nFEP is made with a proprietary blend of Teflon (PTFE).
We could go into detail about why the film has to be made of such special materials, and the advantages each has over the other, but suffice to say the film has to be a transparent, somewhat flexible, non-stick surface in order for the SLA process to work. What’s important to know about these films is just how fragile they are.
Though SLA printer manufacturers have put countless dollars and hours into researching better films to use on the bottom of their vats, most settled on using some kind of FEP sheet. Among its drawbacks are two things: it tears easily, and it scratches easily. And both can be catastrophic for resin printers. A torn FEP means you get to clean up a lovely resin spill inside your printer (and all over your workbench), and a scratched up FEP means lower quality prints and more print failures, because the UV light used in SLA printing gets diffused across the FEP film instead of being transmitted directly into the resin above.
Because of how fragile the FEP is, MSLA printer owners are instructed to keep the bottom of the vat safe from harm, both by making sure there’s no dirt or debris between the FEP film and the LCD screen when installing the vat, and by making sure not to set the vat down on any rough or dirty surfaces when removing it from the printer.
If you use multiple kinds of resin frequently, as I do, then you’ve probably thought about just getting more vats (as I’ve done!). This way, when you want to swap resins you can simply remove the vat filled with one resin, and install a different vat with another resin, rather than having to drain and clean the same vat each time you want to swap resins.
Thus presents the first problem that I aimed to solve in this project.
If one is going to keep multiple vats filled with resin, a proper process for storing the filled vats is needed. Most people simply place their vat in a tupperware container, and store it in a dark place. This is fine, but I don’t have a completely dark place readily available in my lab, so to be safe, I decided to make something that will cover the vat itself when in storage.
Covering the top of the vat is easy; just design and print or cut out a flat slab of something opaque and lay it over the vat. But there’s another place that light can get in: the bottom of the vat. Covering this poses another problem; you can’t risk damaging the FEP.
Designing a Solution
Intuitively, one might imagine simply setting the vat down on an opaque surface would solve this issue, and that’s true. But this is Will’s Lab, and we can do better. Specifically, I want to be sure that the FEP is protected, regardless of whether the surface I’m setting it on is clean, dirty, rough, or smooth.
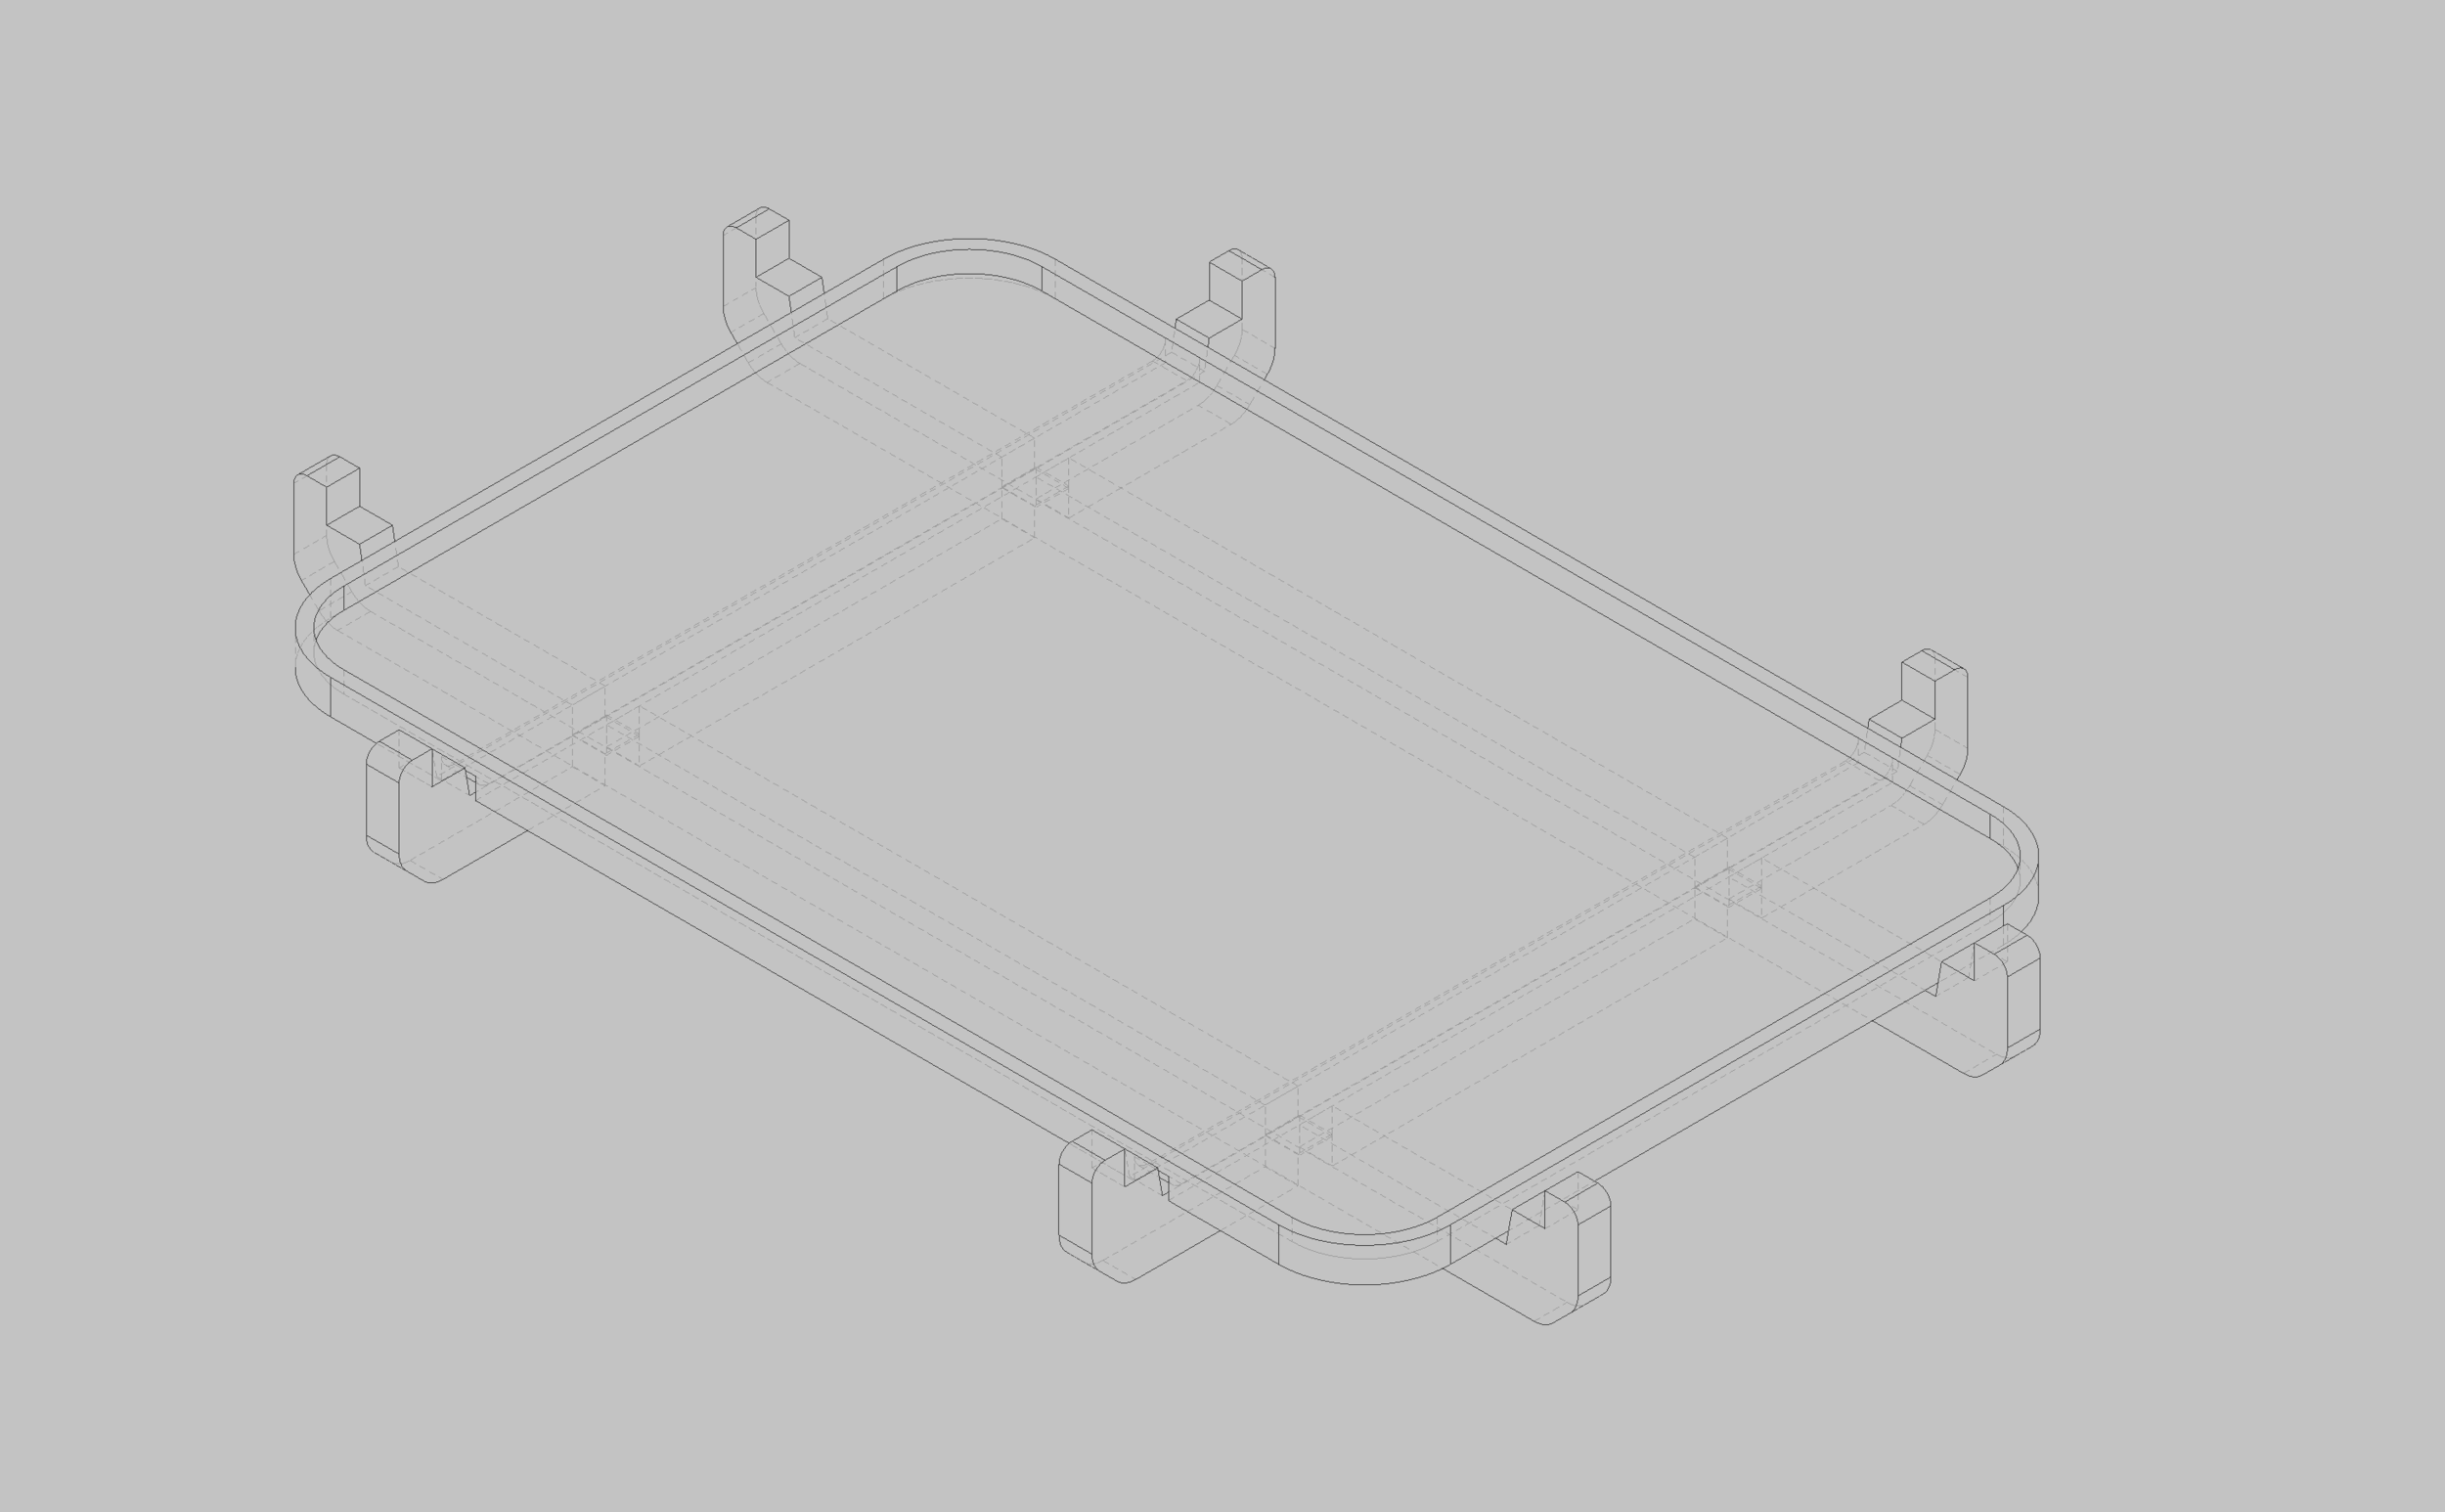
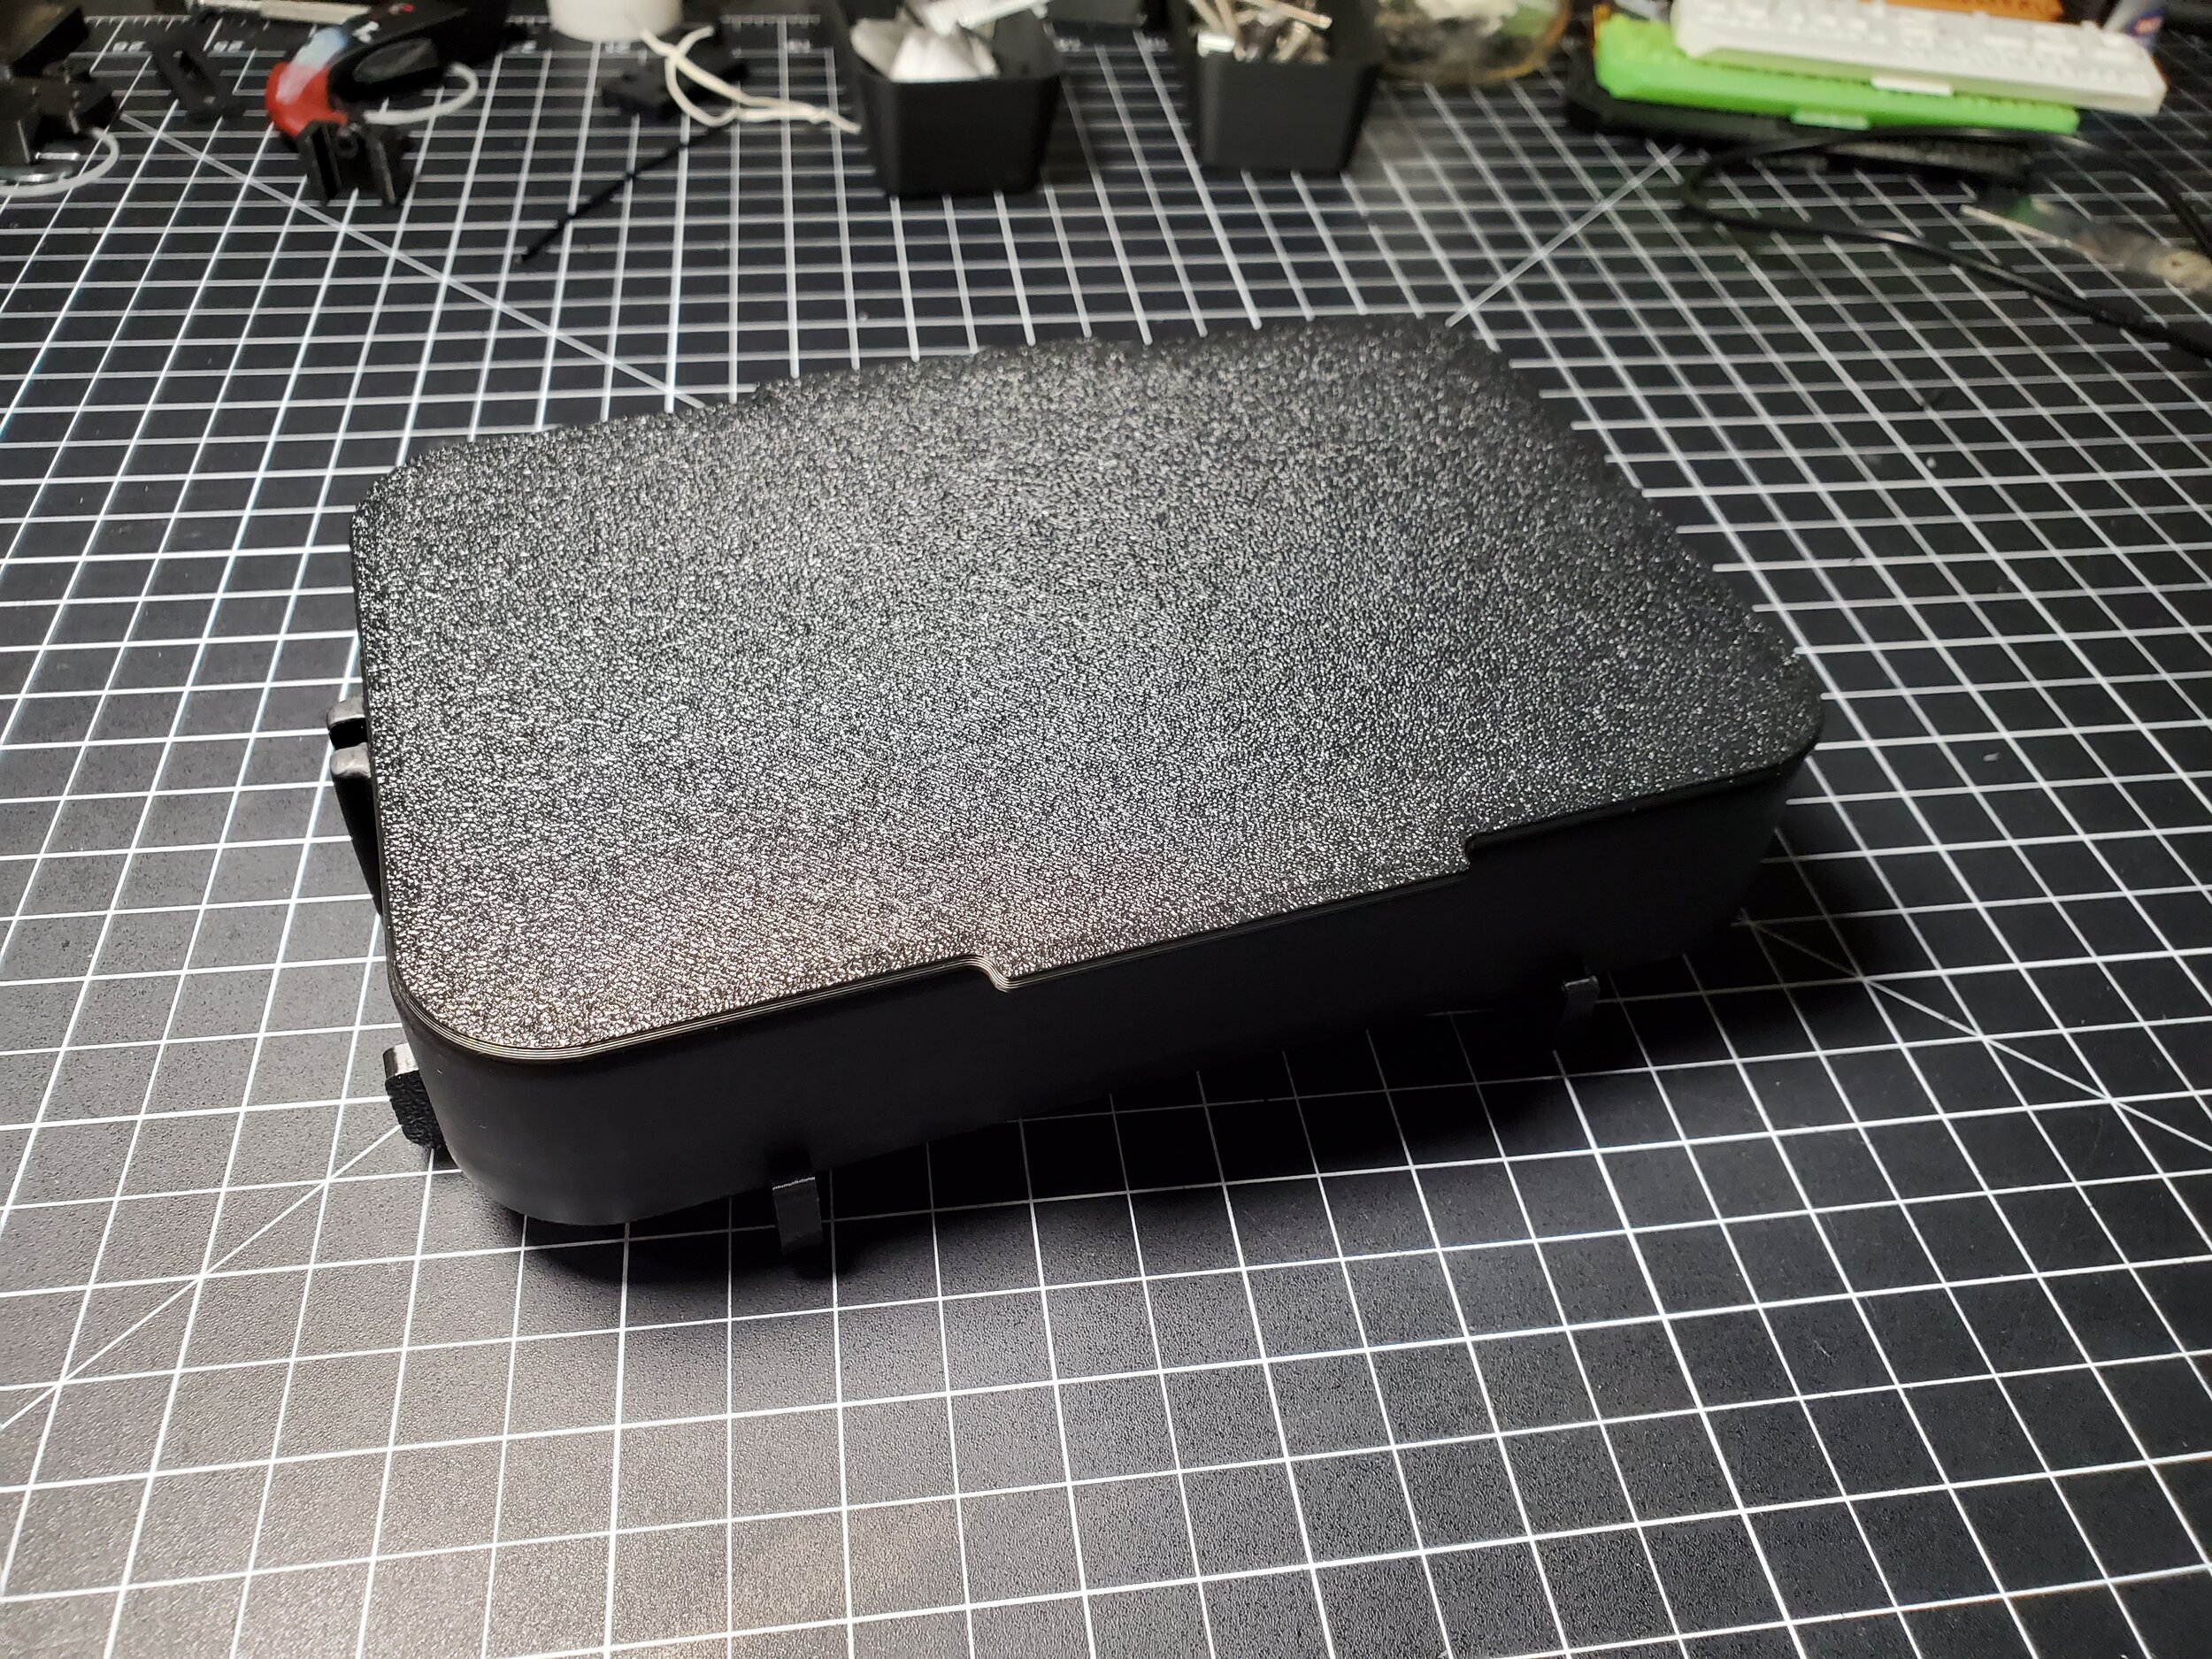
So with a simple vat cover being the first half of this project, the second half became a vat base that would cover the FEP while not touching it, or allowing it to touch the surface that the base is sitting on.
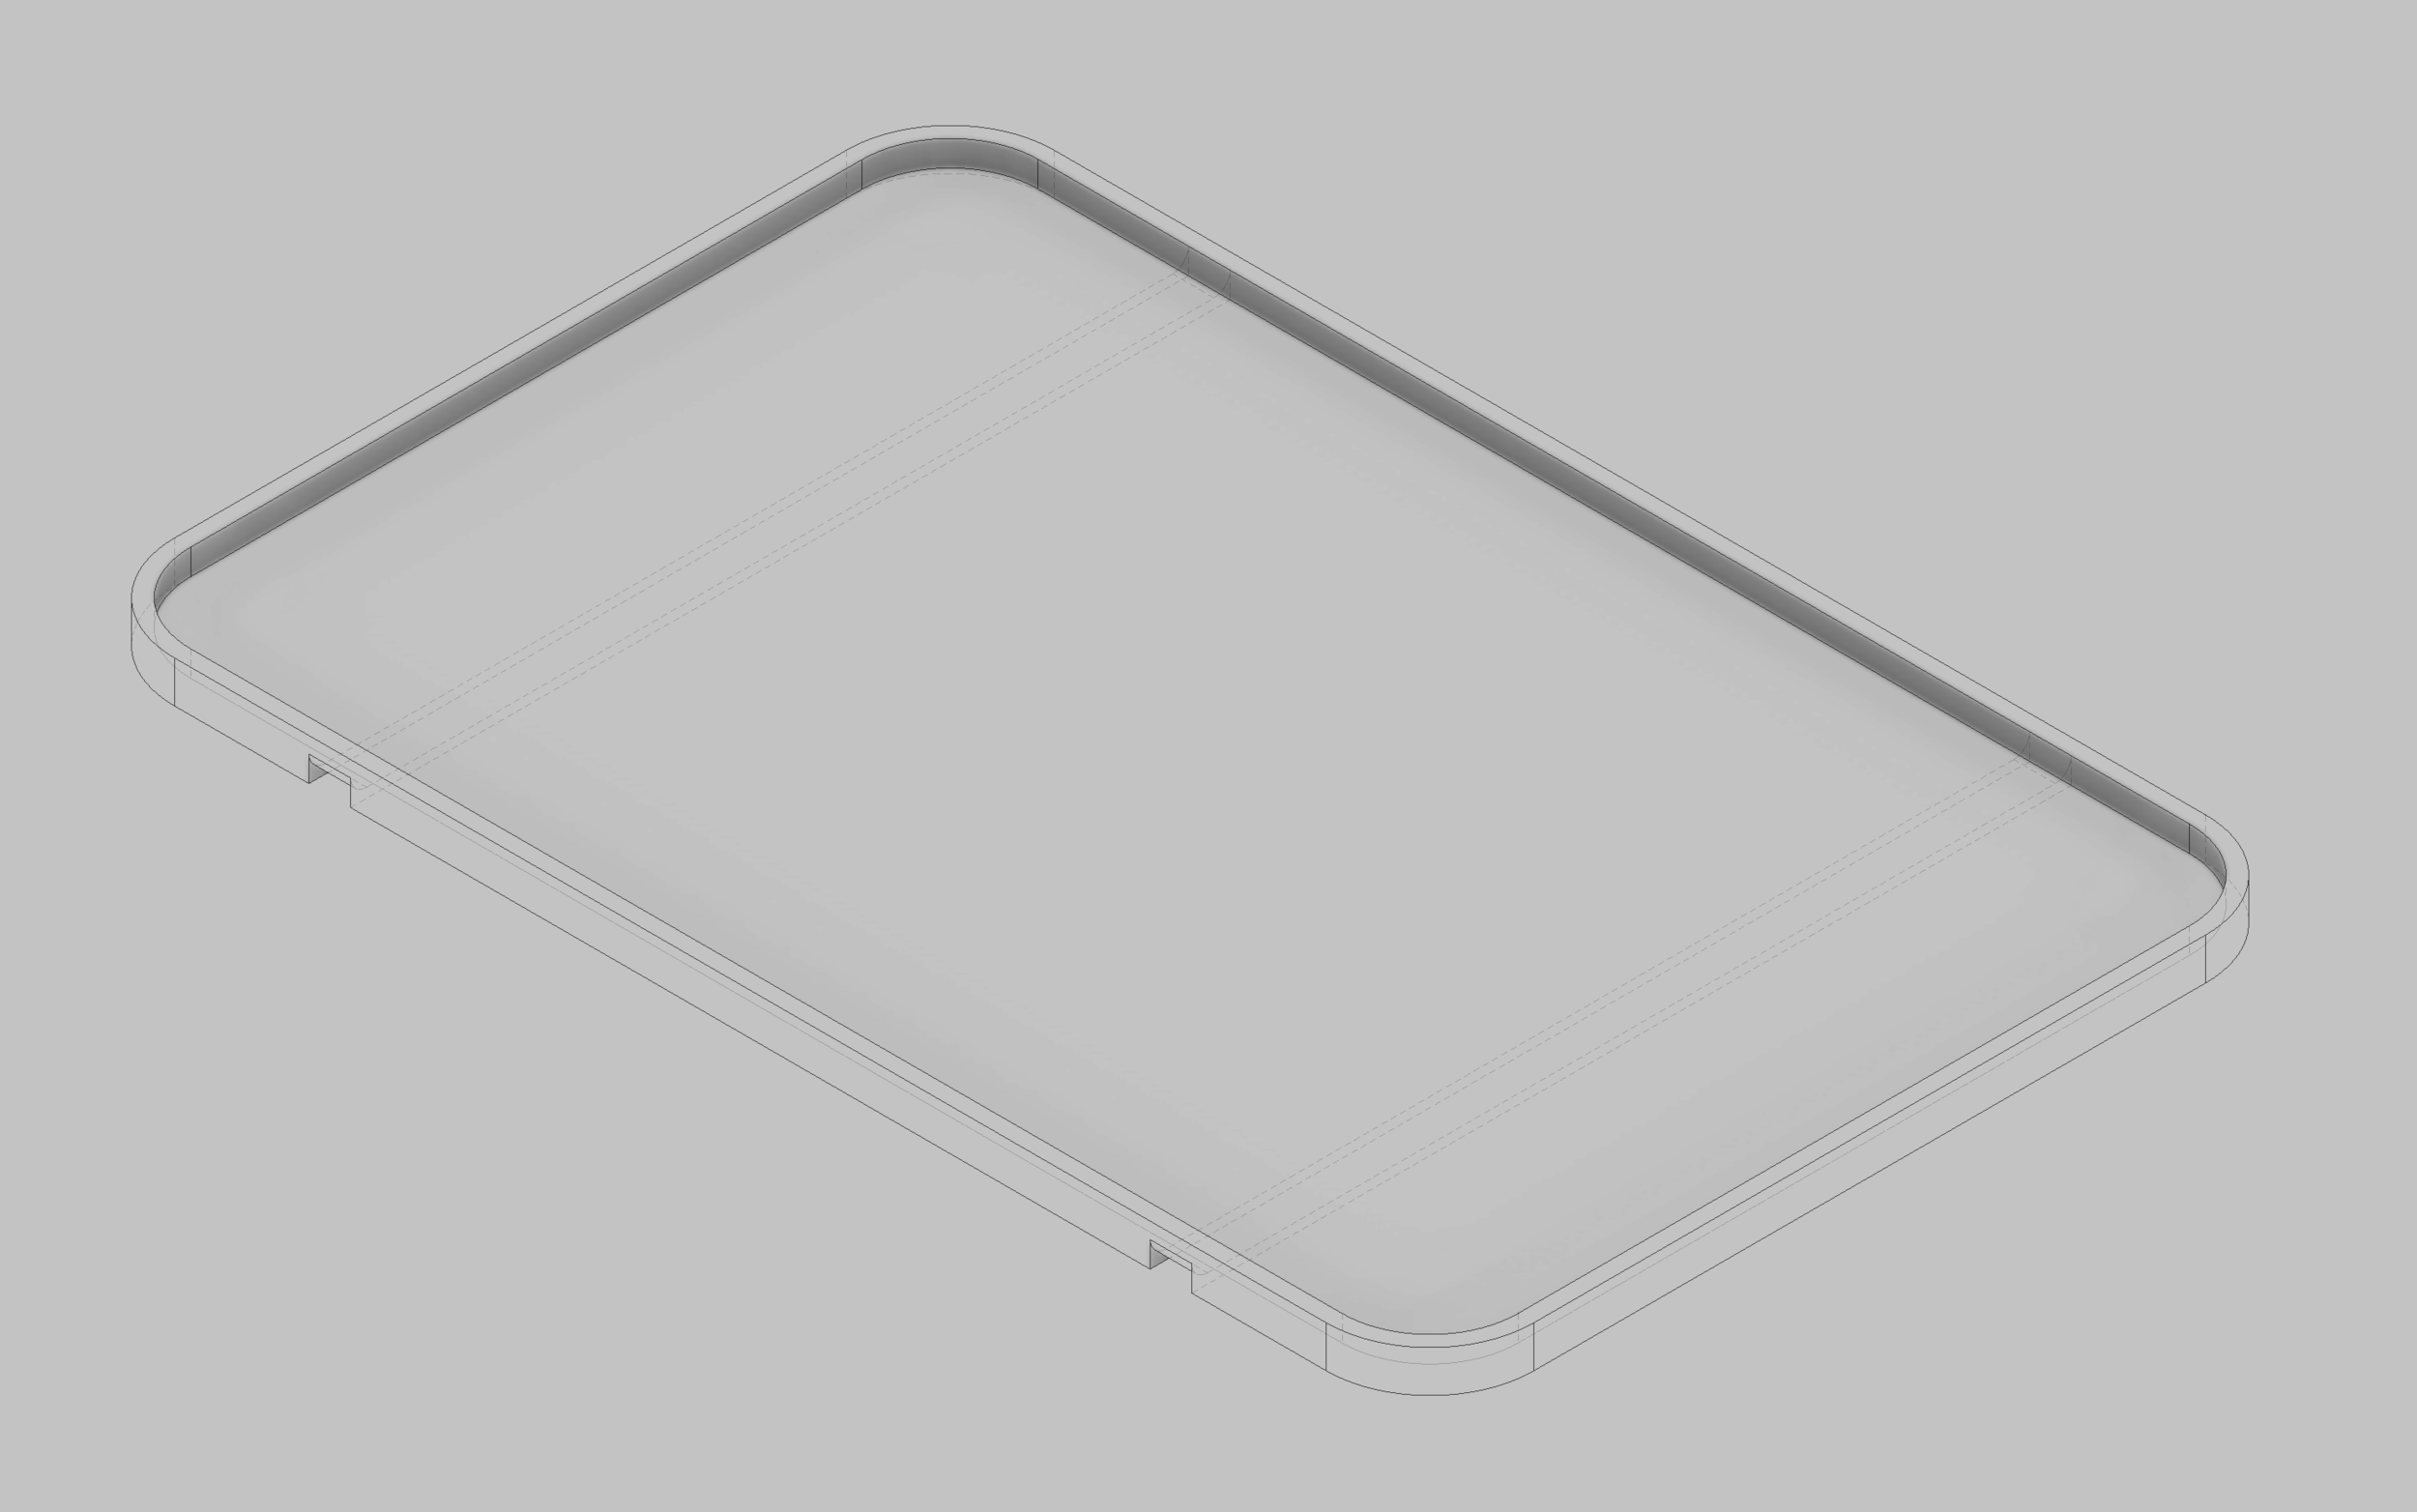
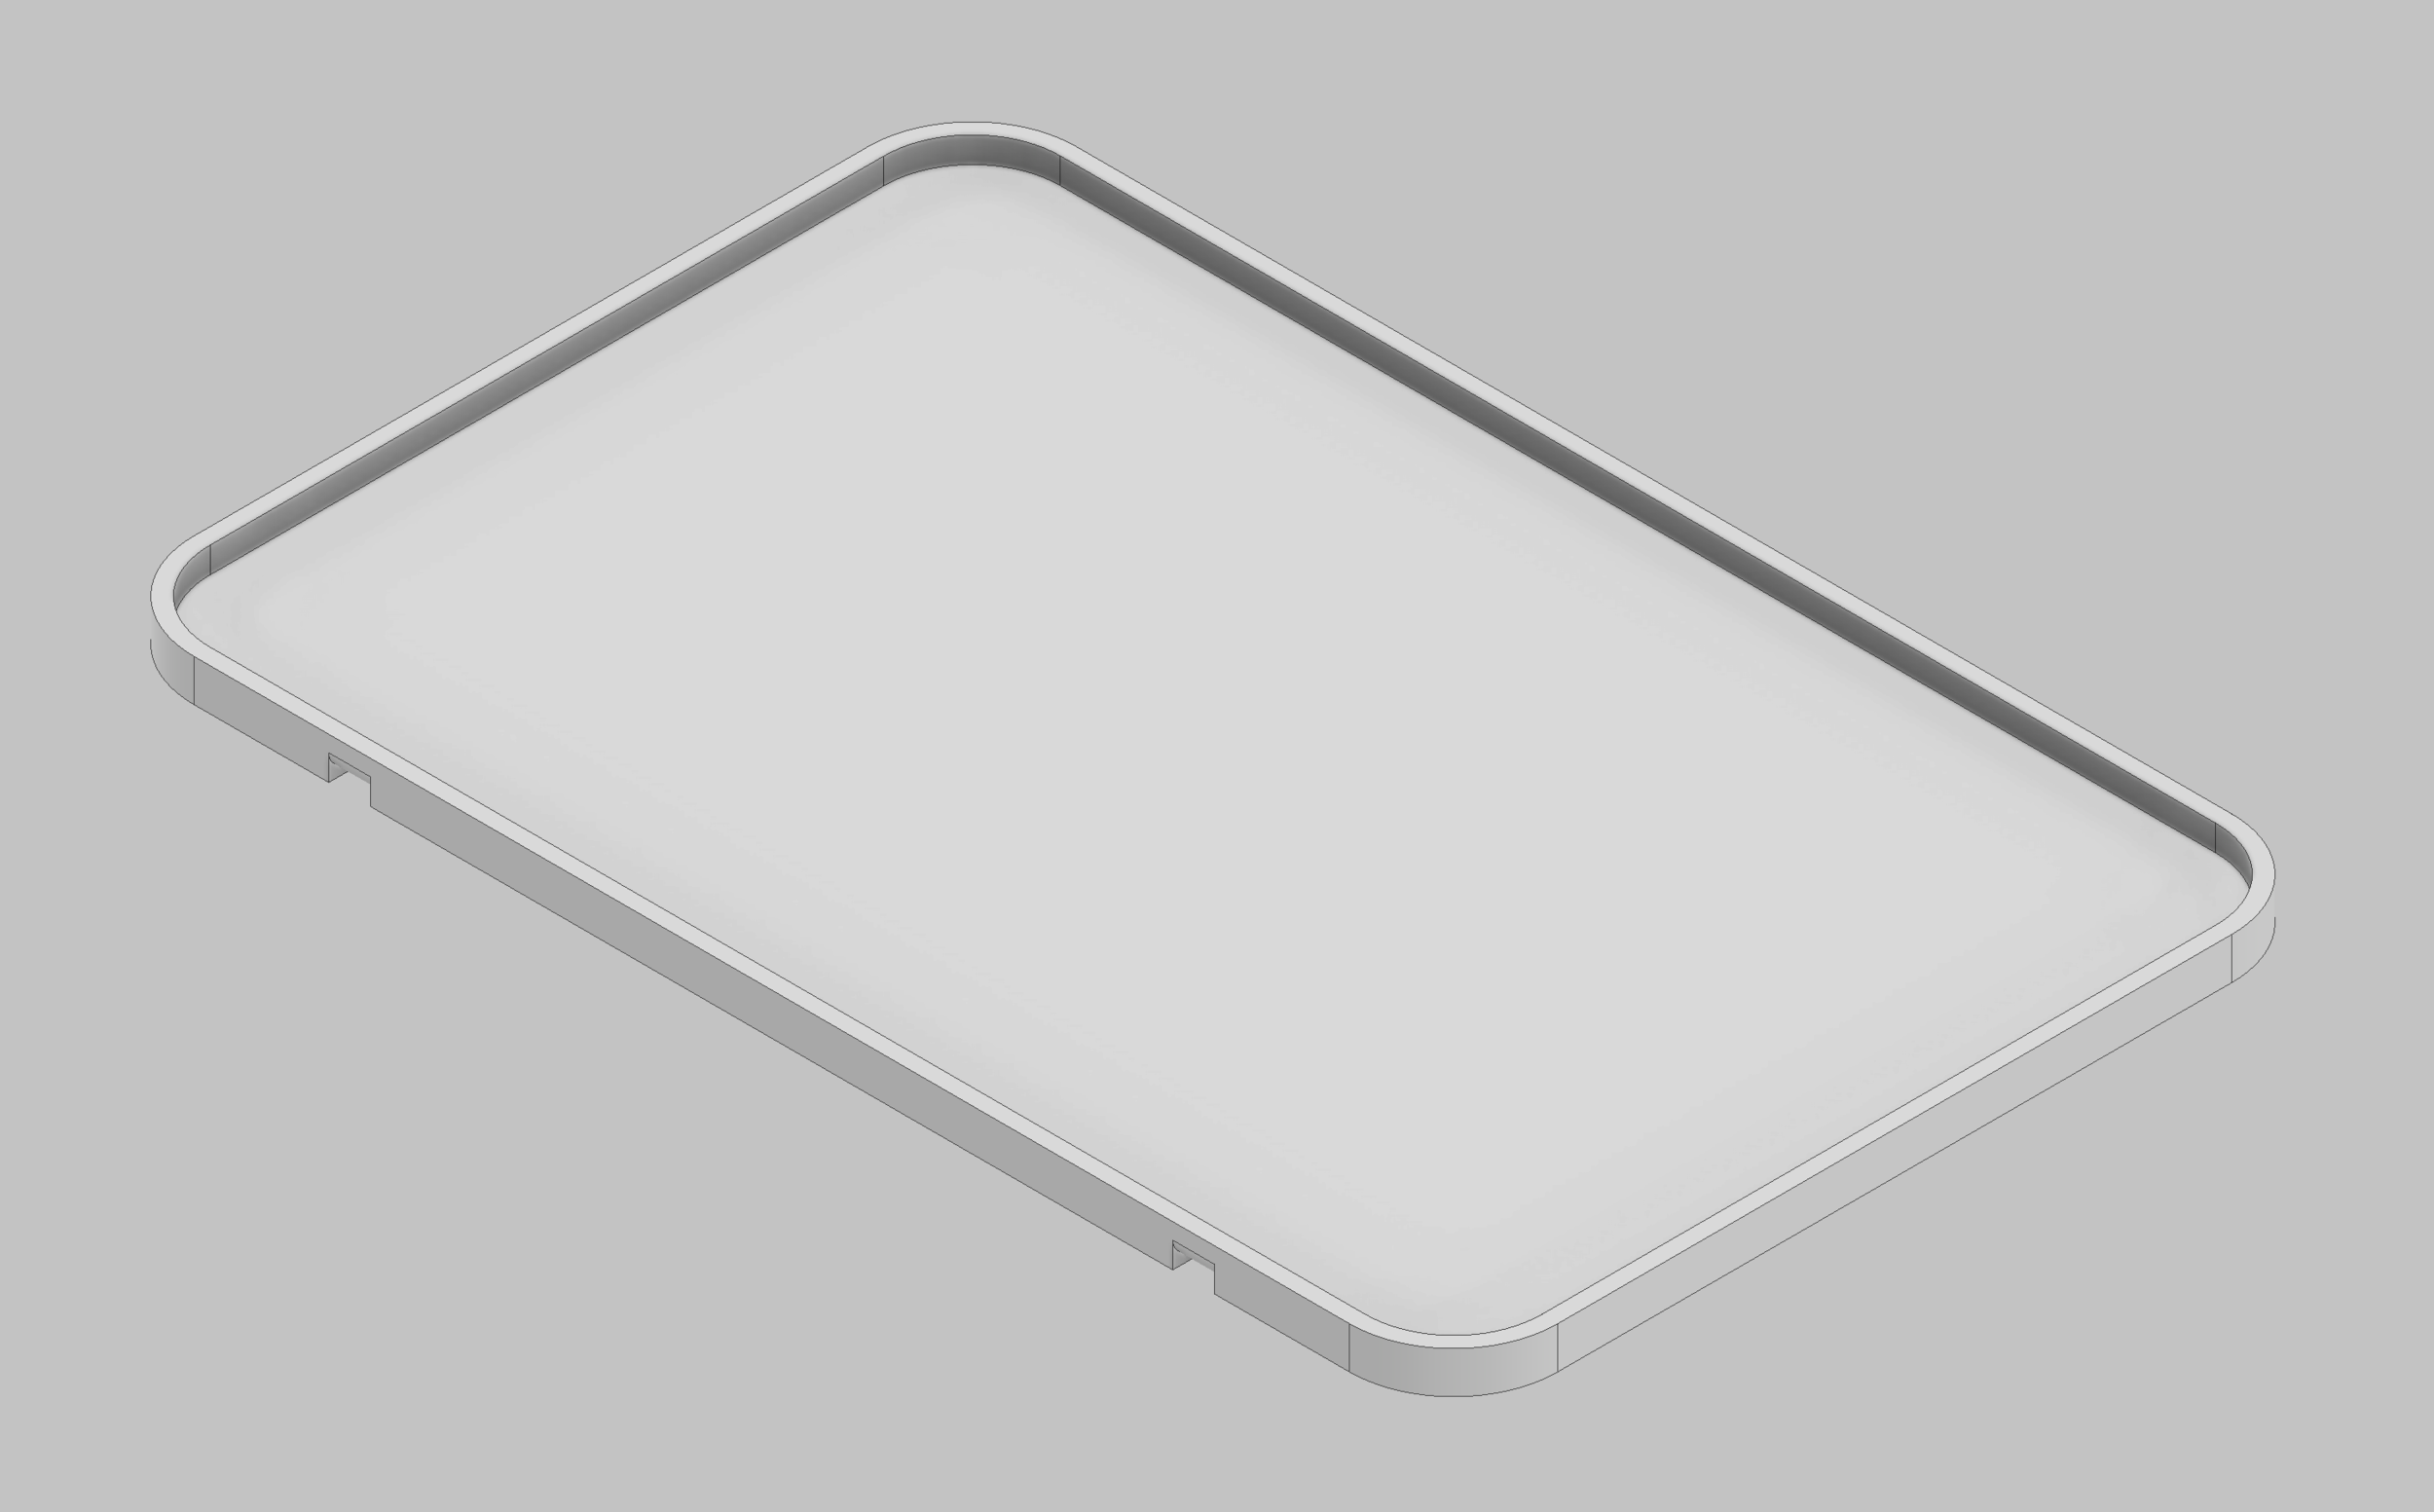
I noticed that there’s a lip around the base of the E6 vat that allows space for the FEP bracket screws. I decided I could create a simple base structure the lip can rest on, with space in the center for a tray that will cover the FEP to prevent unwanted UV light curing my resin.
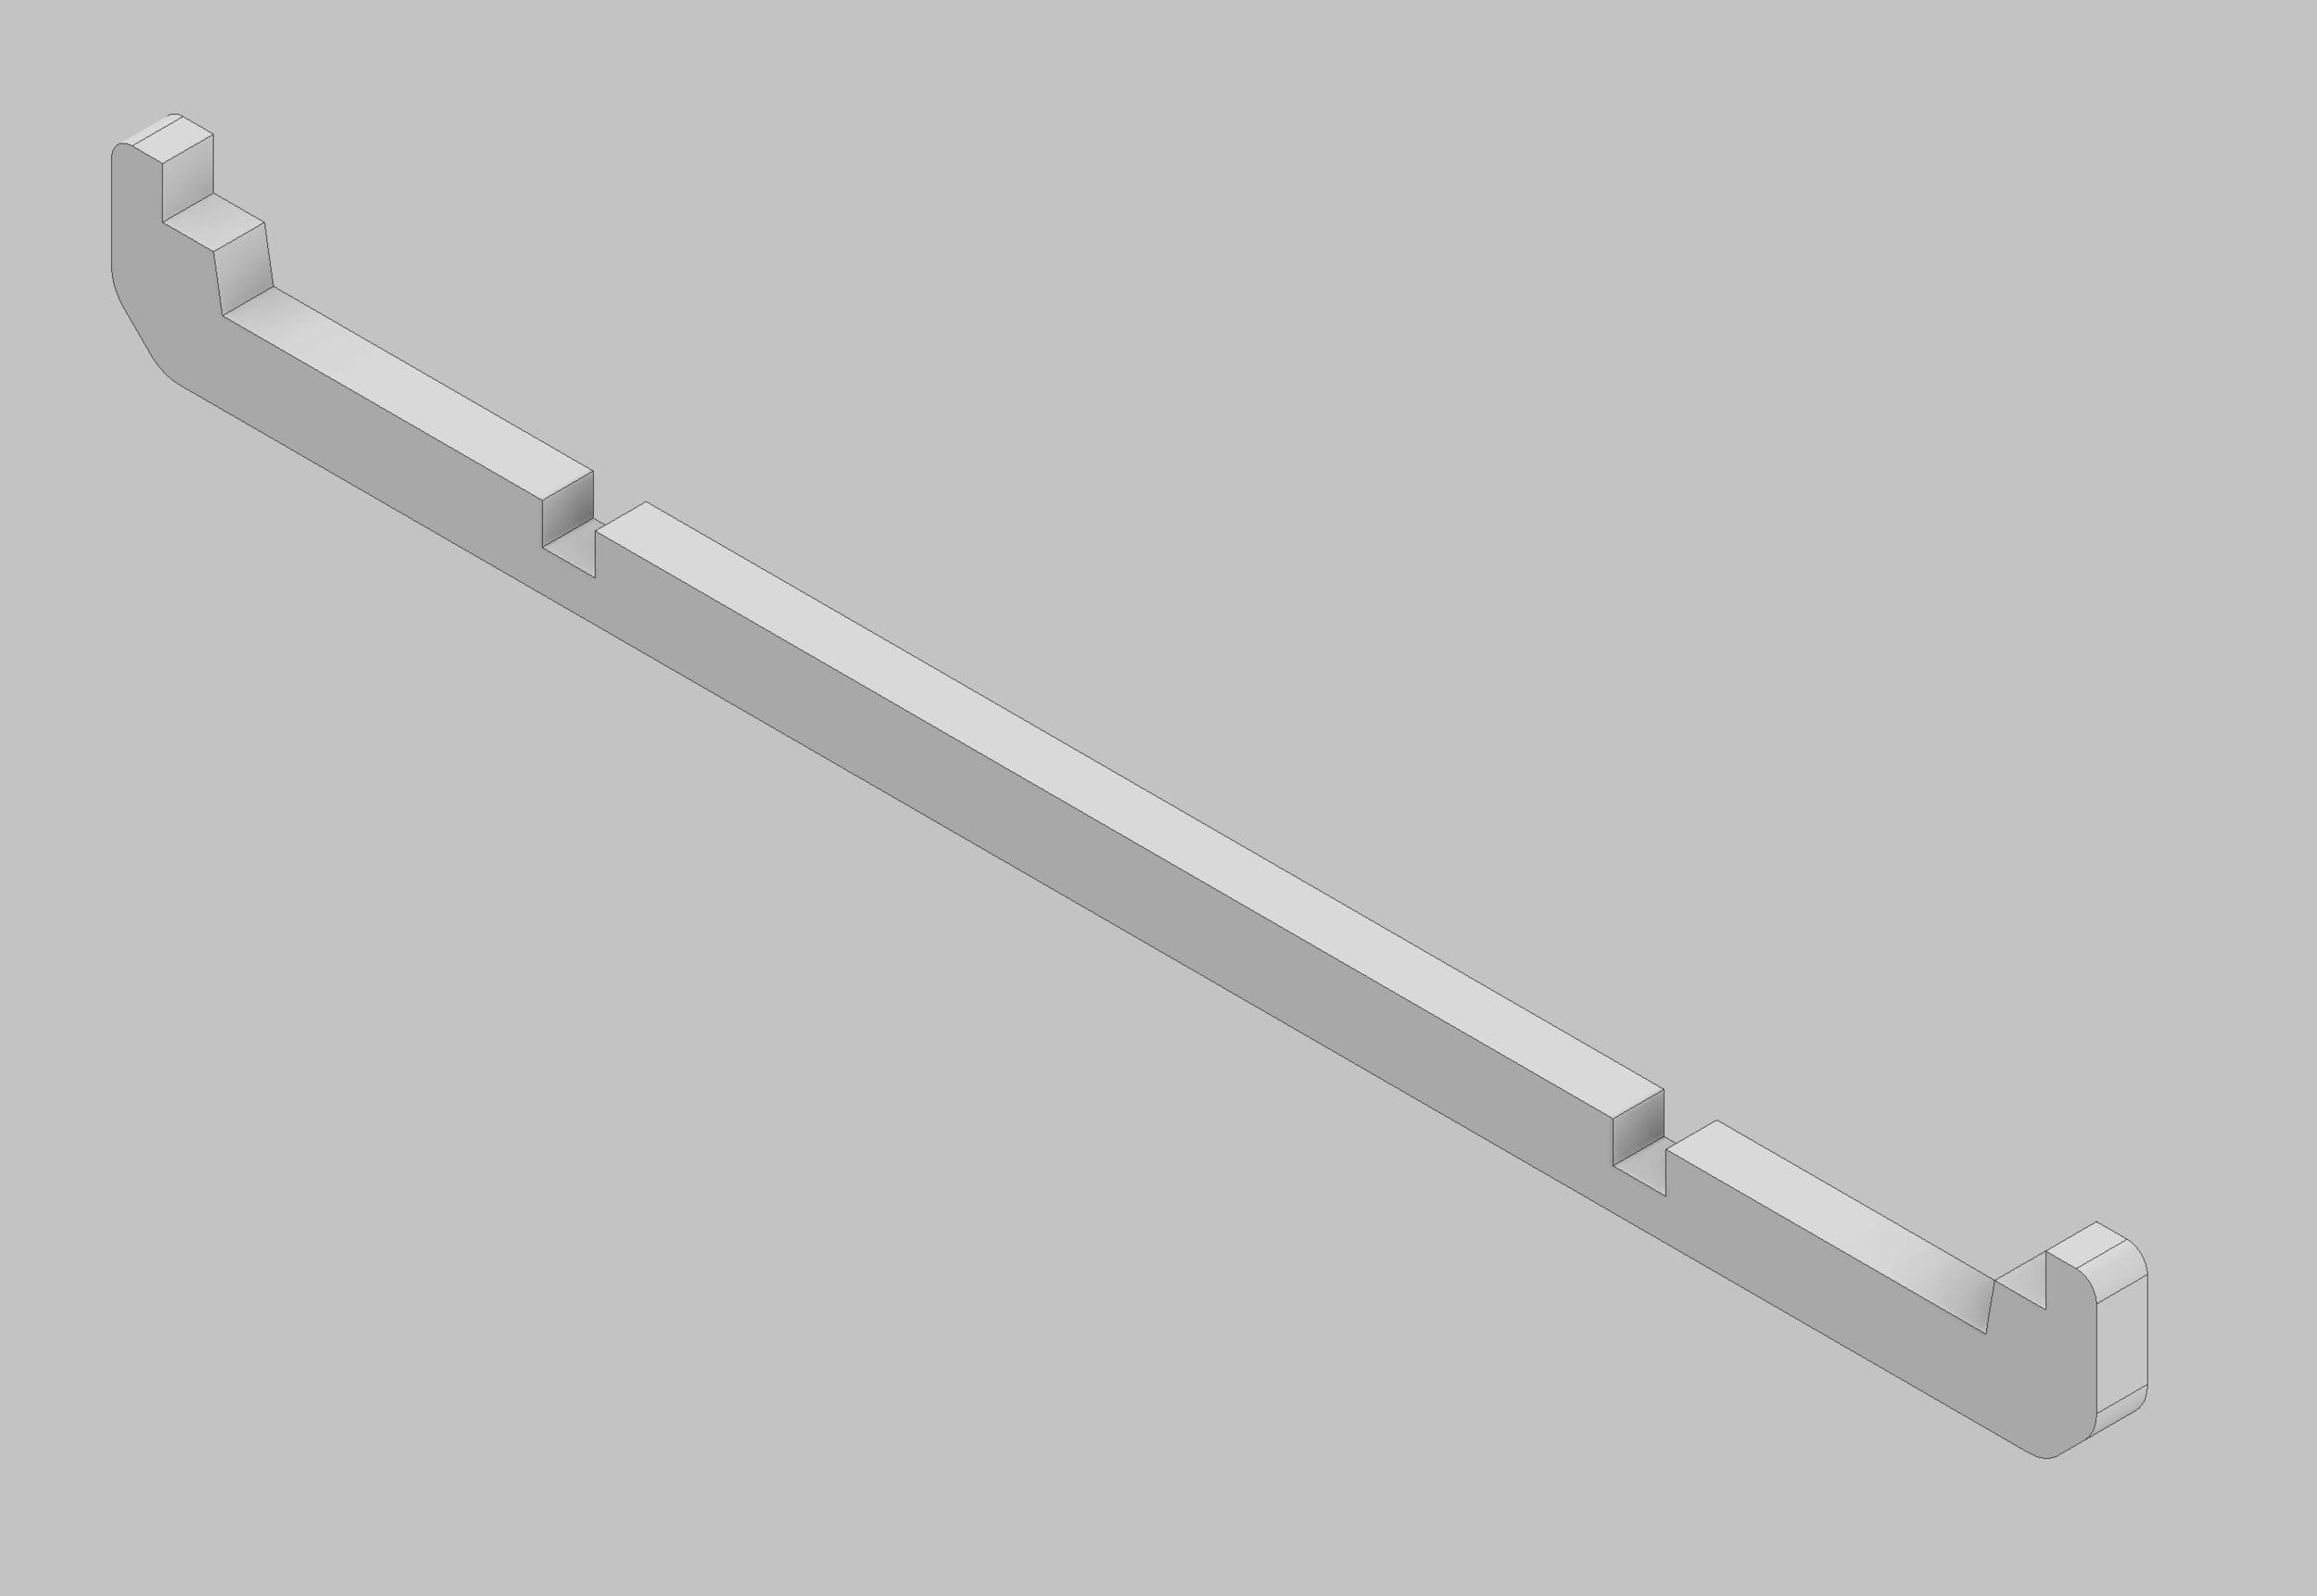
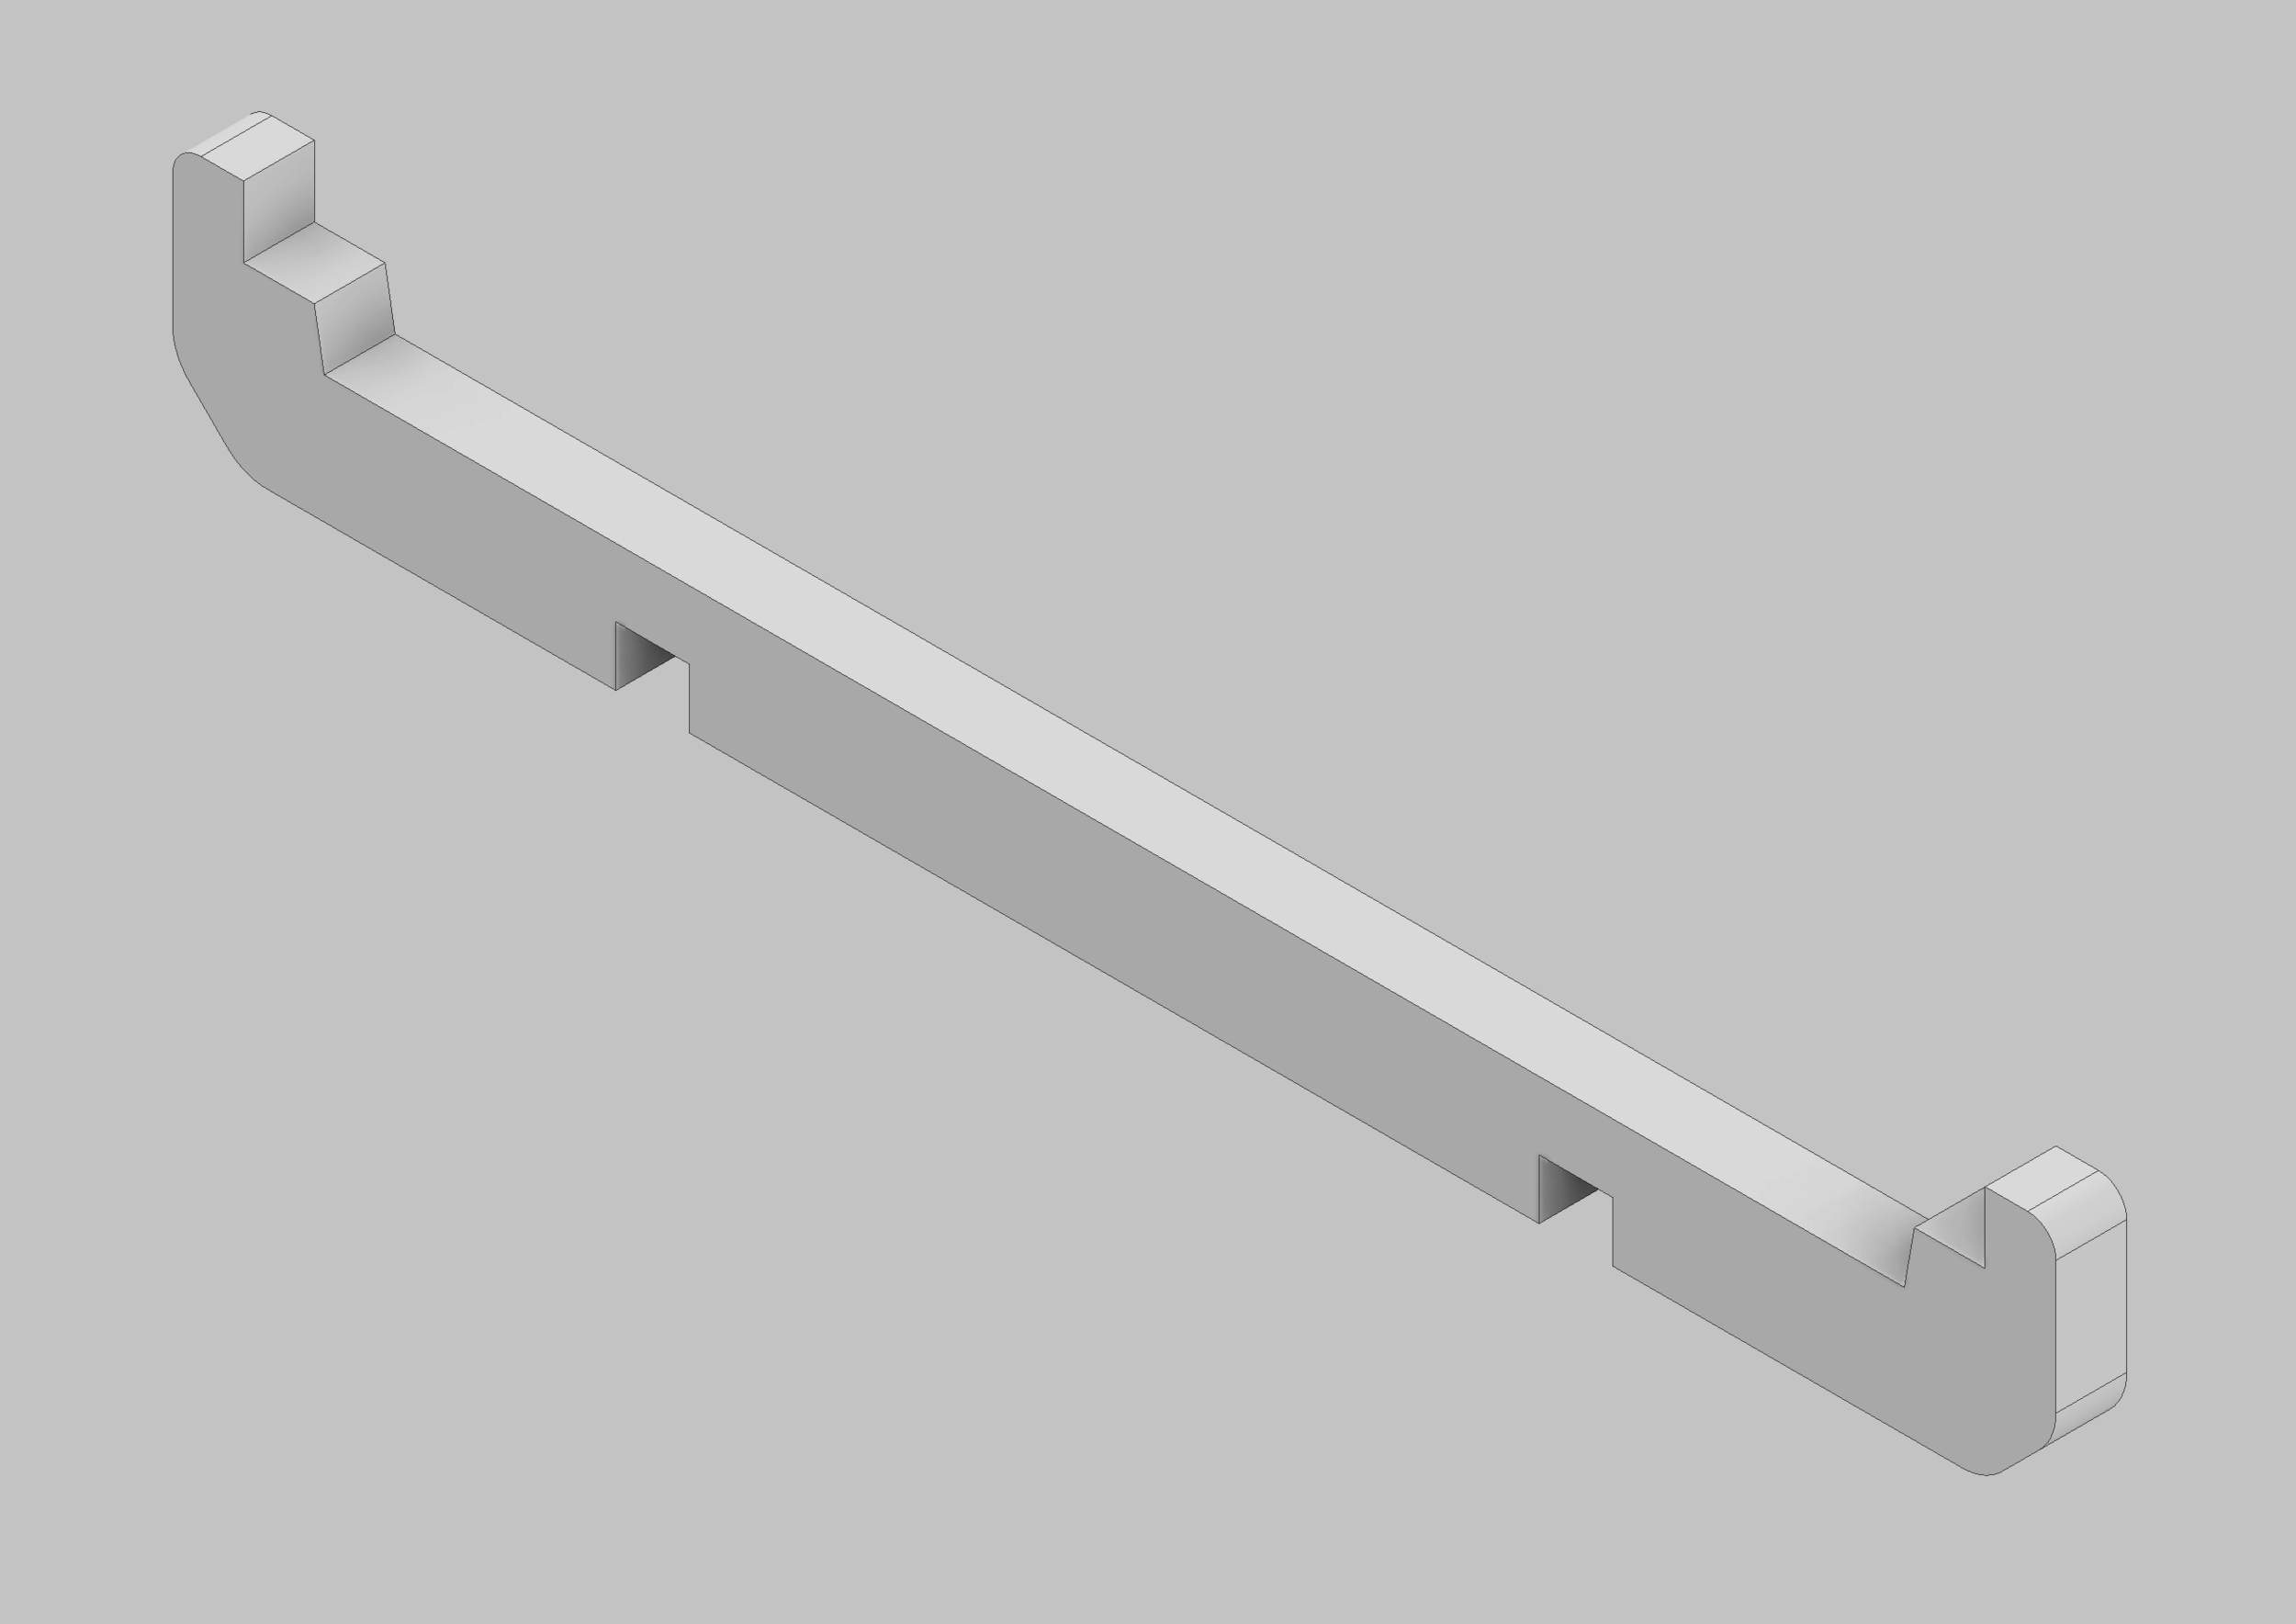
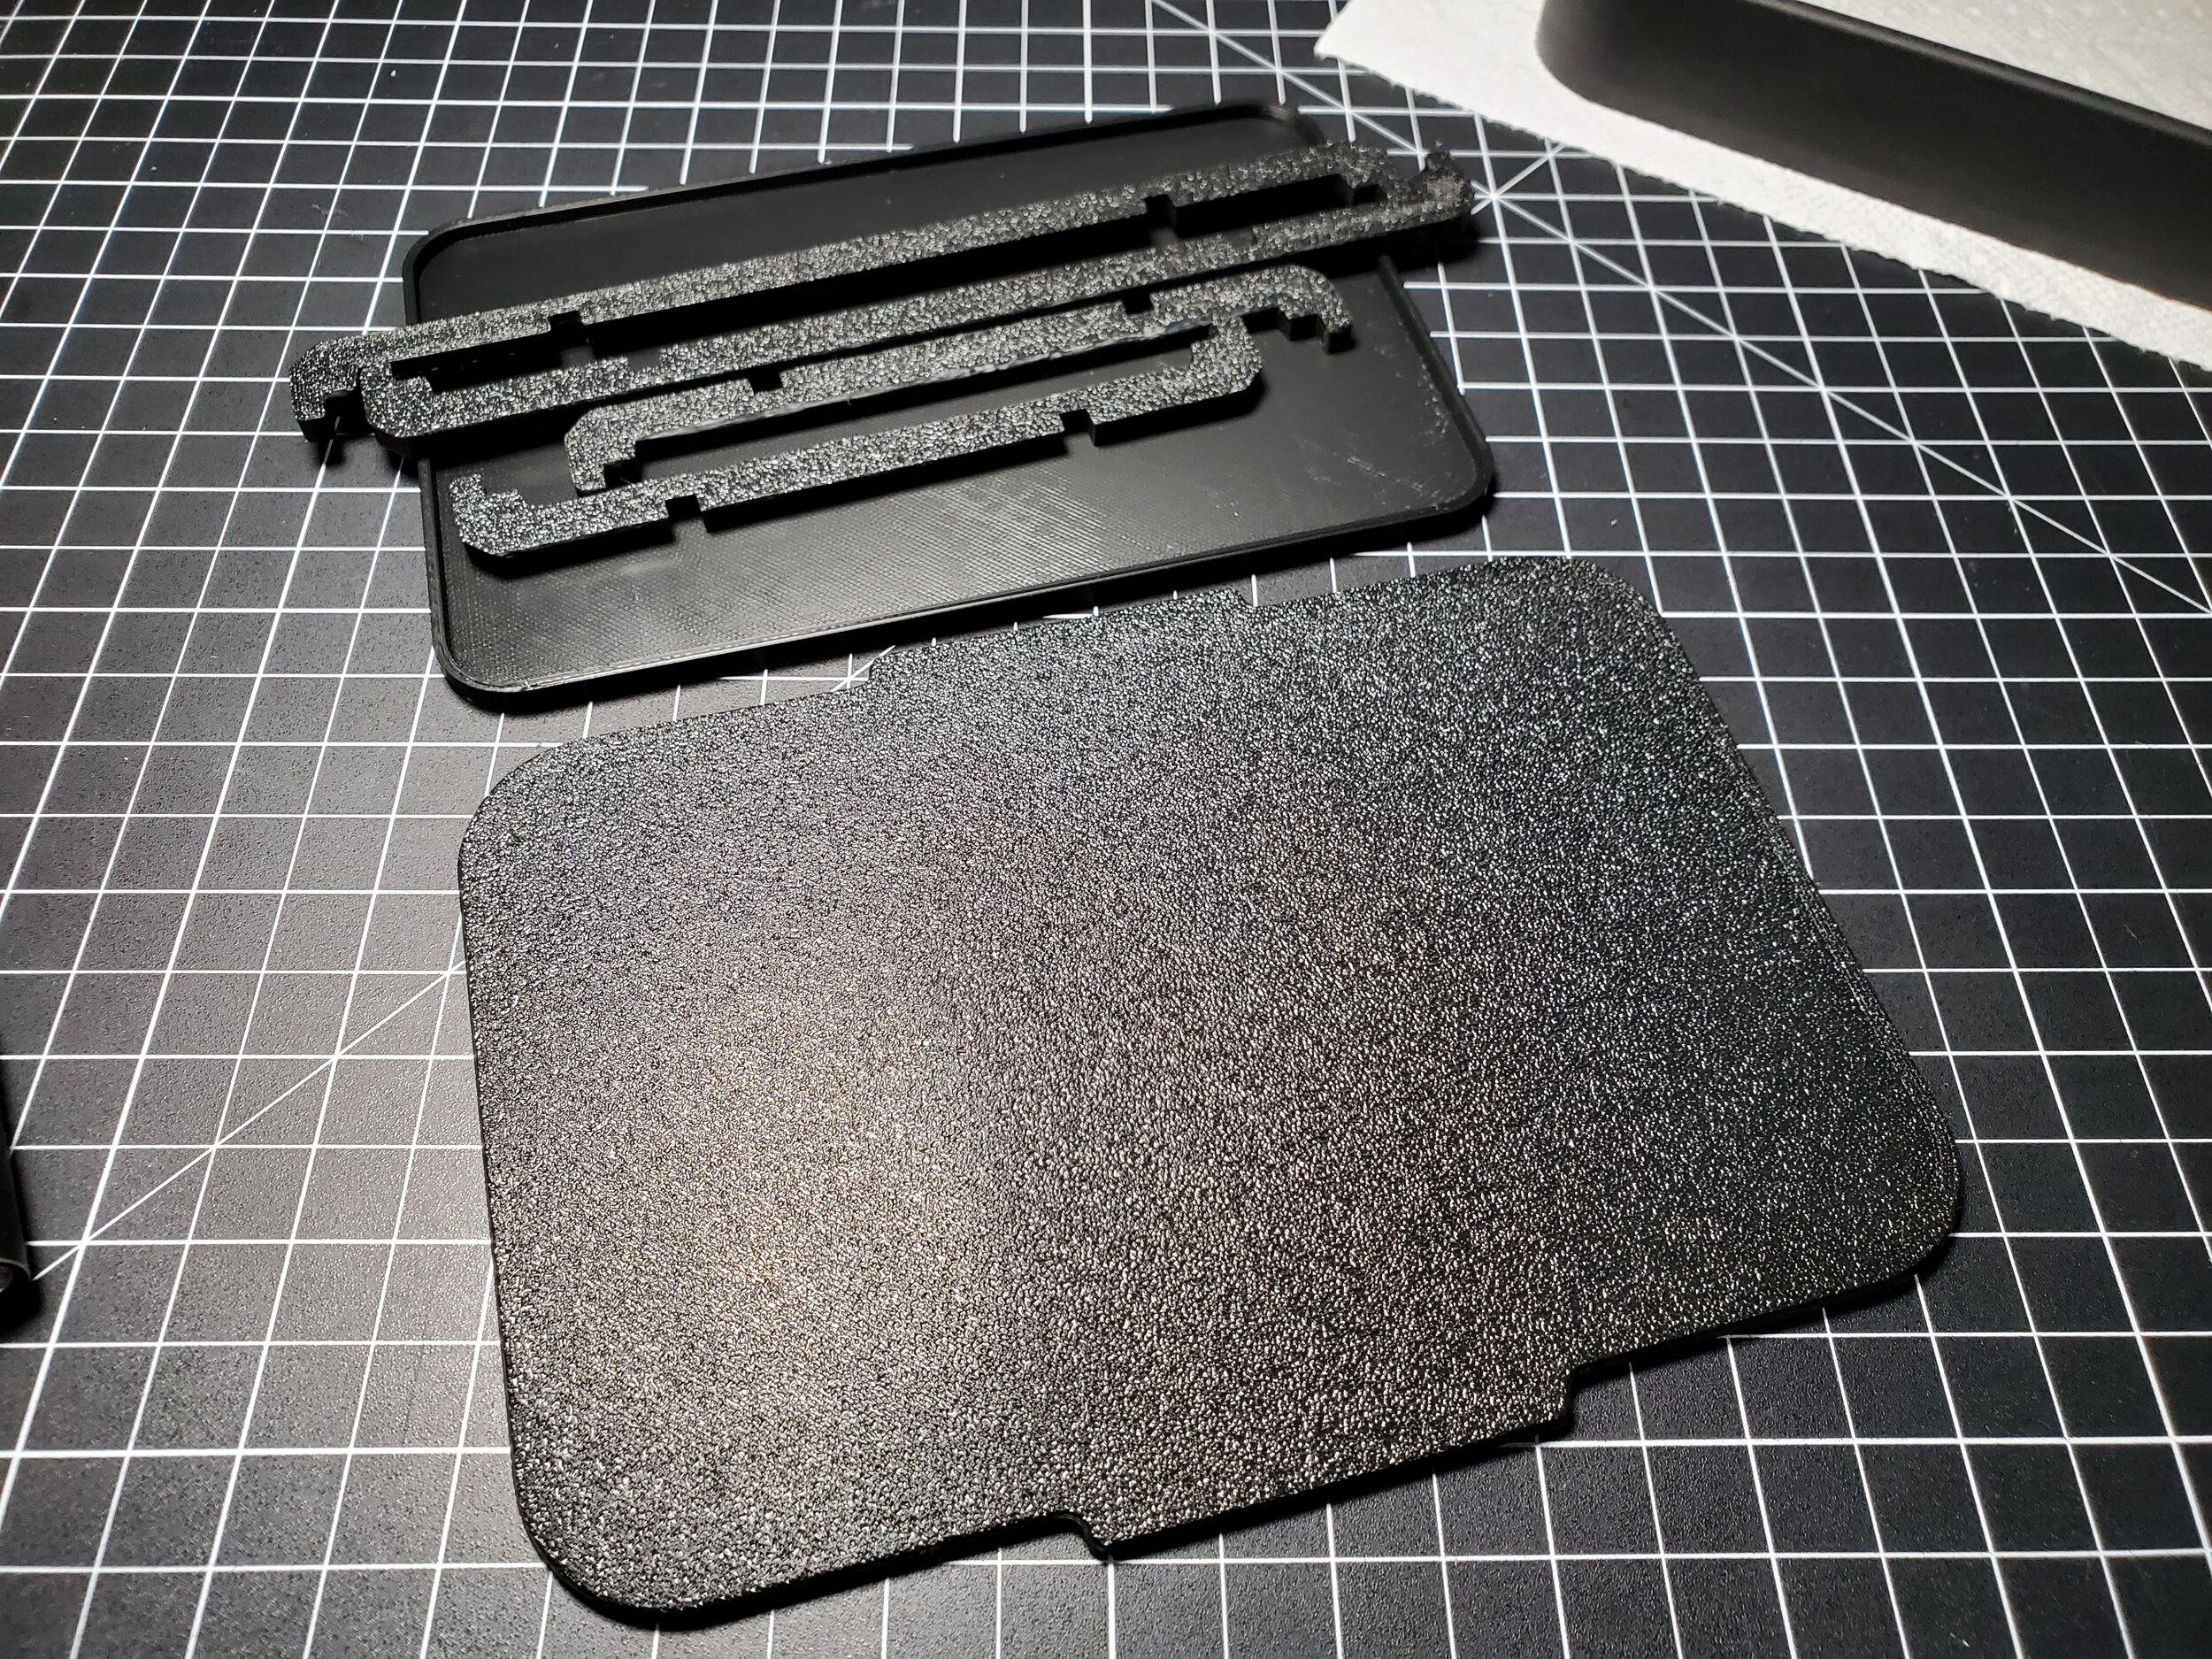
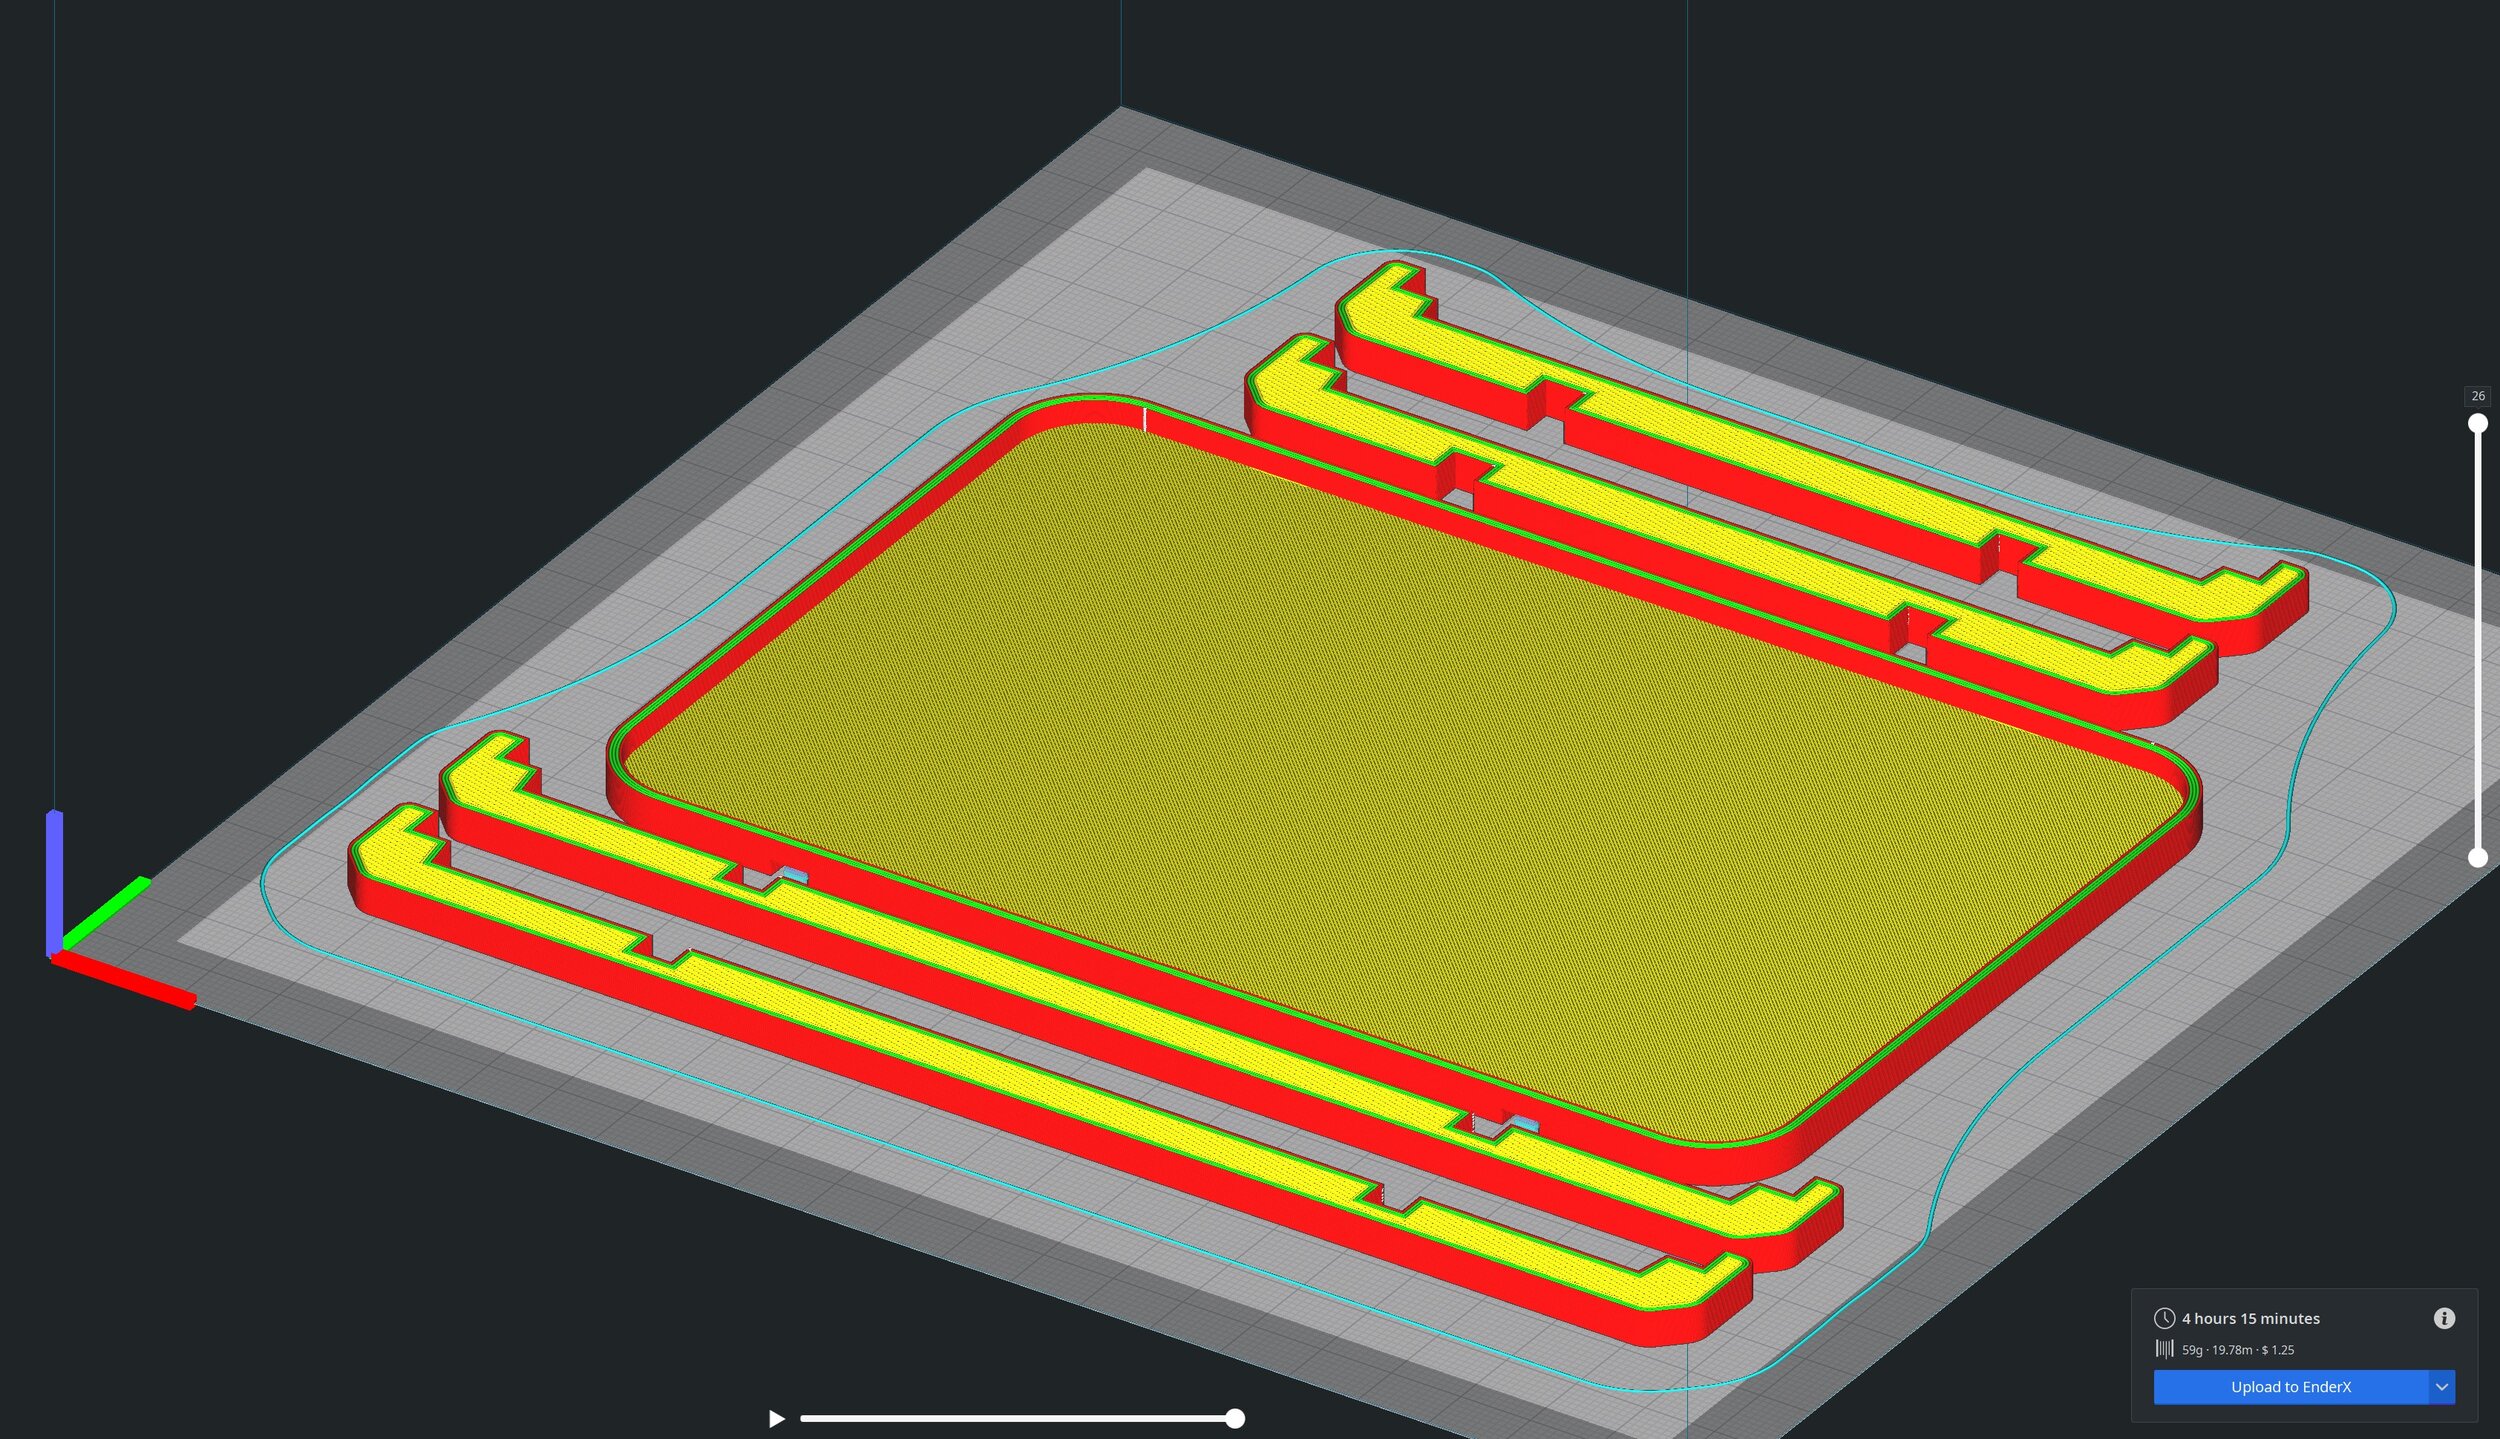
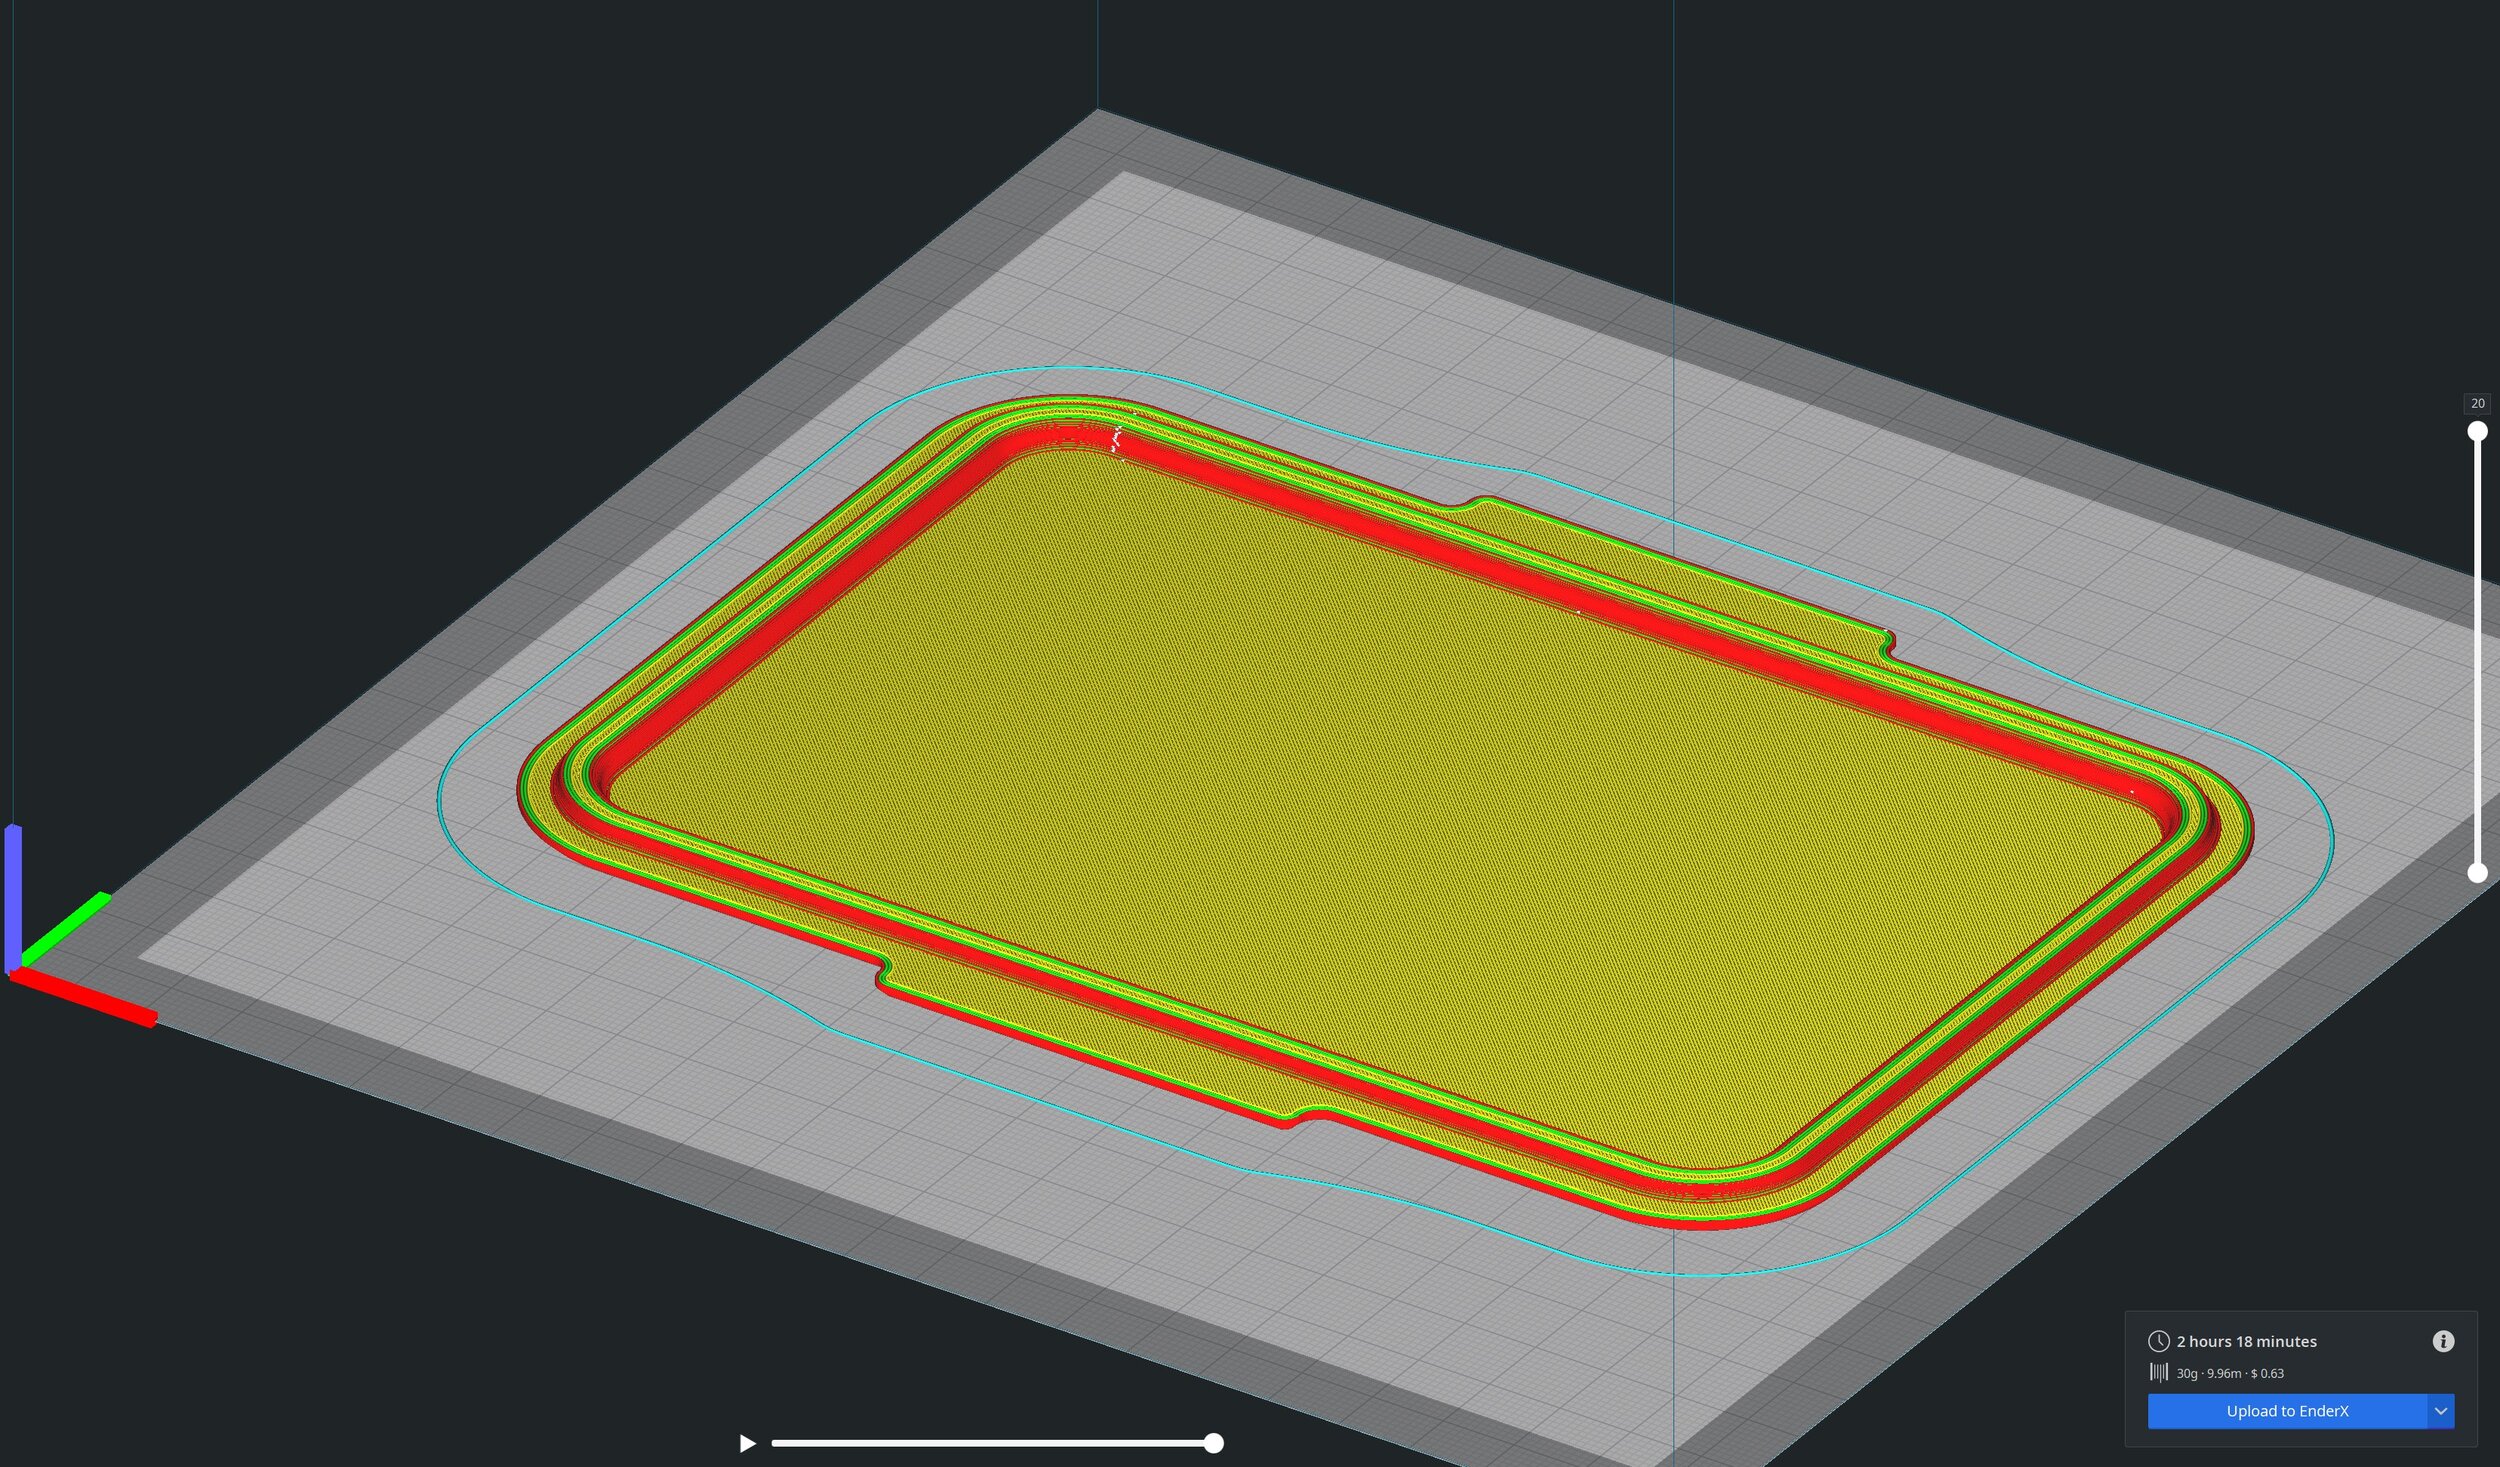
I took some inspiration from flat pack products where pieces often slot or bolt into place to form a final structure. With, frankly, not very much CAD work, I came up with two sets of identical “bars” that slot together to form my base structure. Then, a simple tray rests on top of the bars with some slots to center it.
This flat pack design meant relatively short printing time and minimal usage of plastic, which is always a good thing. If a large resin spill happens it’ll be easier to just cure the spilled resin on the stand, throw it away, and print another one. And, of course, I do still store the filled vats and stands in tupperware to keep dust out.


Conclusions & Print Instructions
There are a few areas that could use some improvement. I’m not happy with needing two slots under the tray, since that means supports are required for printing it. In the future I could re-design the bars to better “cradle” the tray, removing the need for those two slots. And the bars don’t always lock together cleanly, depending on whether the printer has under or over-extruded the walls slightly.
But for now I’m happy enough with the results to call this project “done.”
Want to print one yourself?
I’ve uploaded STLs to MyMiniFactory here and to Printables here!
In case it weren’t obvious by now, the vat accessories are meant to be printed using an FDM printer; these parts won’t fit in your E6’s build volume (though they’ll fit fine on standard Ender 3 sized printers).
The only part that may need supports is the tray, which is printed right-side up; a small amount of support is needed for the two centering slots on the bottom. Your printer may be able to bridge those gaps without supports. The bars print on their side, and the vat cover prints upside down (which ends up showing off whatever texture your printer’s build surface has). You shouldn’t need brims or rafts for any of these parts, unless you have a very warped / poorly leveled bed.
Depending on your print settings, the bars may not have a perfect friction fit when slotted together, so if necessary you can sand / carve away some material to get them fitting snugly together, and or add a few drops of CA glue to fasten them in place.