
I Made Some WL Plaques
I decided with the new site and branding work I've done that I need some physical merch—and what's better to start off with than a little logo plaque?
The plaques mainly serve as a neat little thing I can give away that's cooler than just a business card (note to self: make a personal version with my contact info on the back), but they also have the dual purpose of being an easy to print model for showing off different filaments (like a filament swatch) due to their clean yet detailed features.
Design

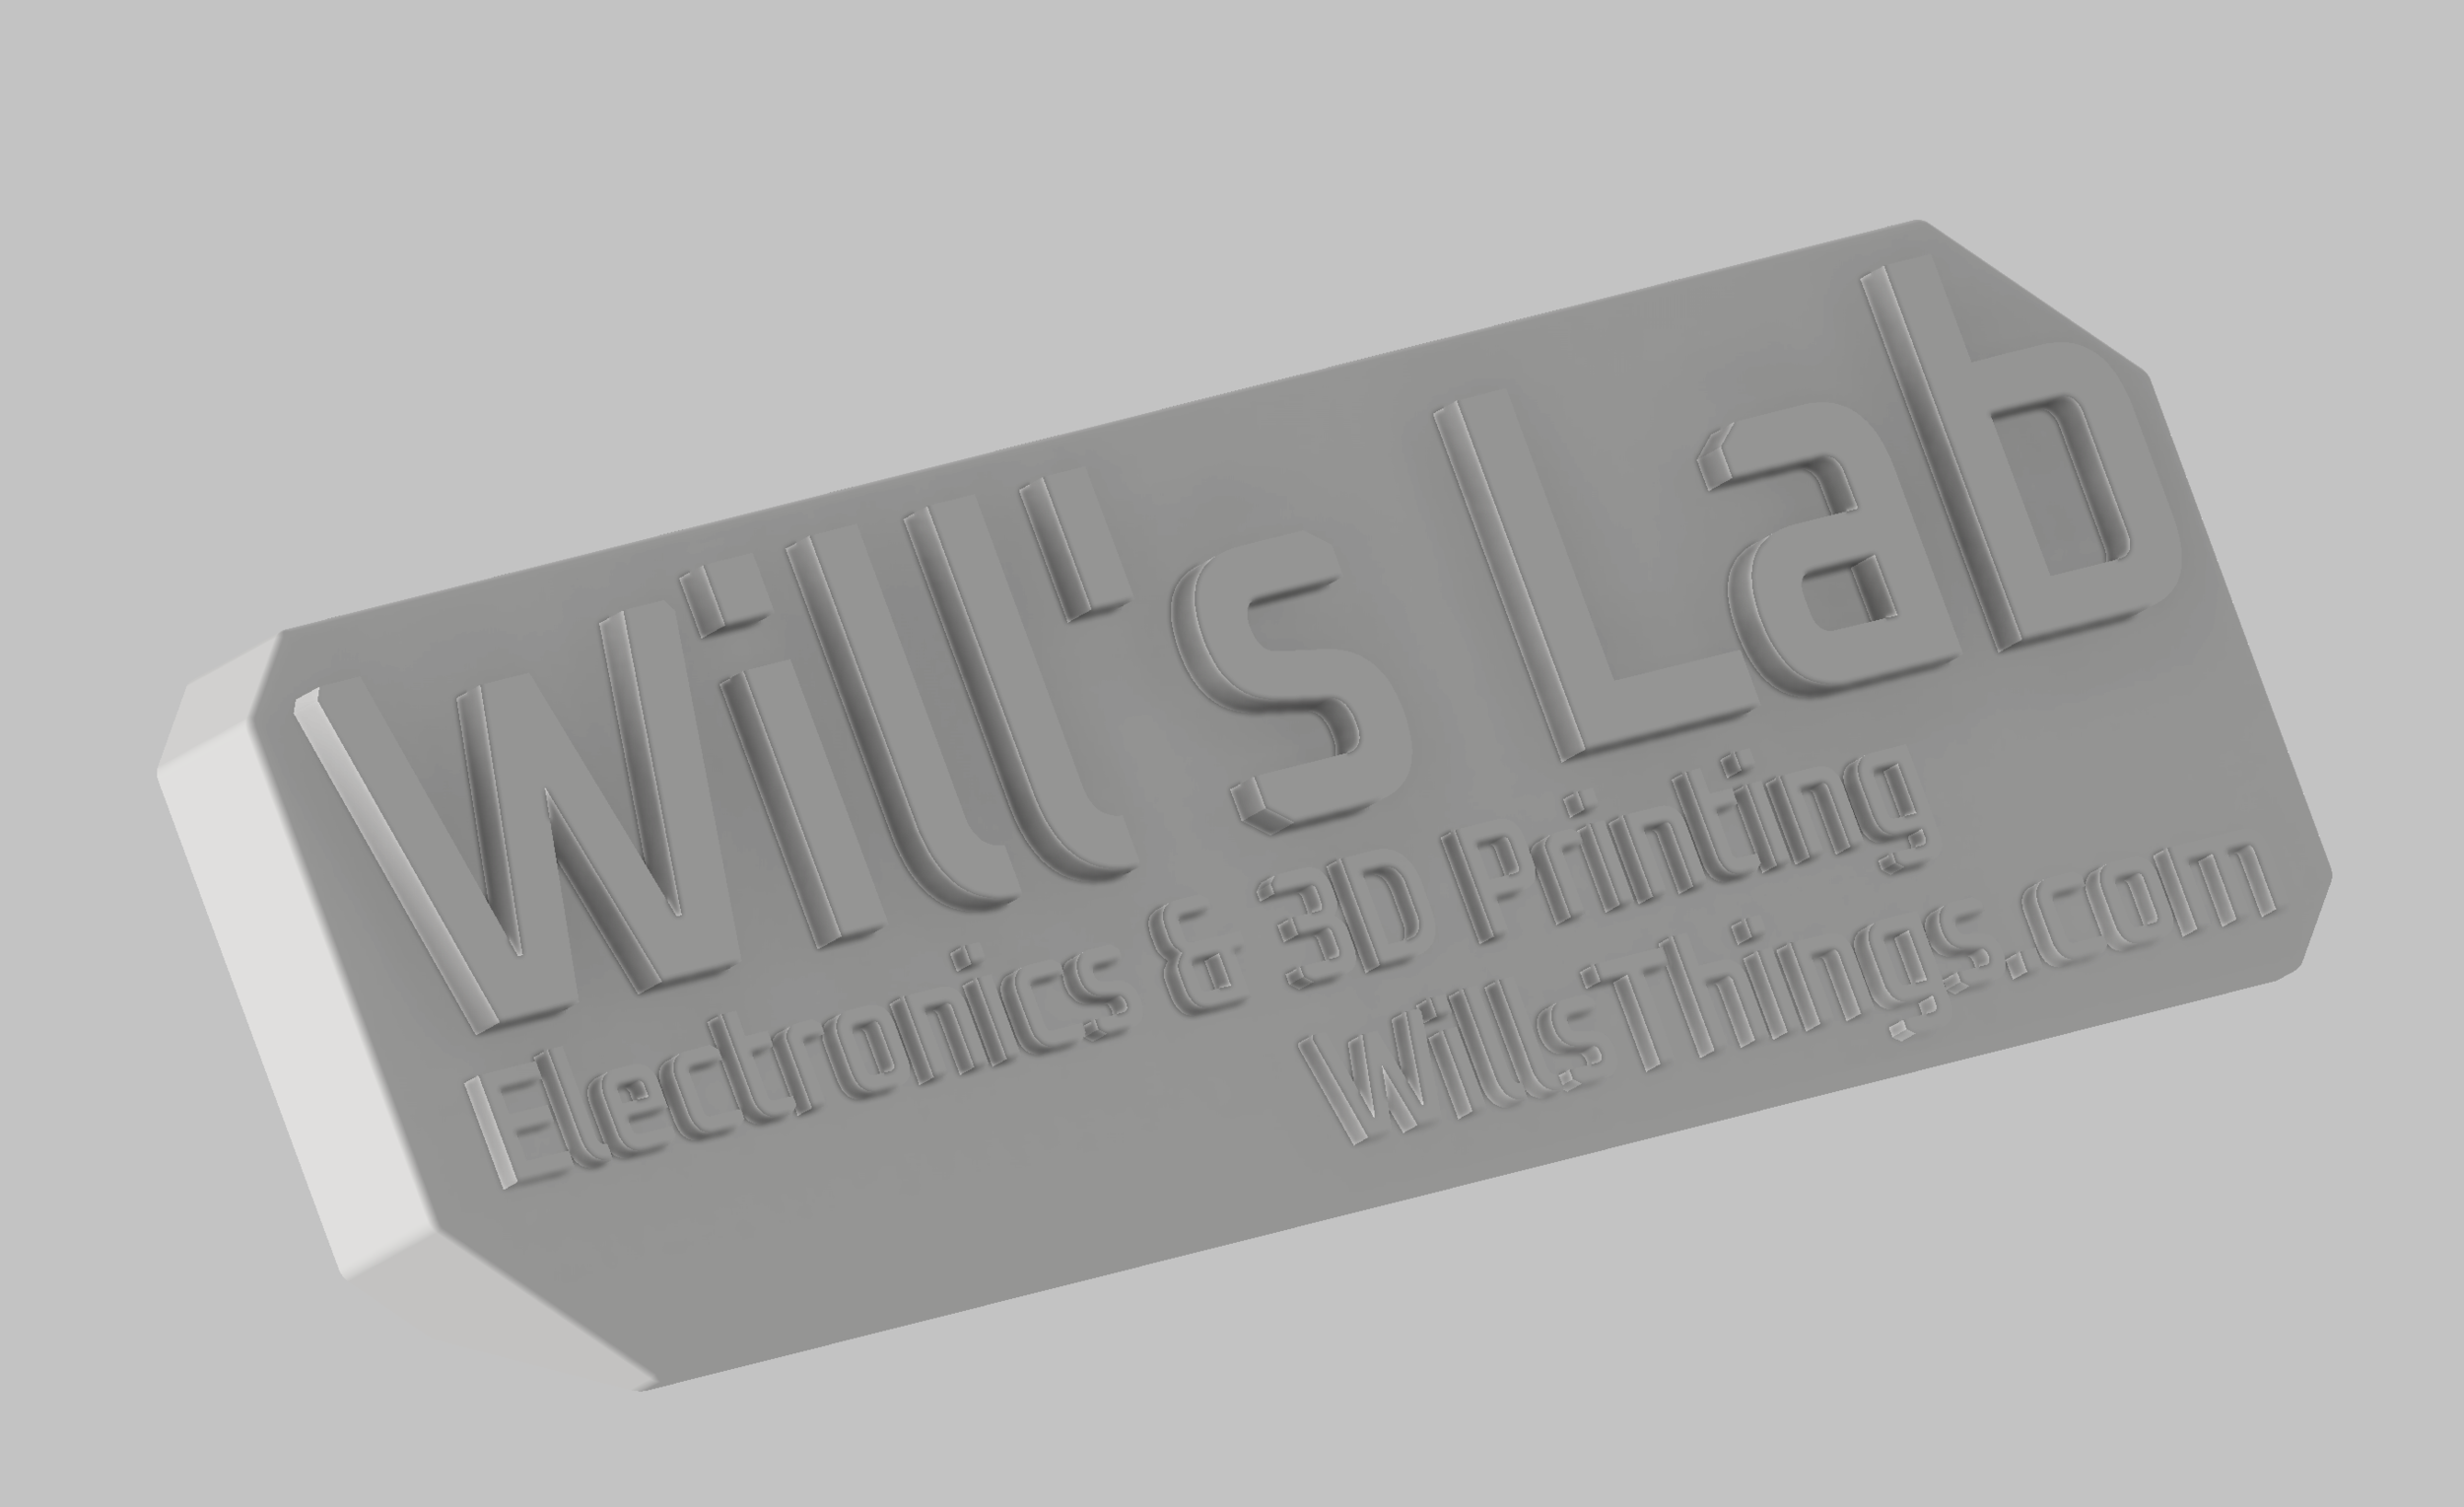
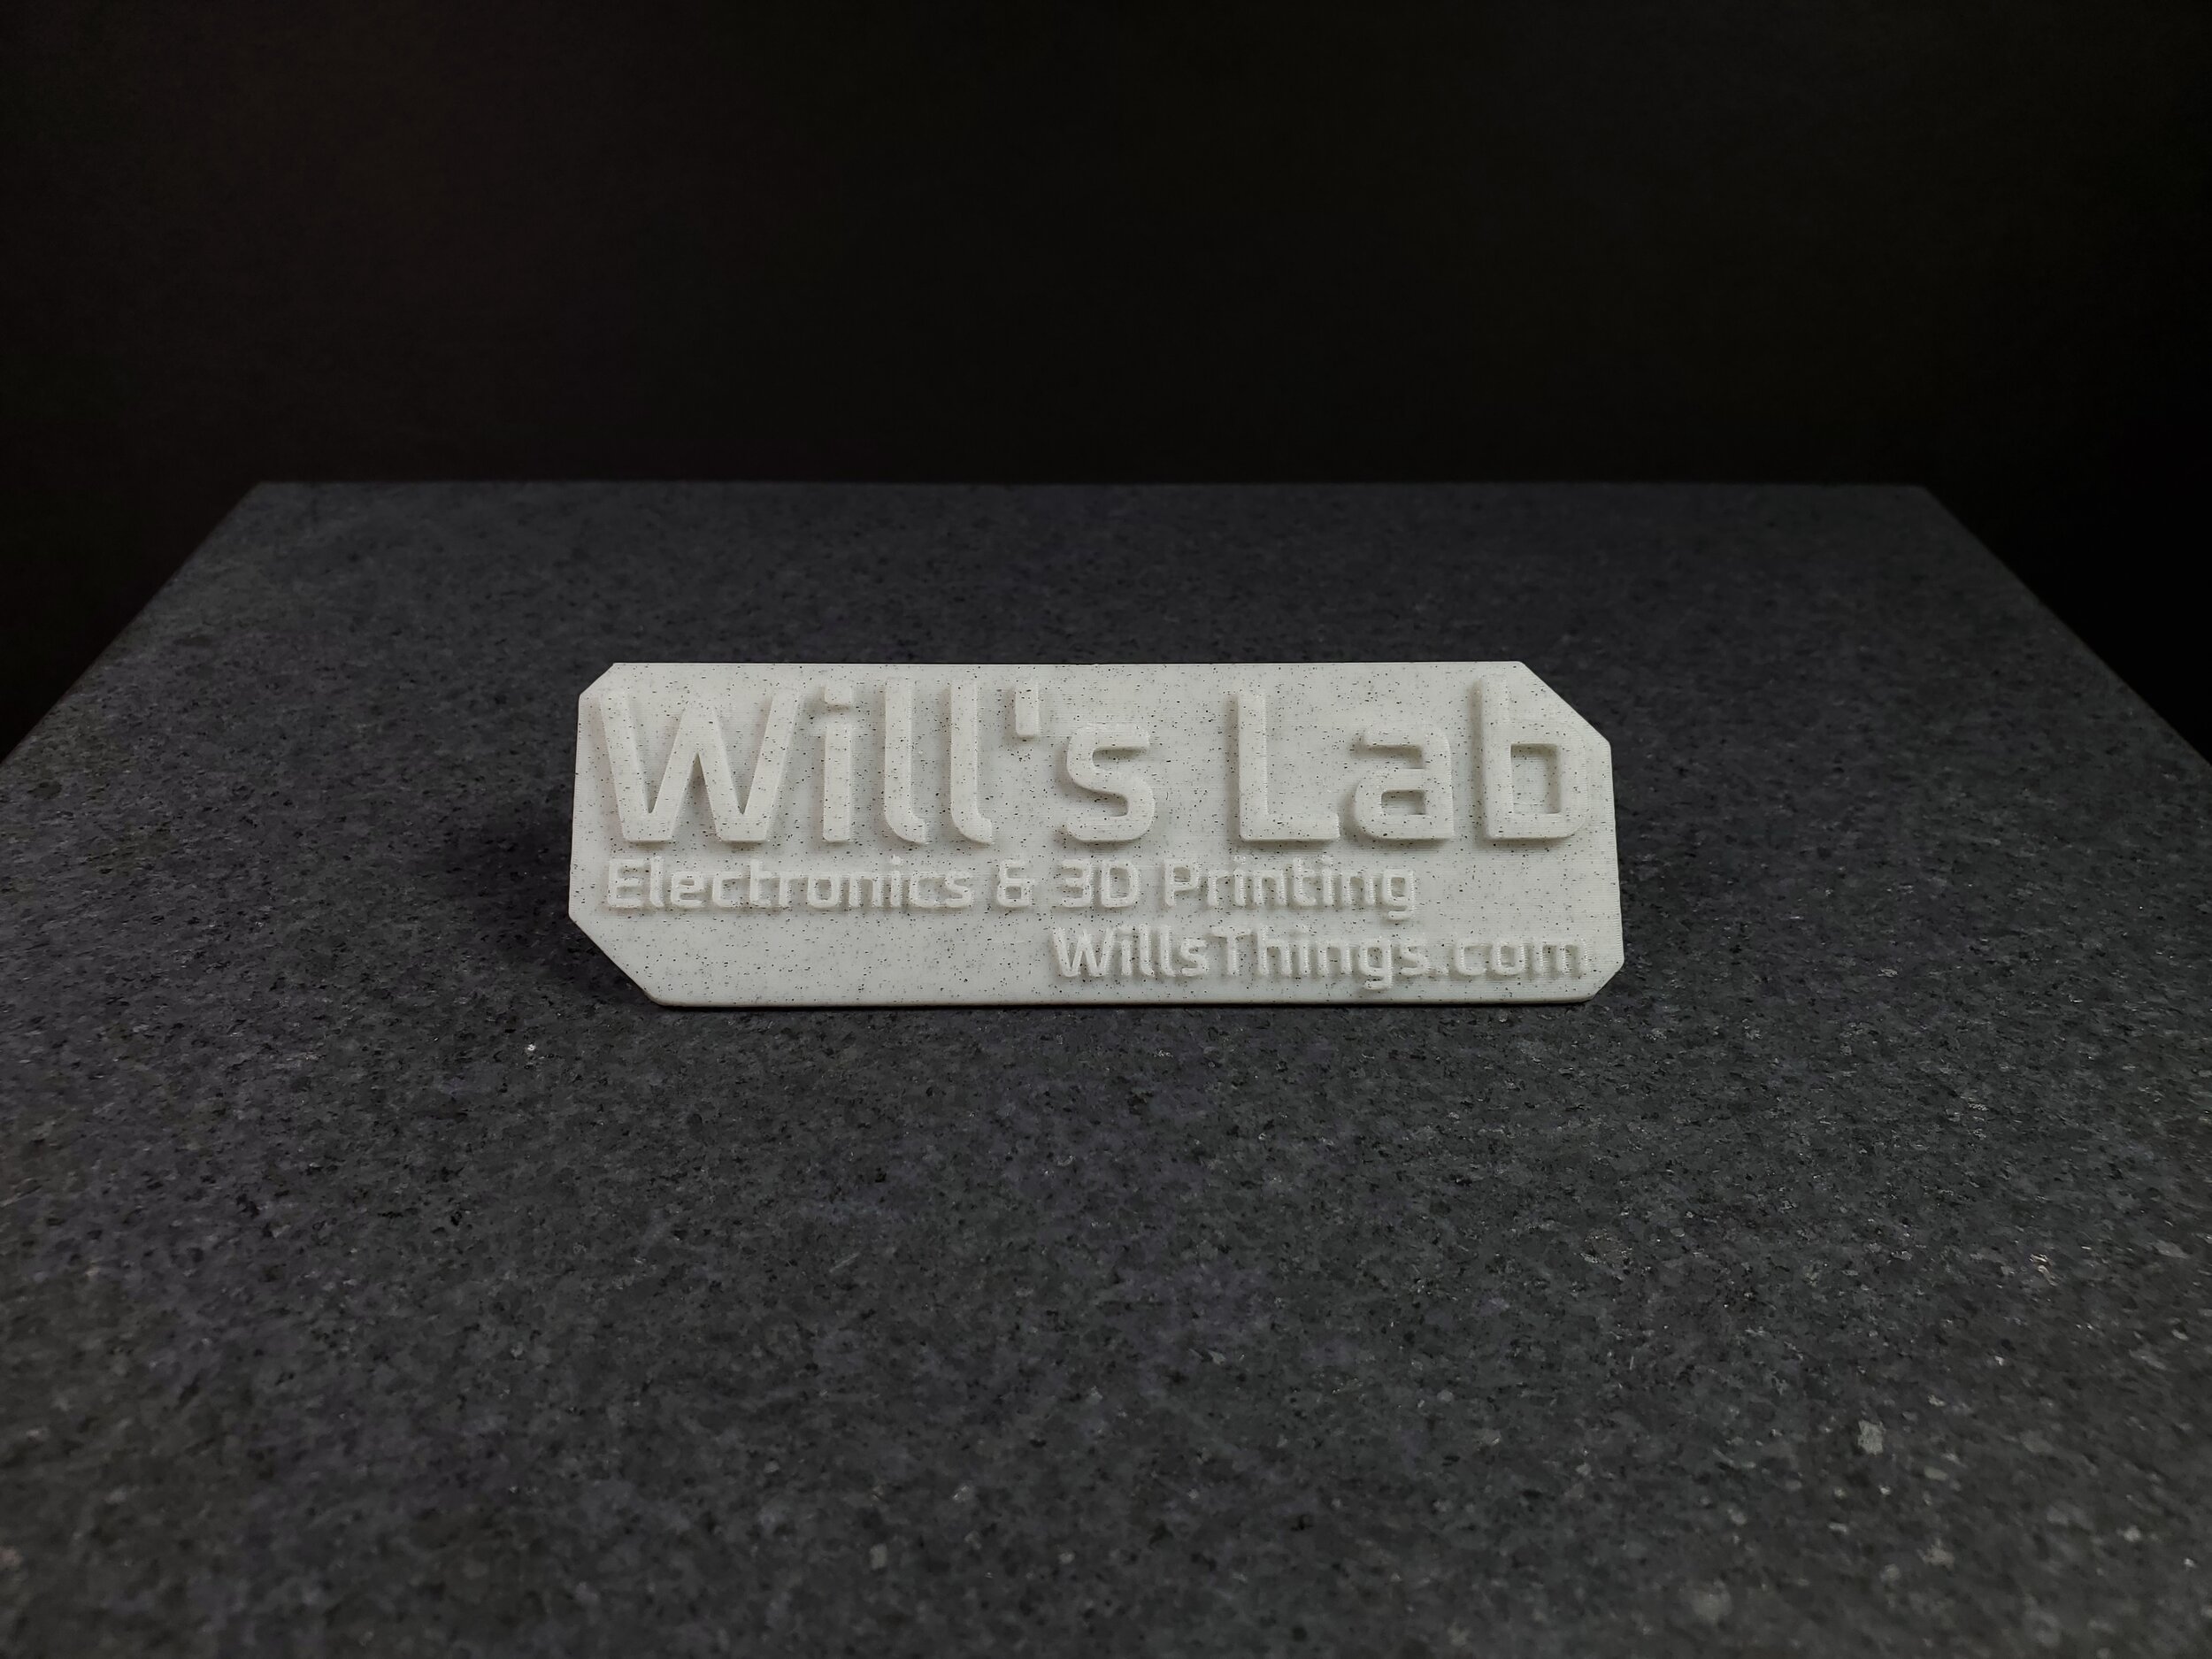
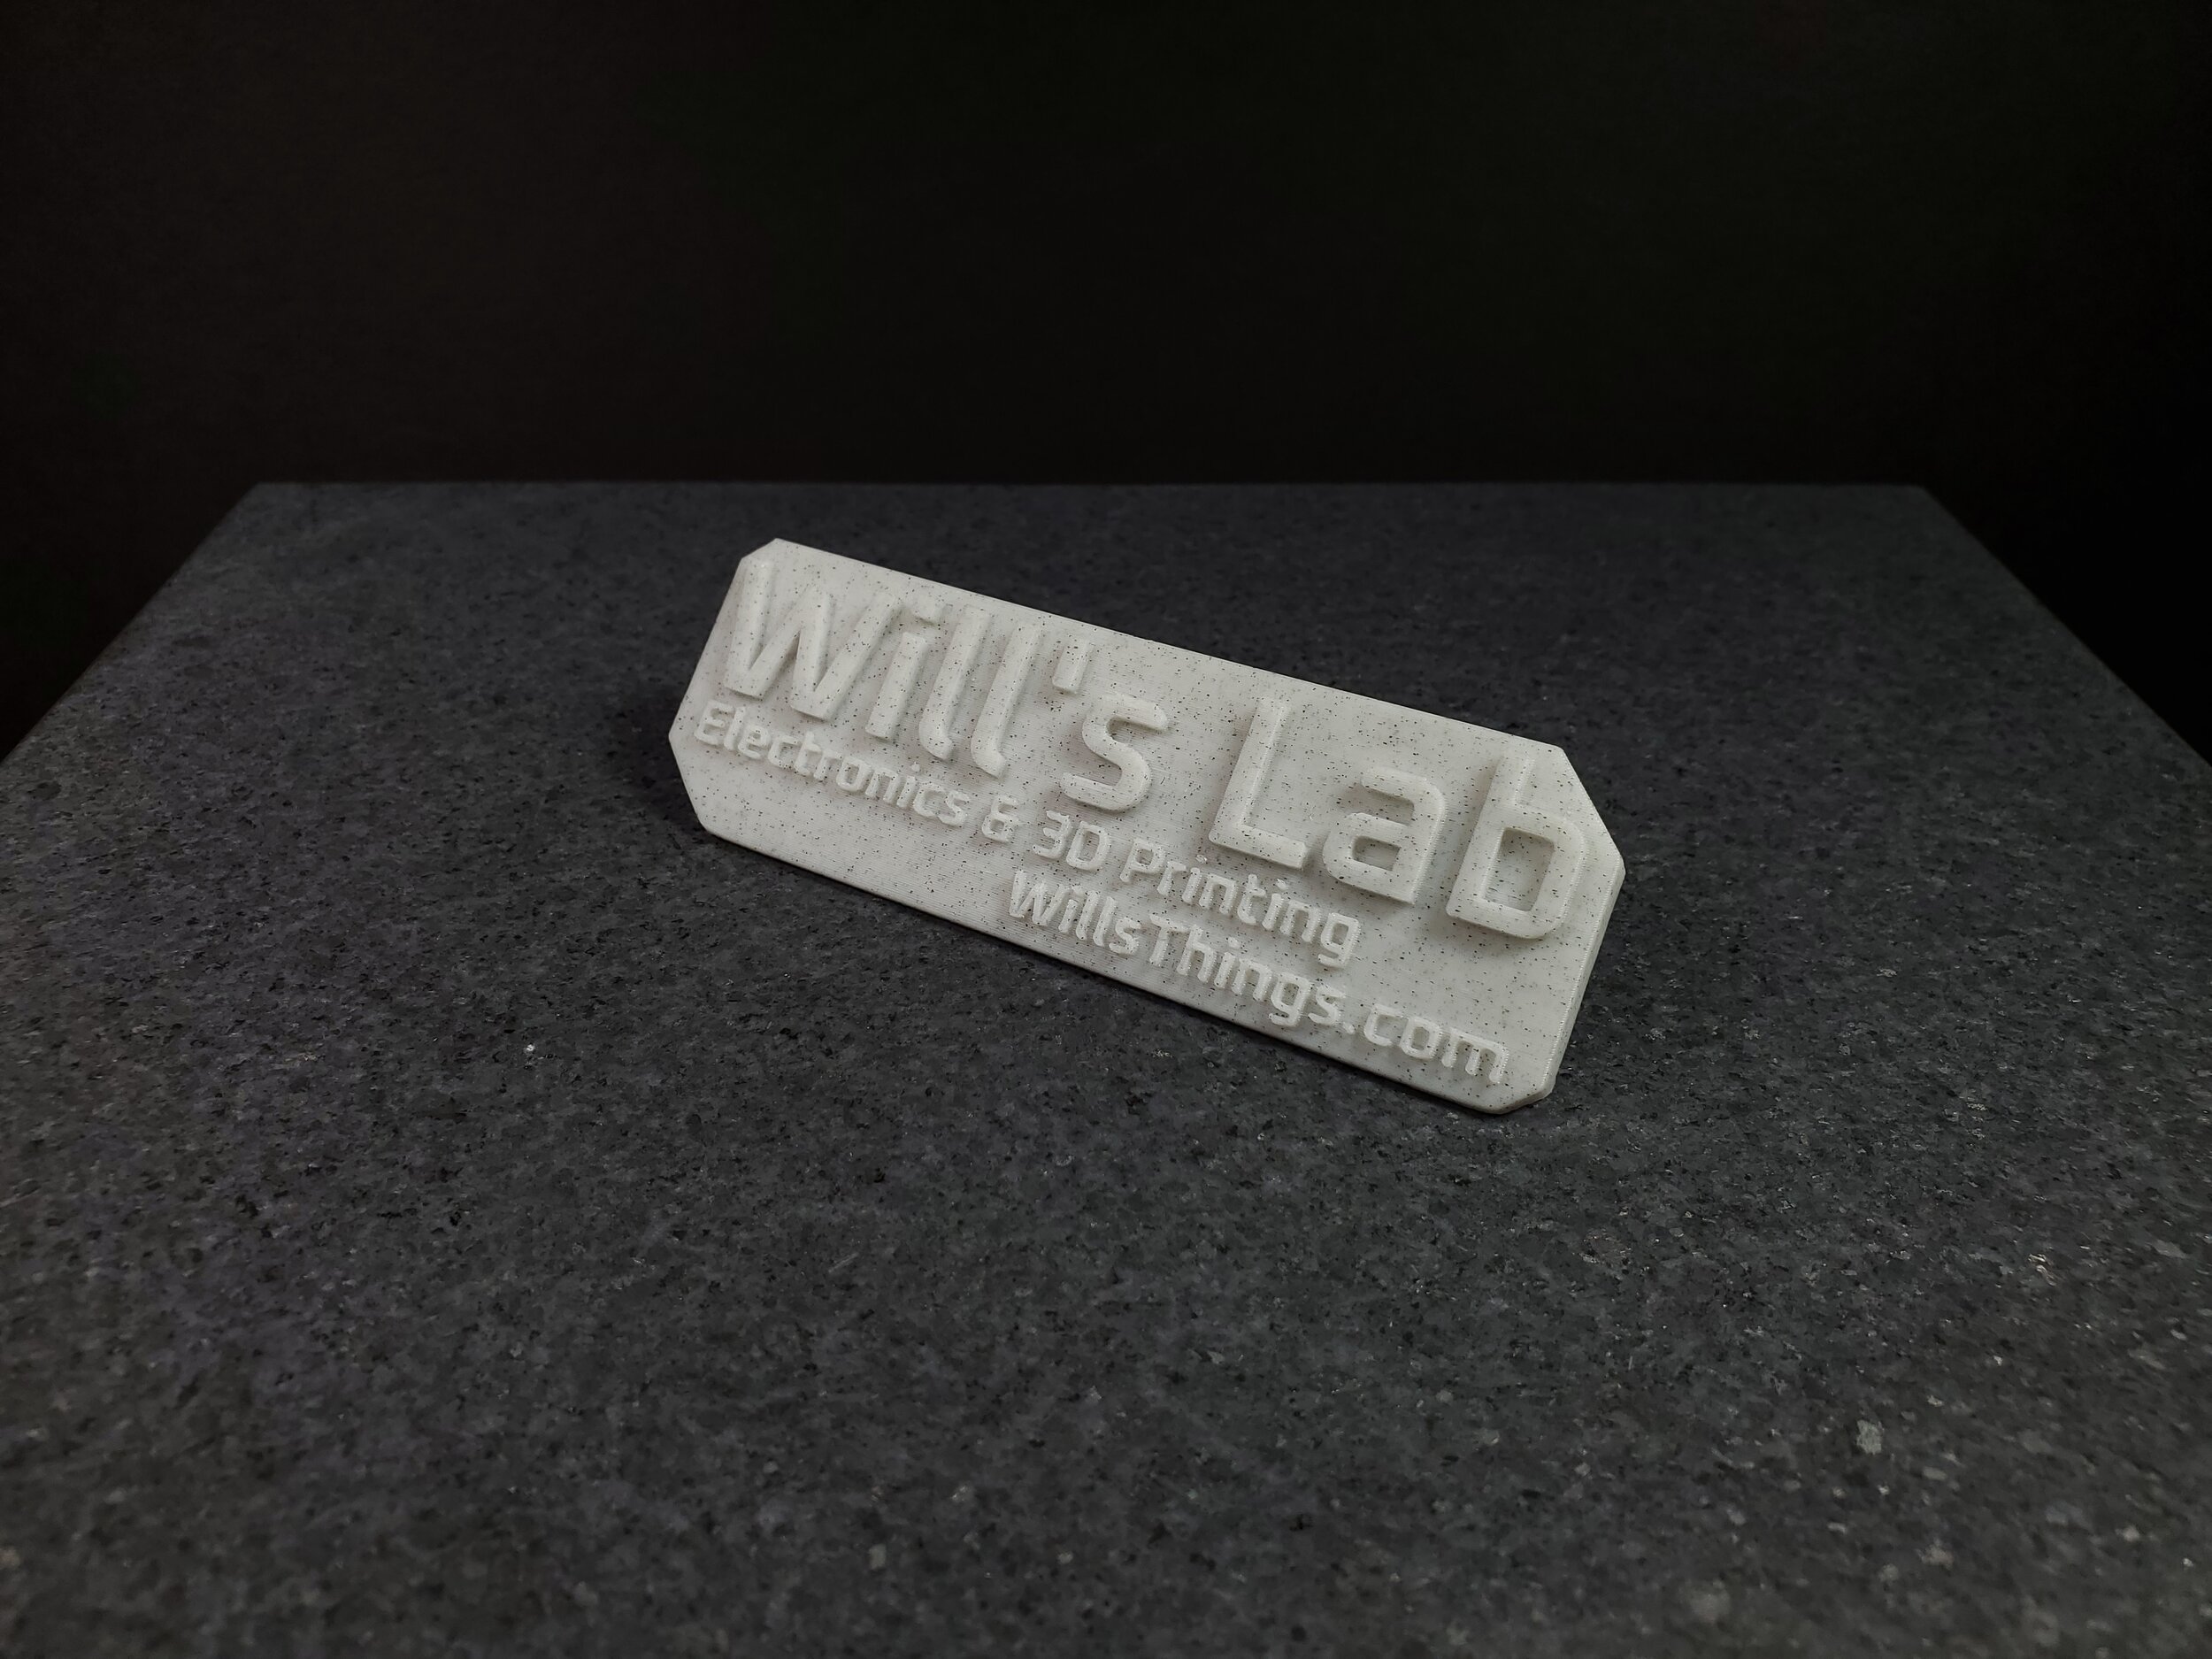
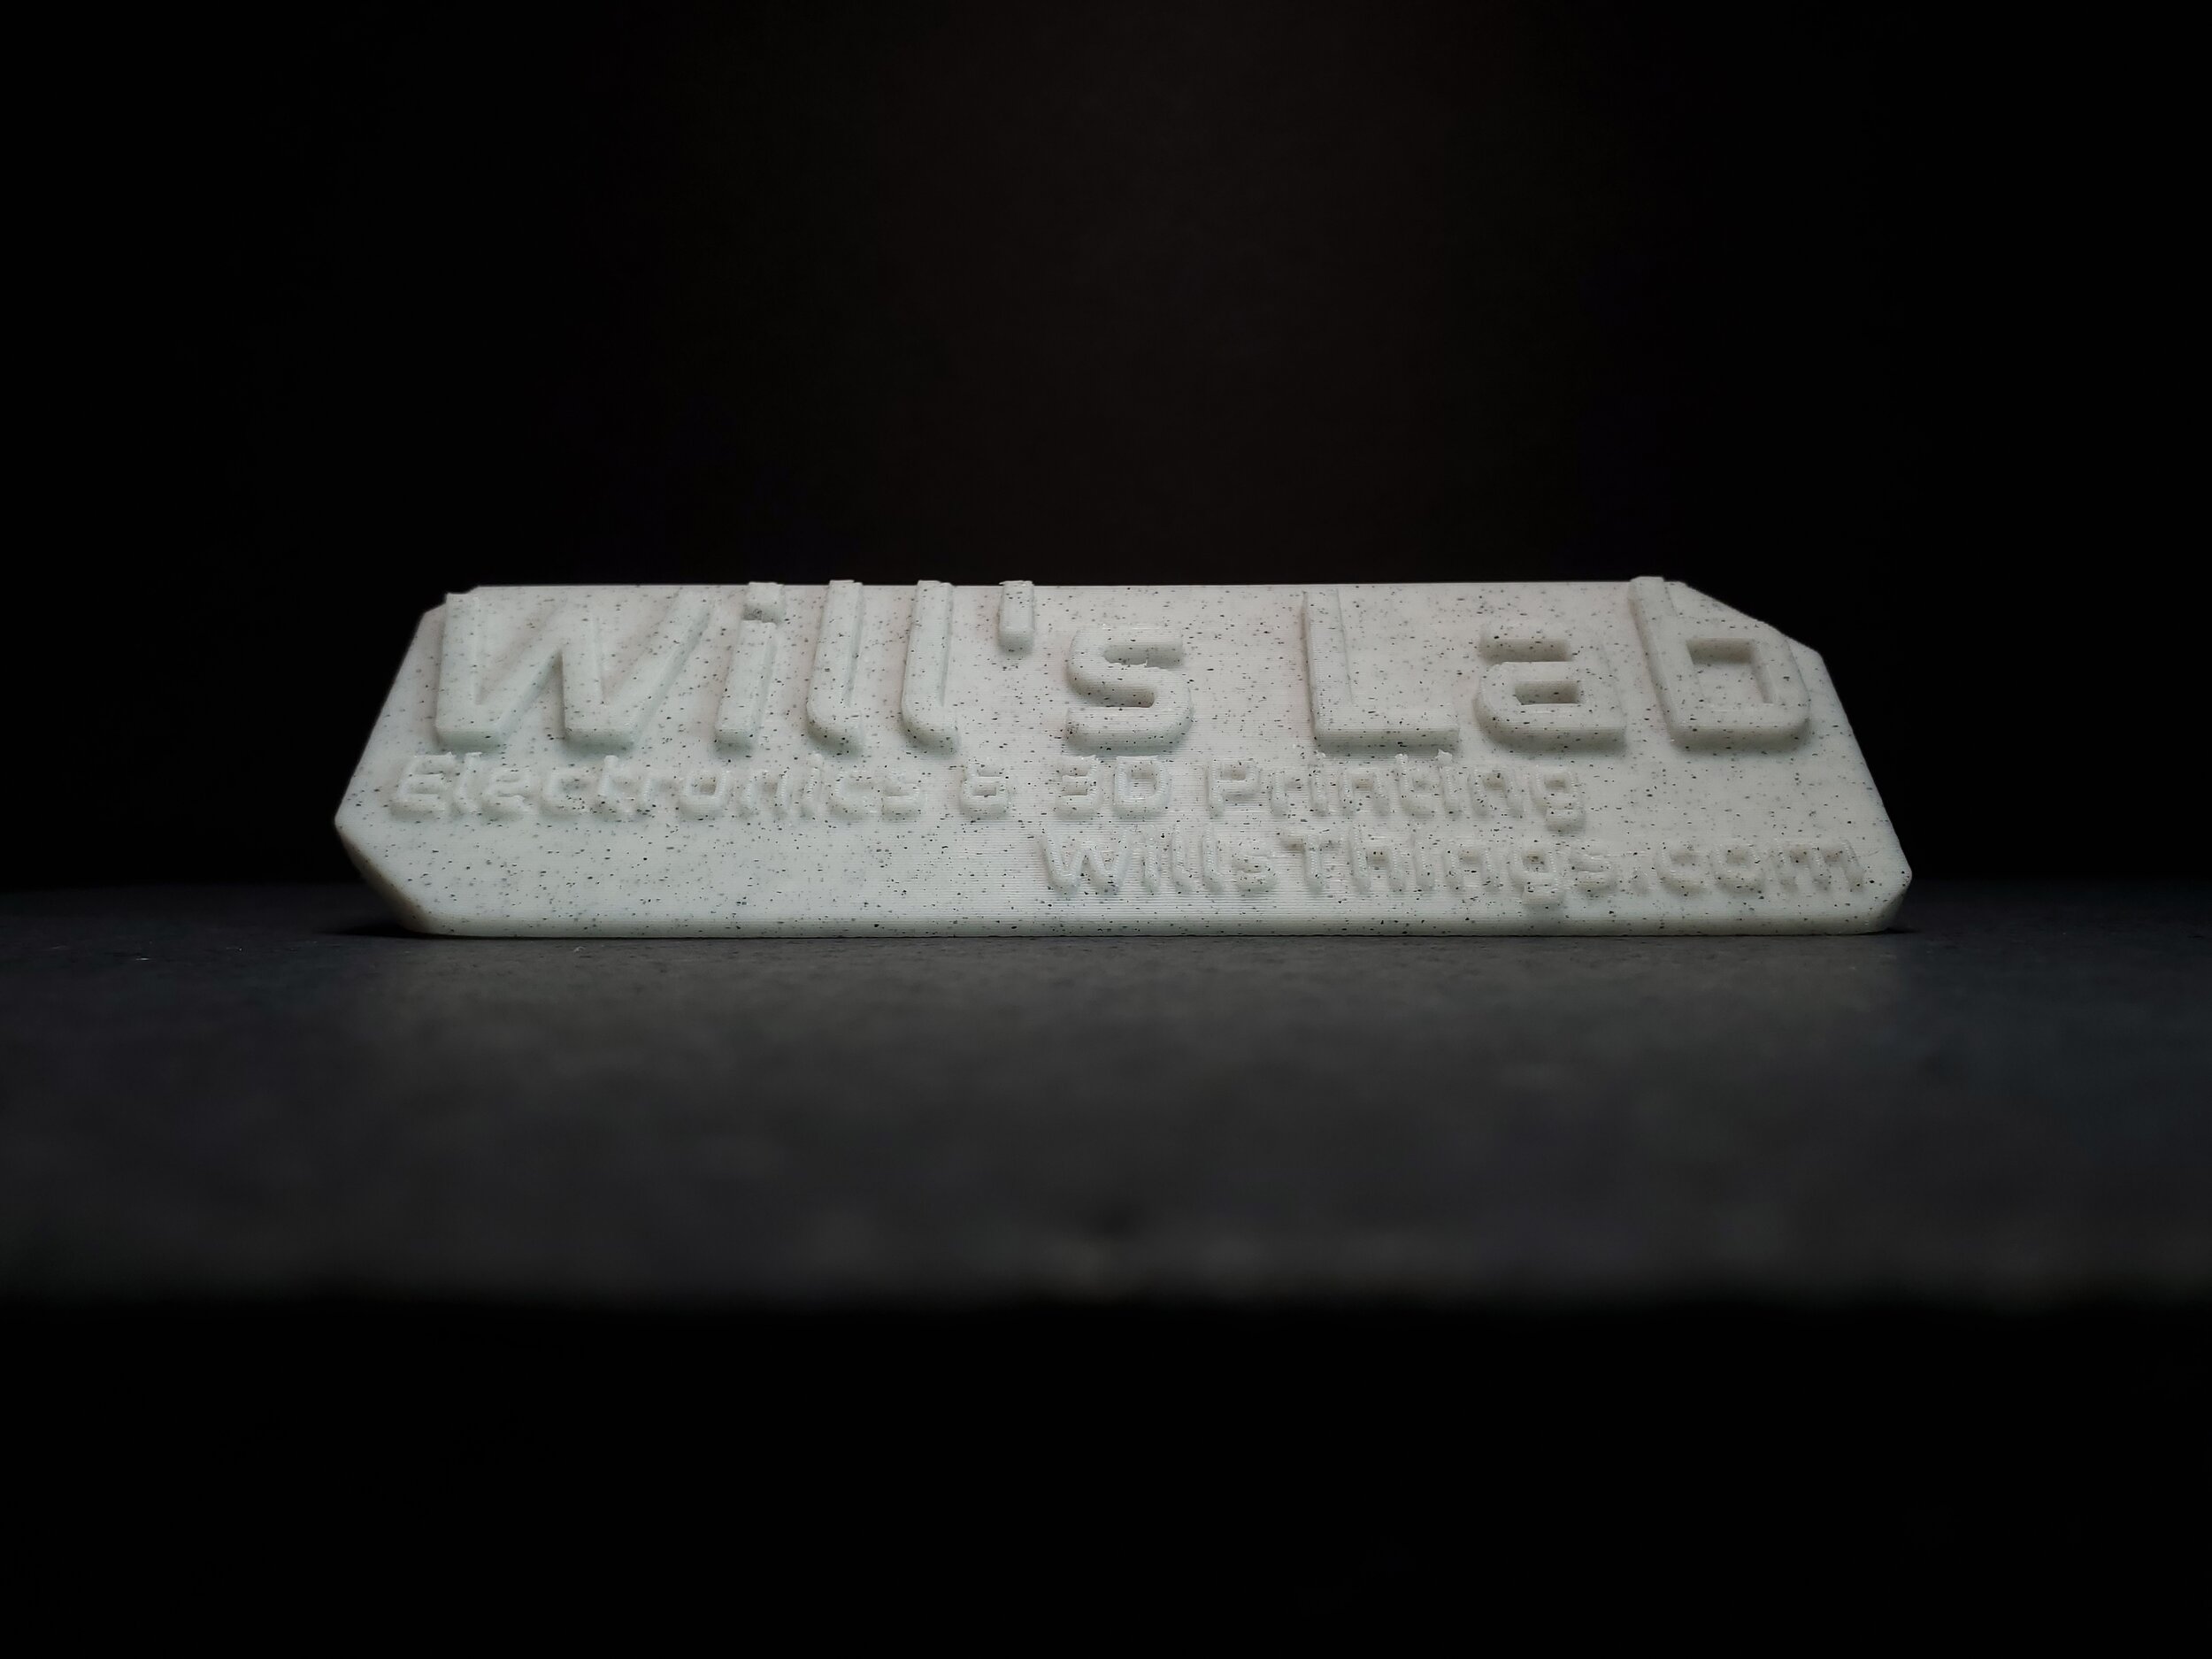
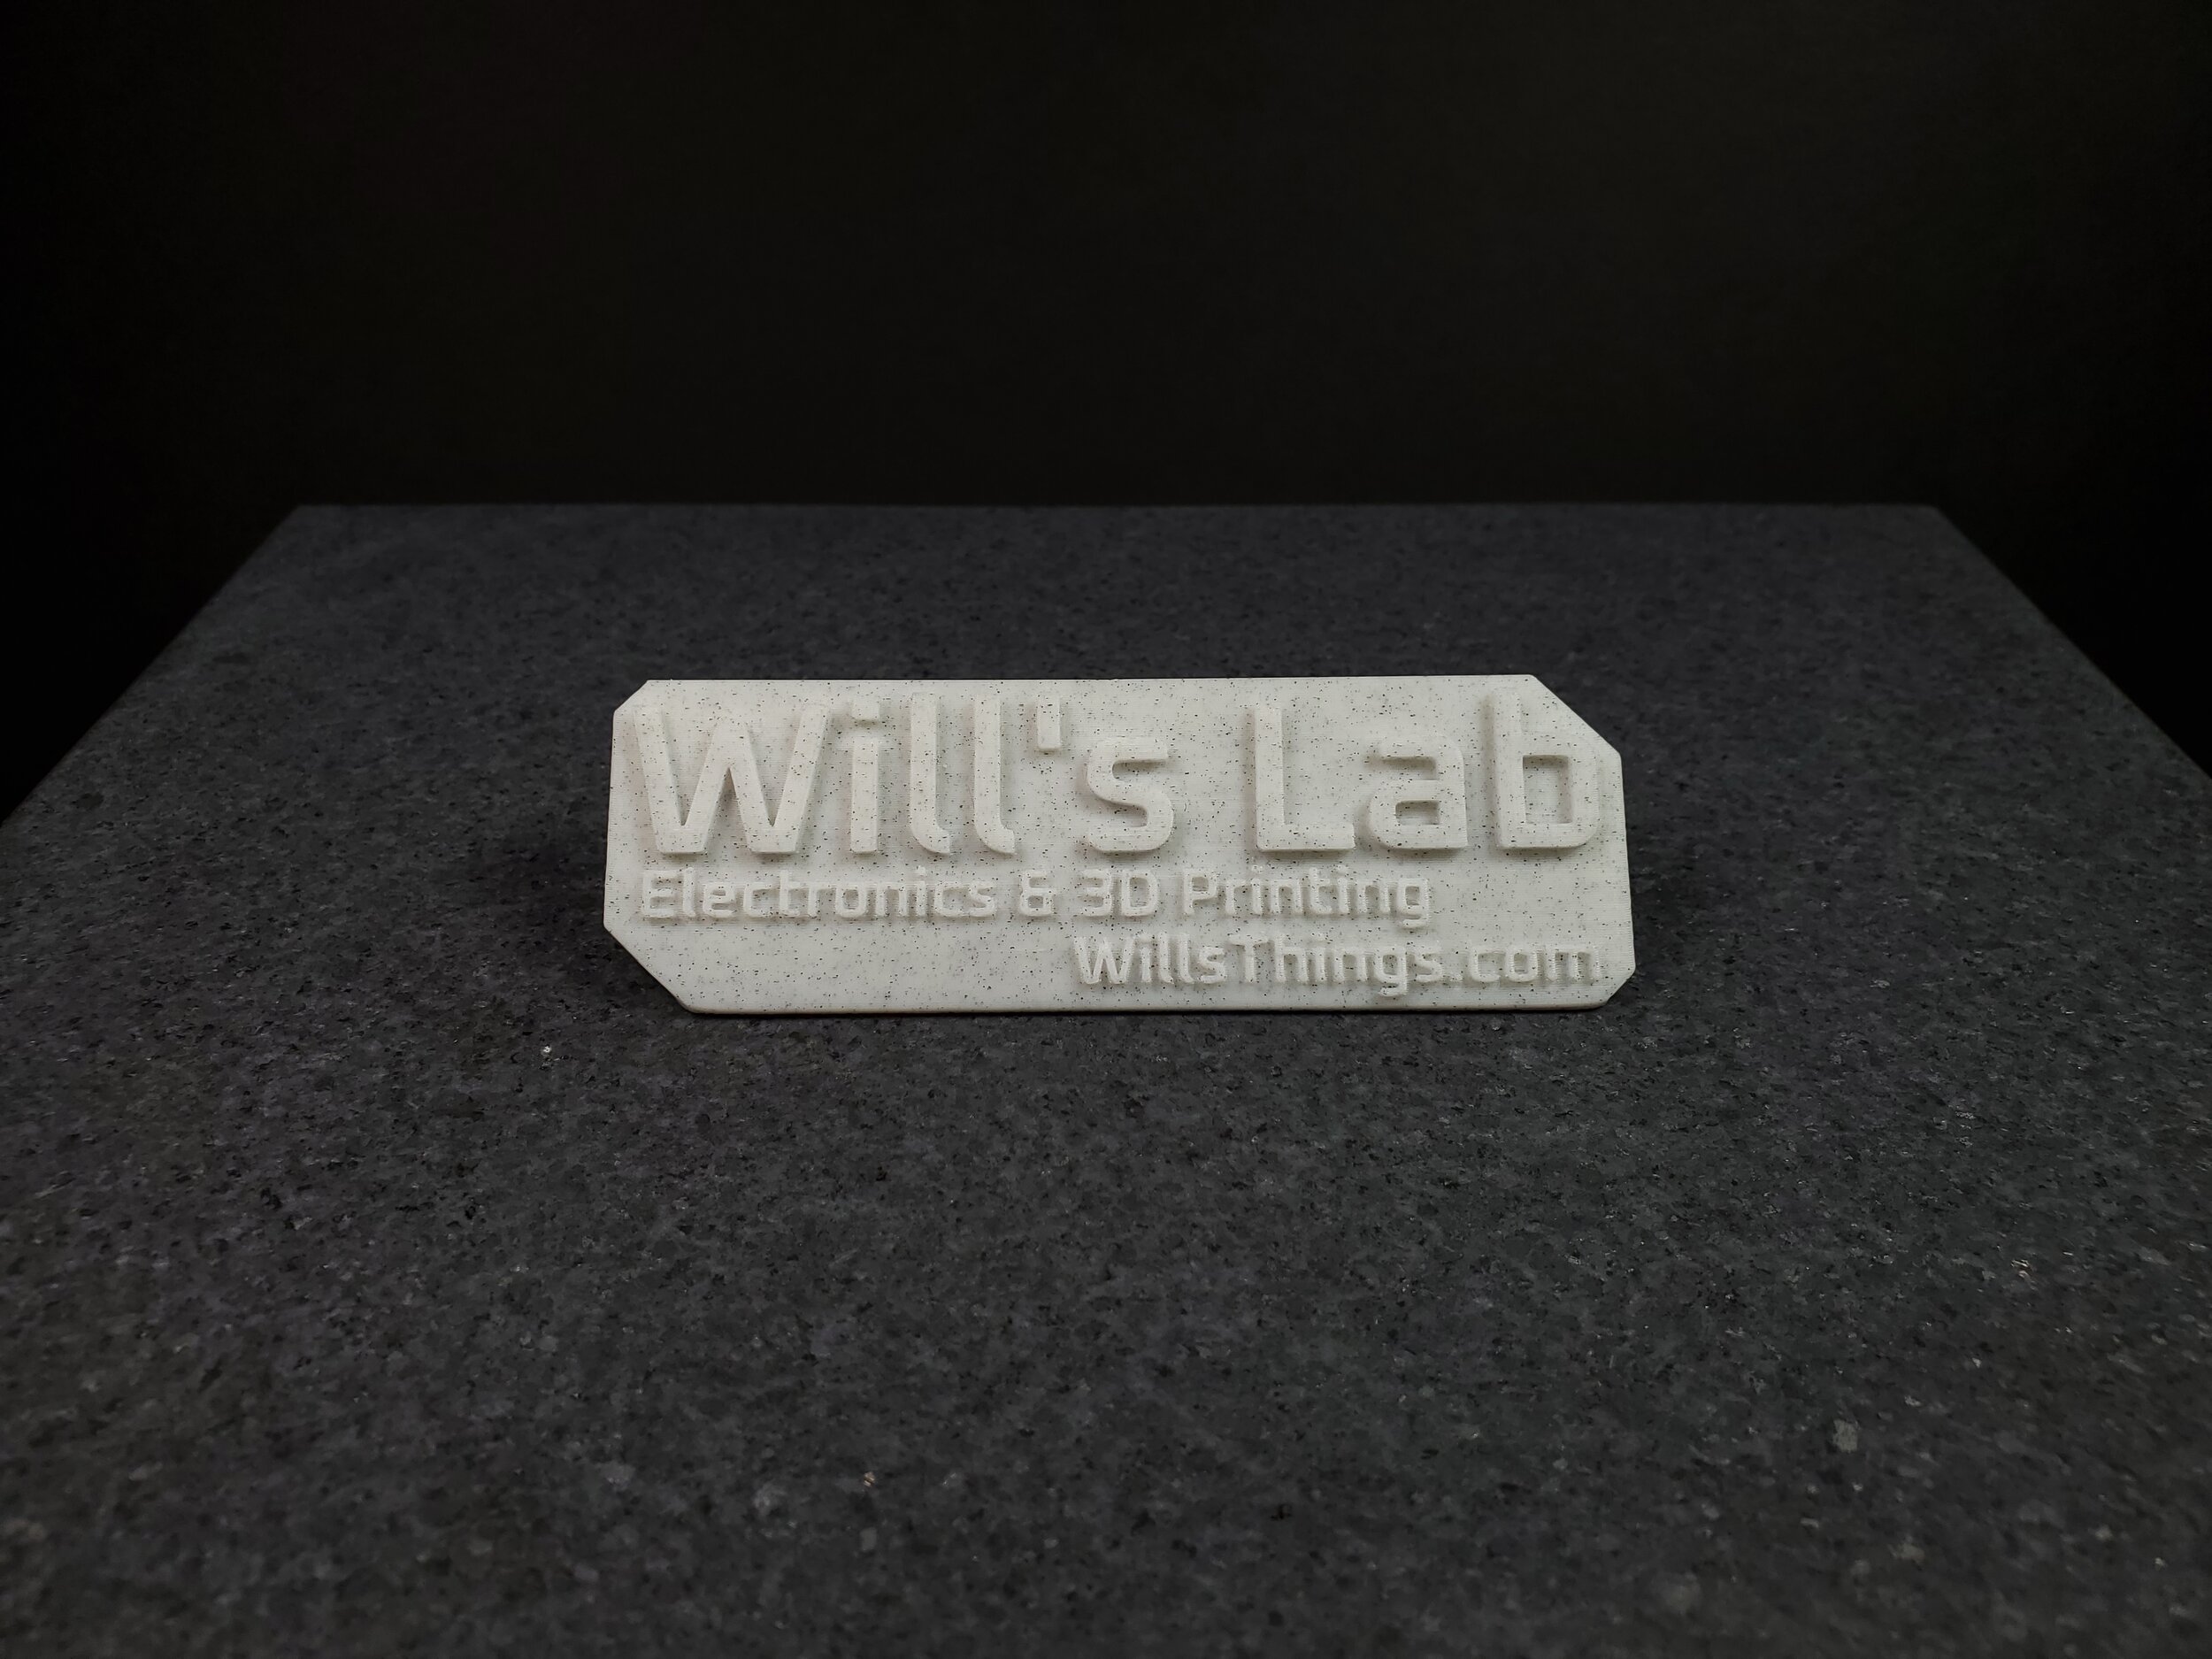
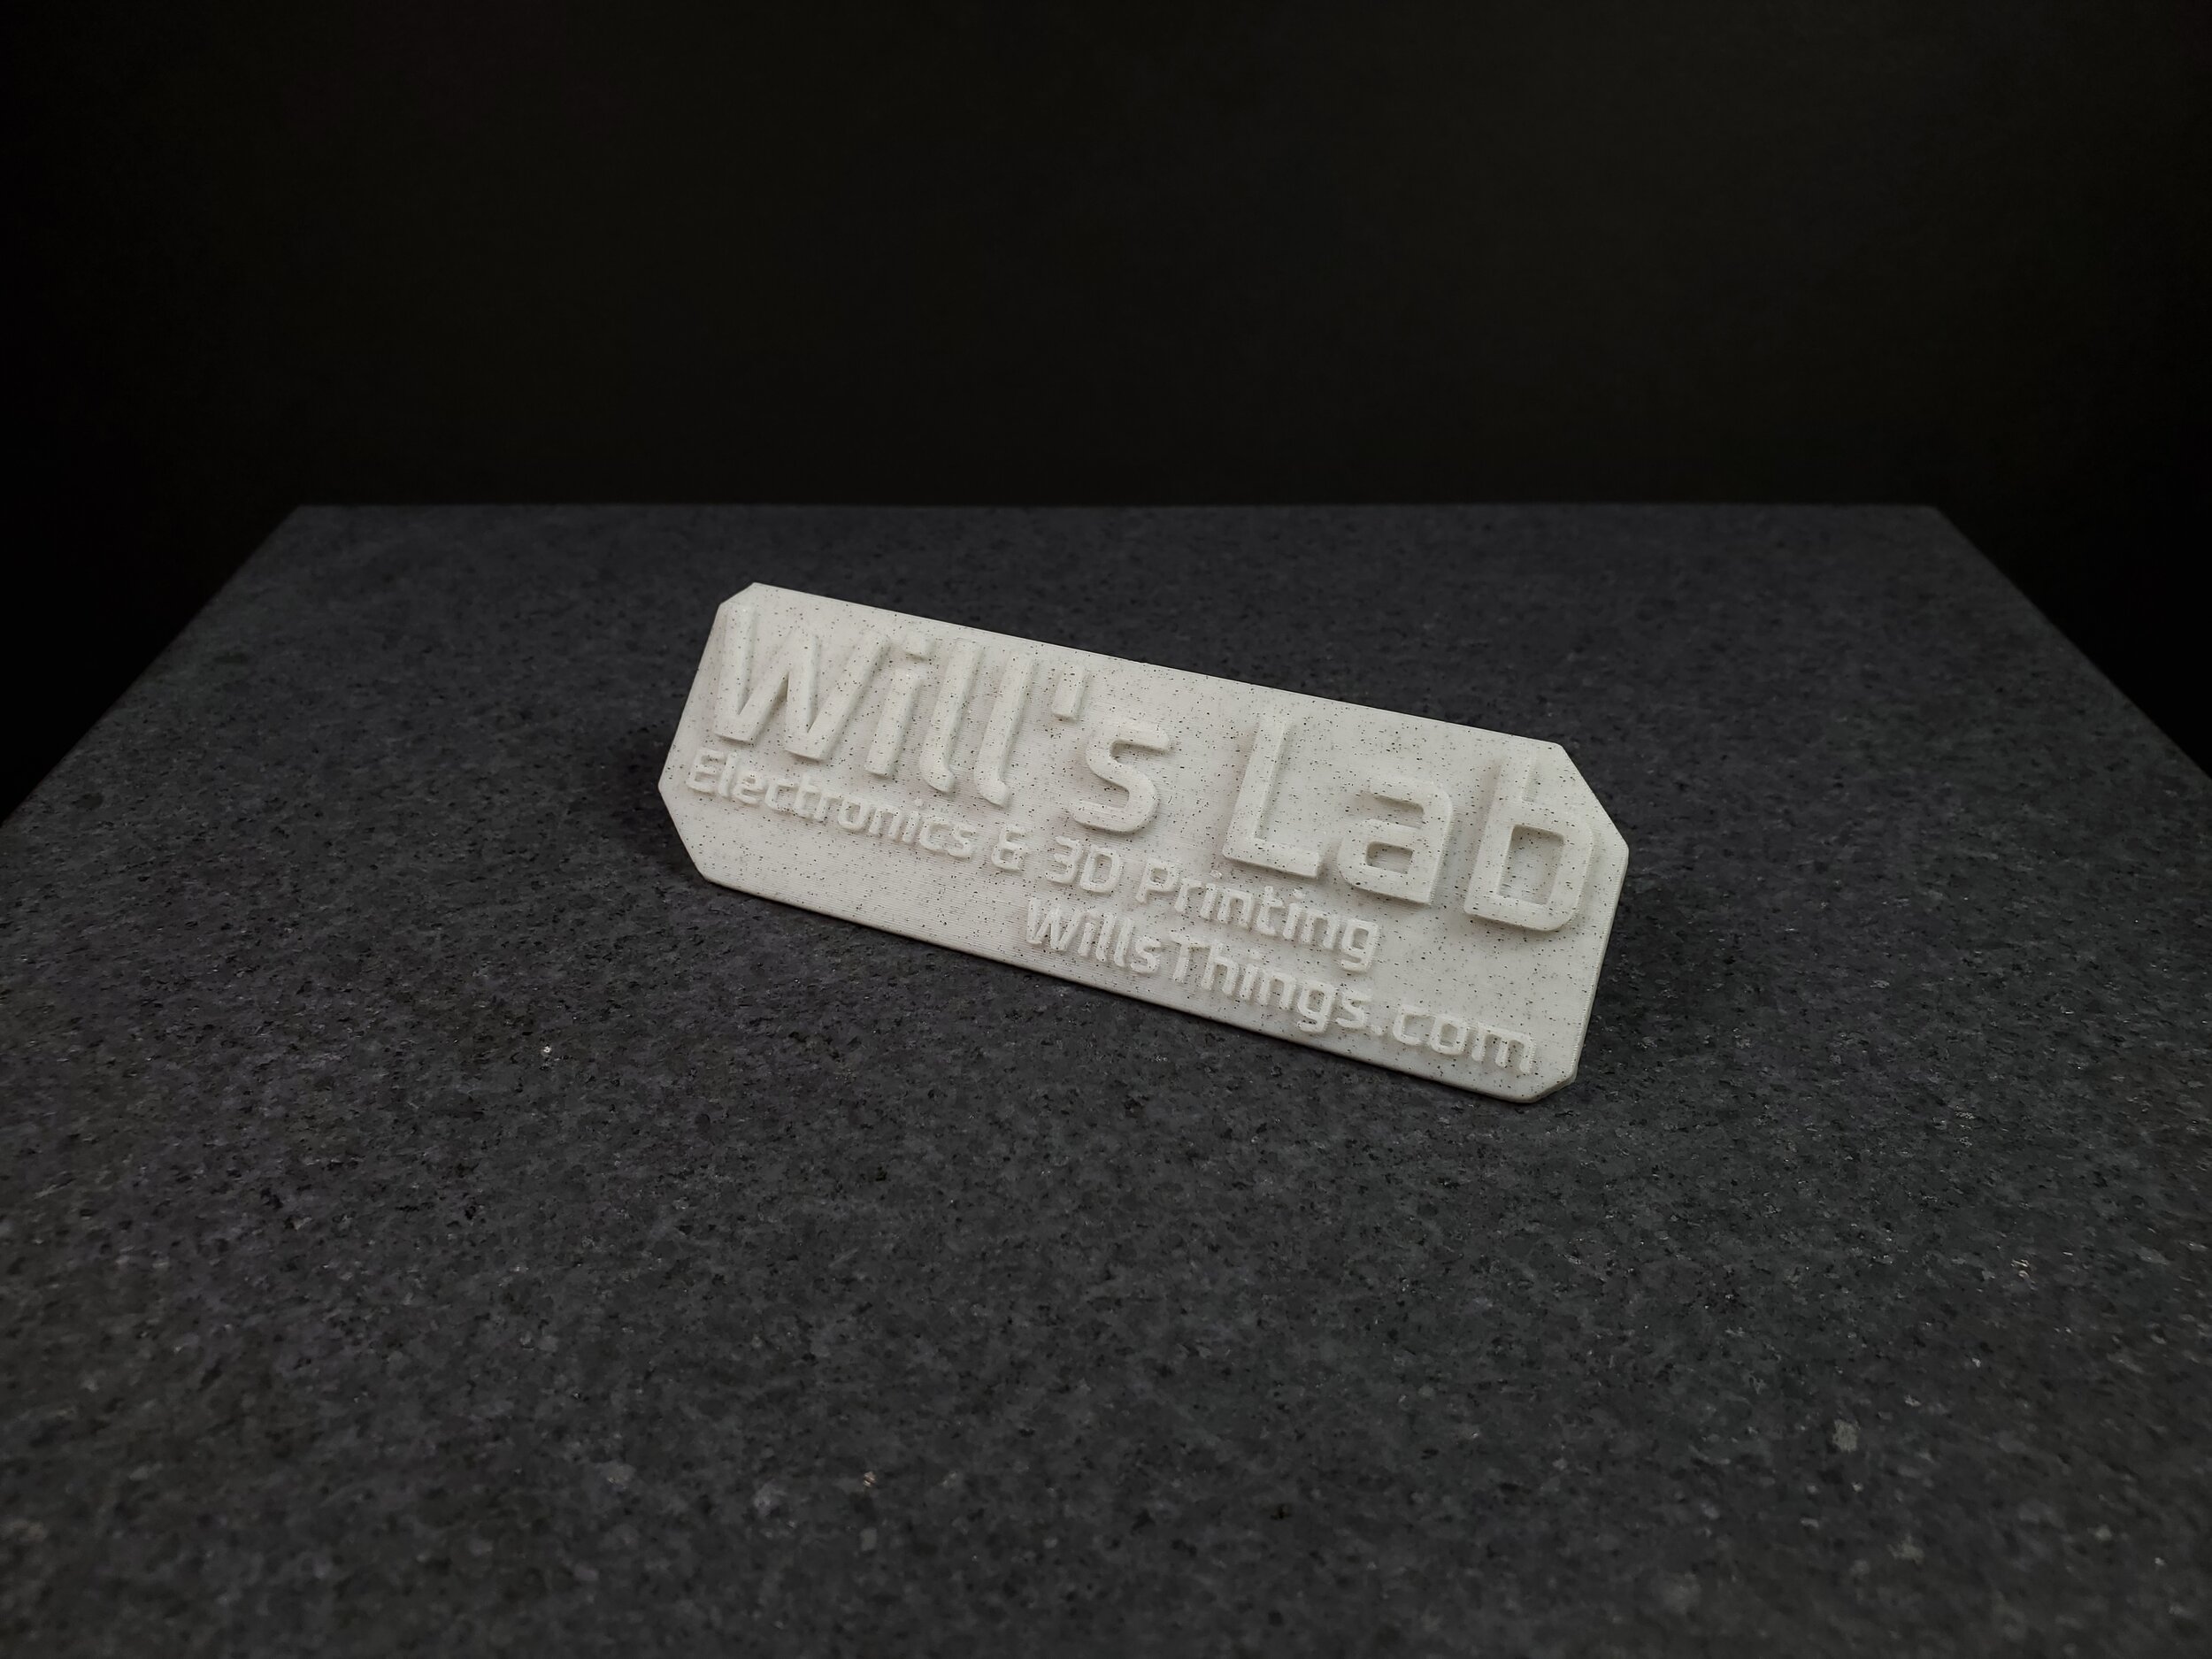
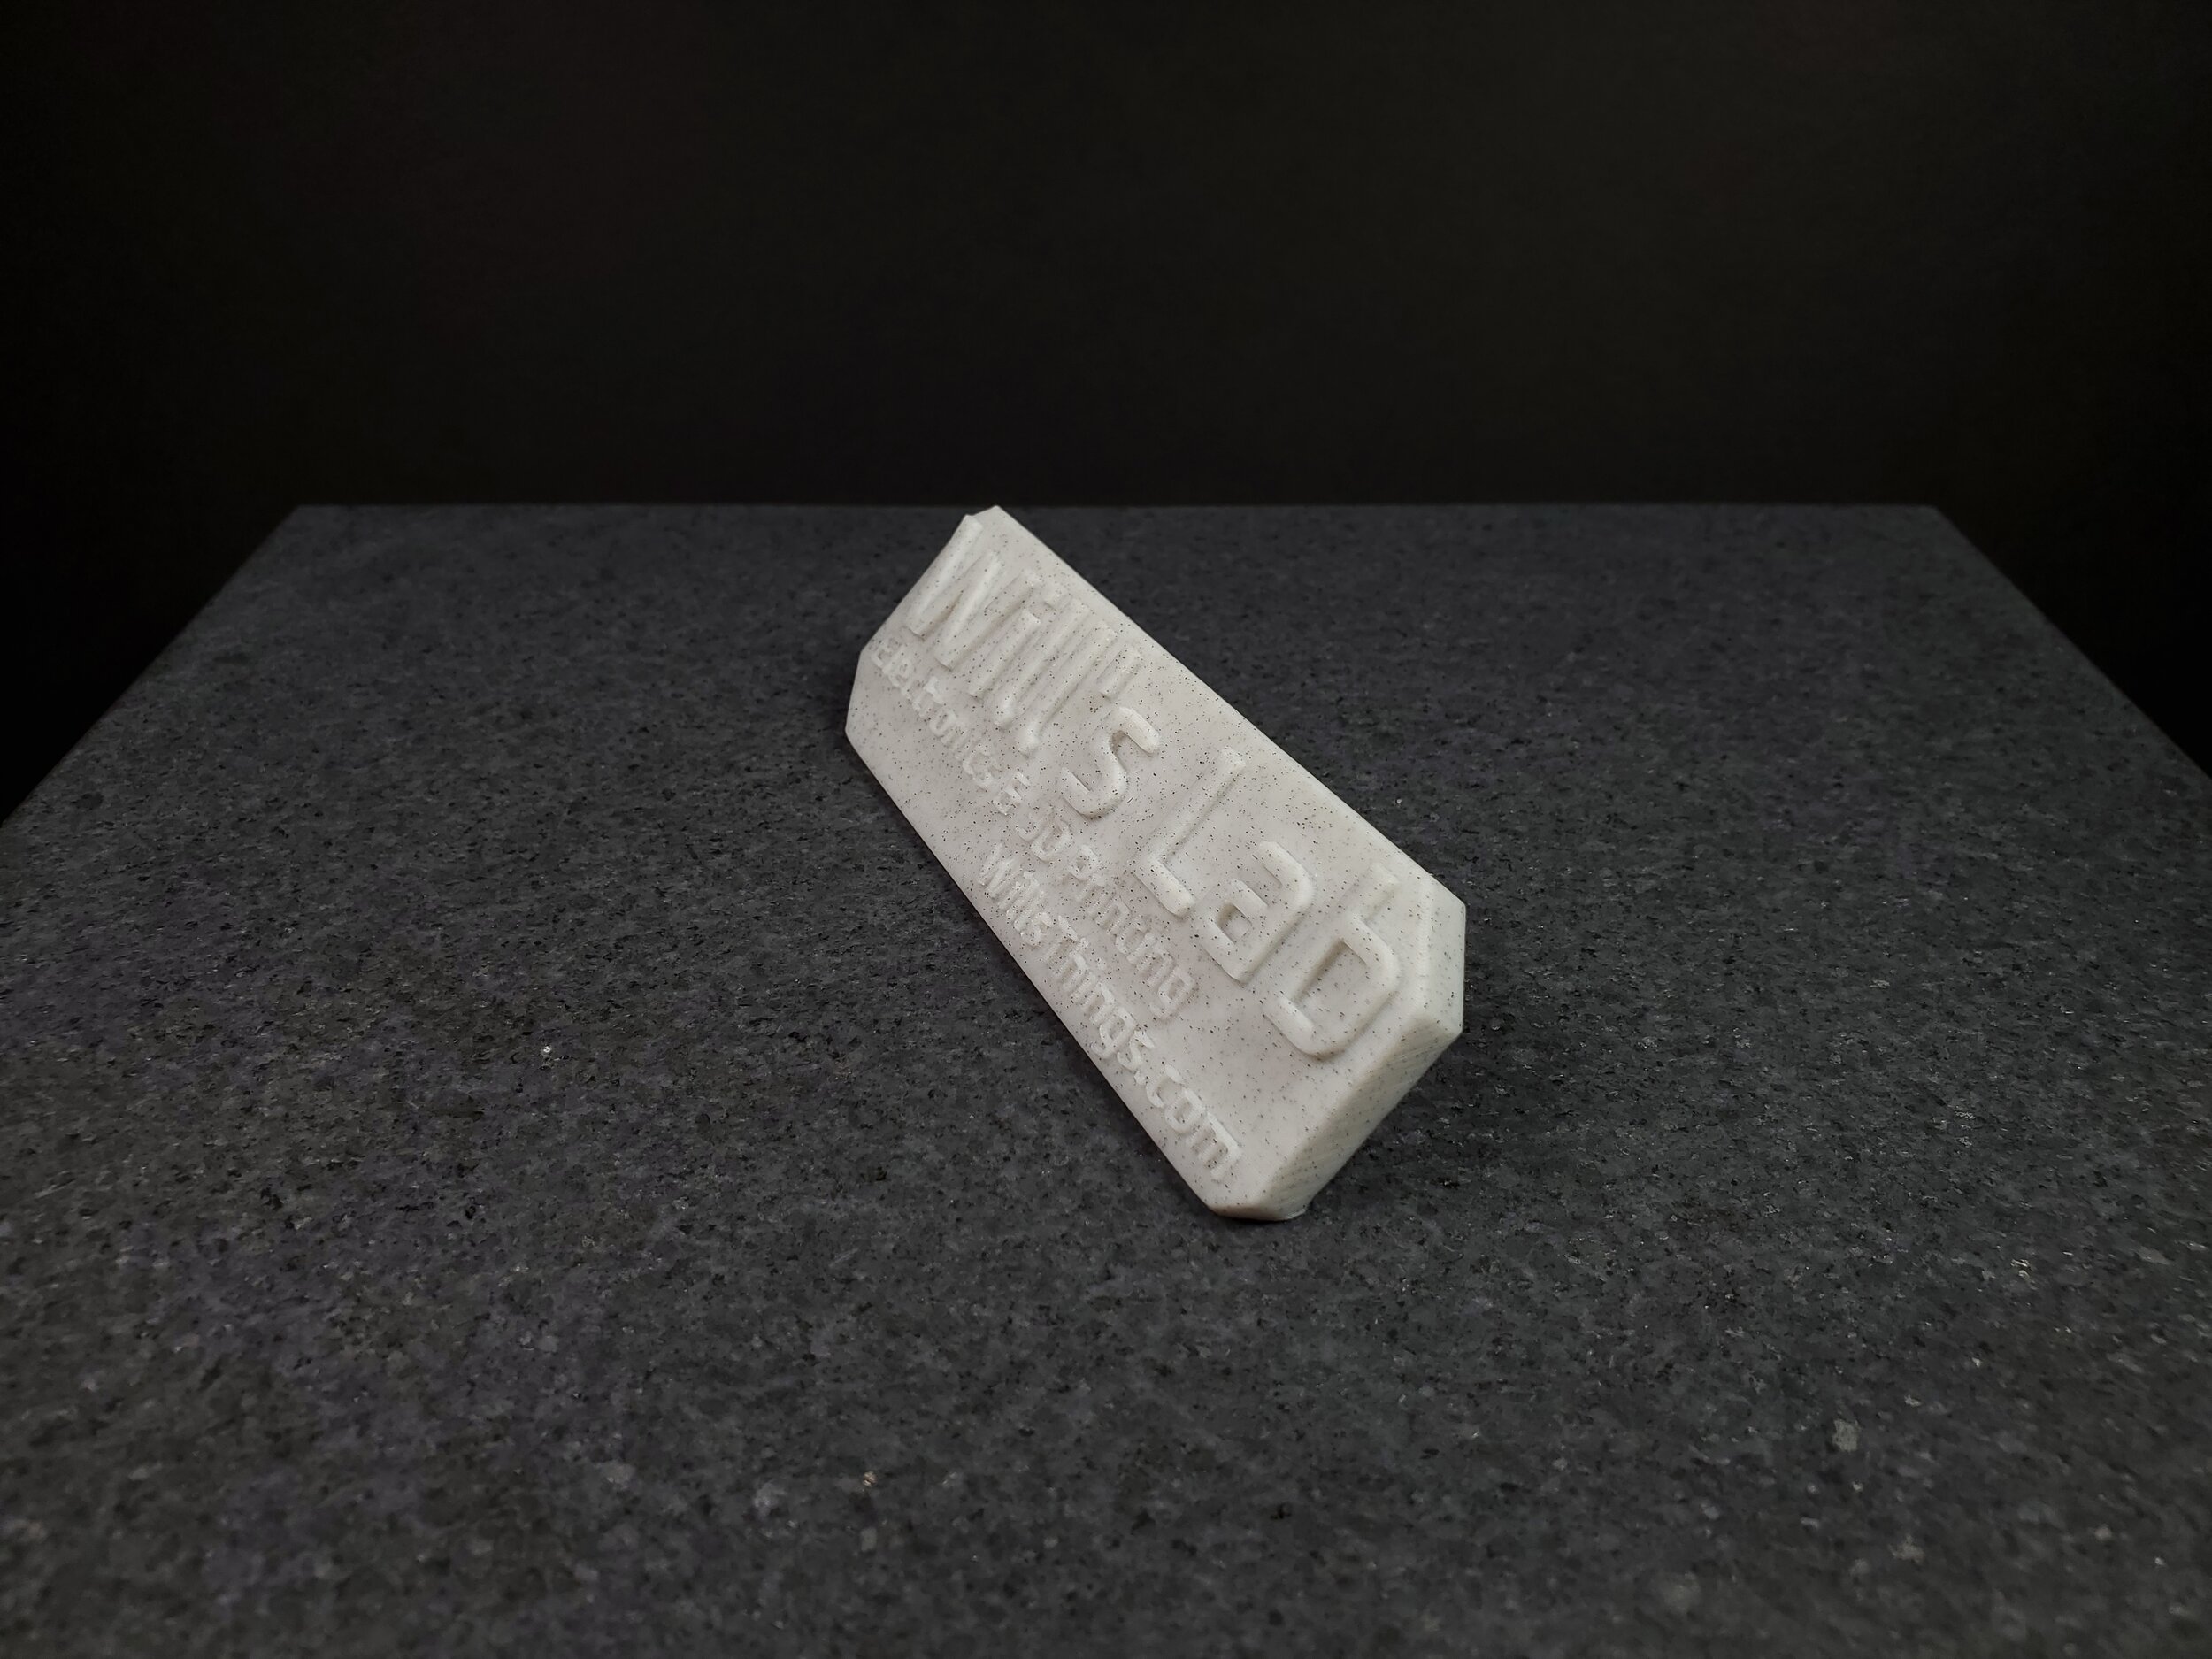
Somewhat surprising to me, the CAD work for these (the entire project, really) was quite easy. I decided to print the plaques at 45° from the bed to get maximum quality from the embossed lettering as well as give the parts a unique surface finish where the layer lines appear to wrap around every surface of the print. It's so easy and looks so nice it honestly felt like cheating. For size, I chose a somewhat arbitrary 120mm width for the plaque, and after some playing around, 40mm appeared to be a good height to fit the three lines of text.
I had an initial idea to add some fidgety moving parts to the plaque like print-in-place gears, moving hinges, or similar, to show off my design skill and also the capabilities of my printers. But I elected to forgo that for a couple reasons. First, getting tolerances dialed in for functional parts can be somewhat difficult if you need them to be repeatable across lots of different filament types. Second, after looking at the layout of the part I decided there wasn't going to be much room (physically or aesthetically) for little moving bits. And lastly, I was feeling a bit lazy and figured KISS (keep it simple, stupid) was the best way to ensure this project actually got done quickly.
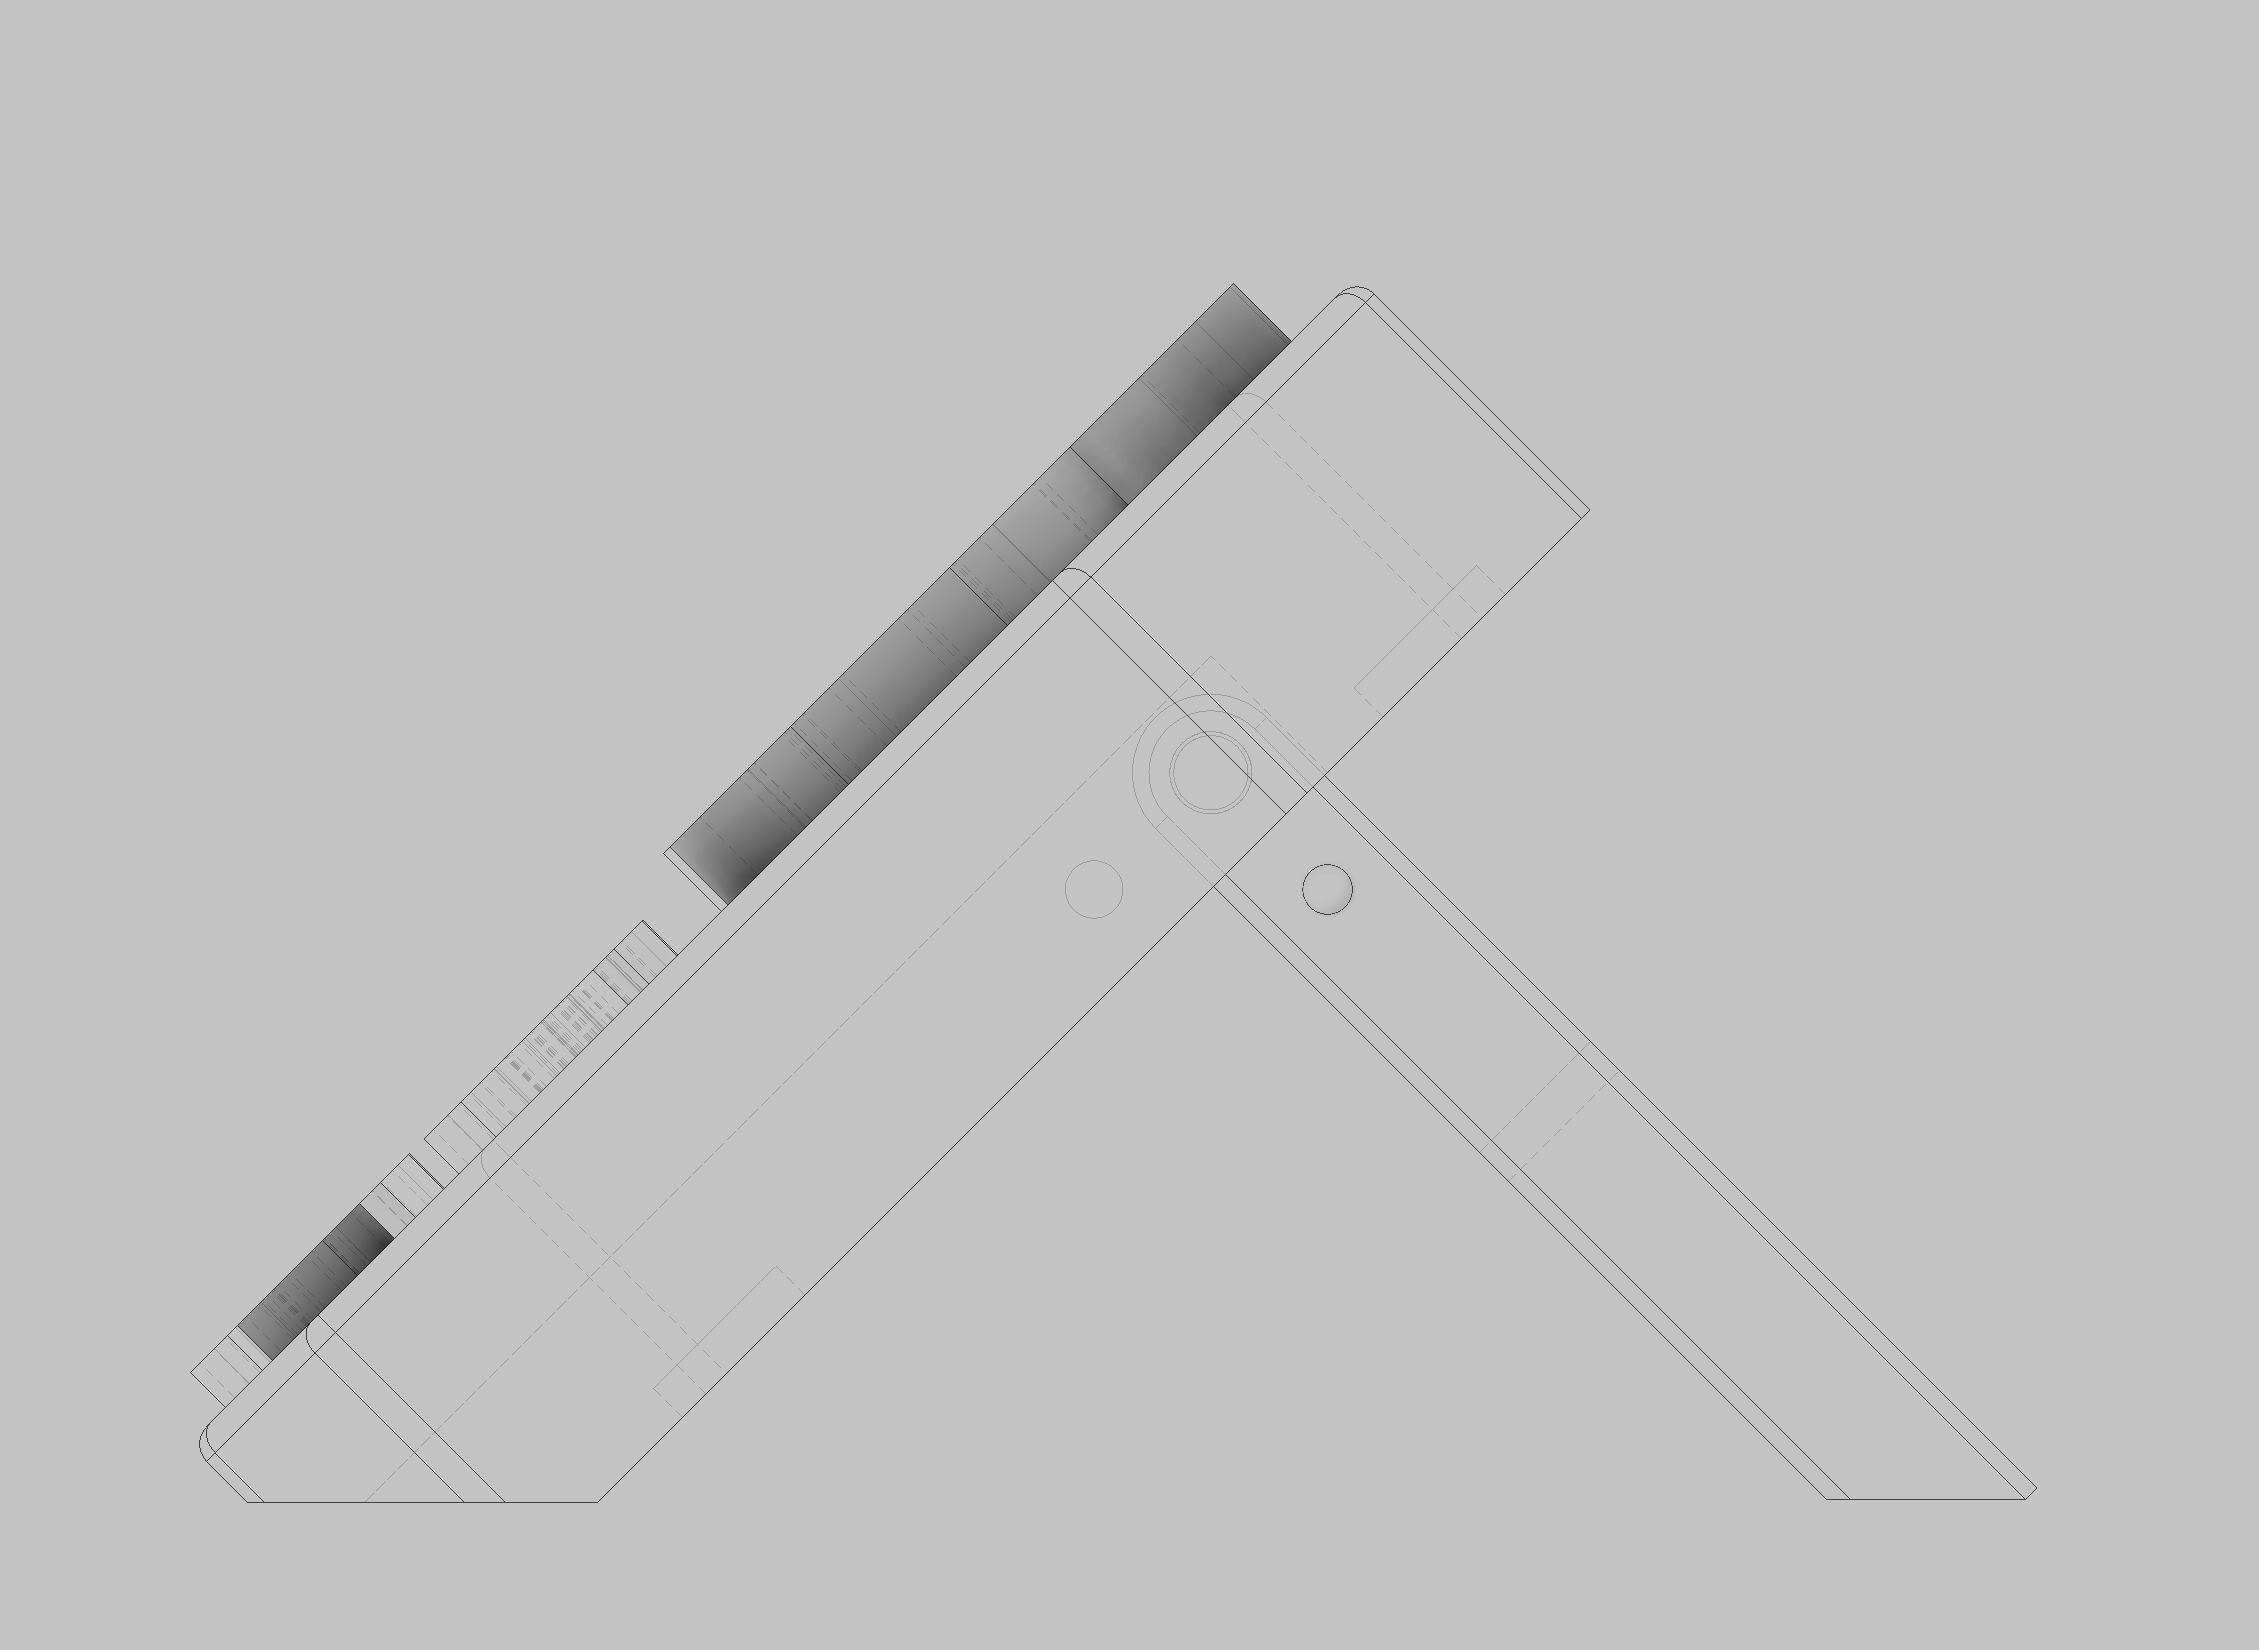
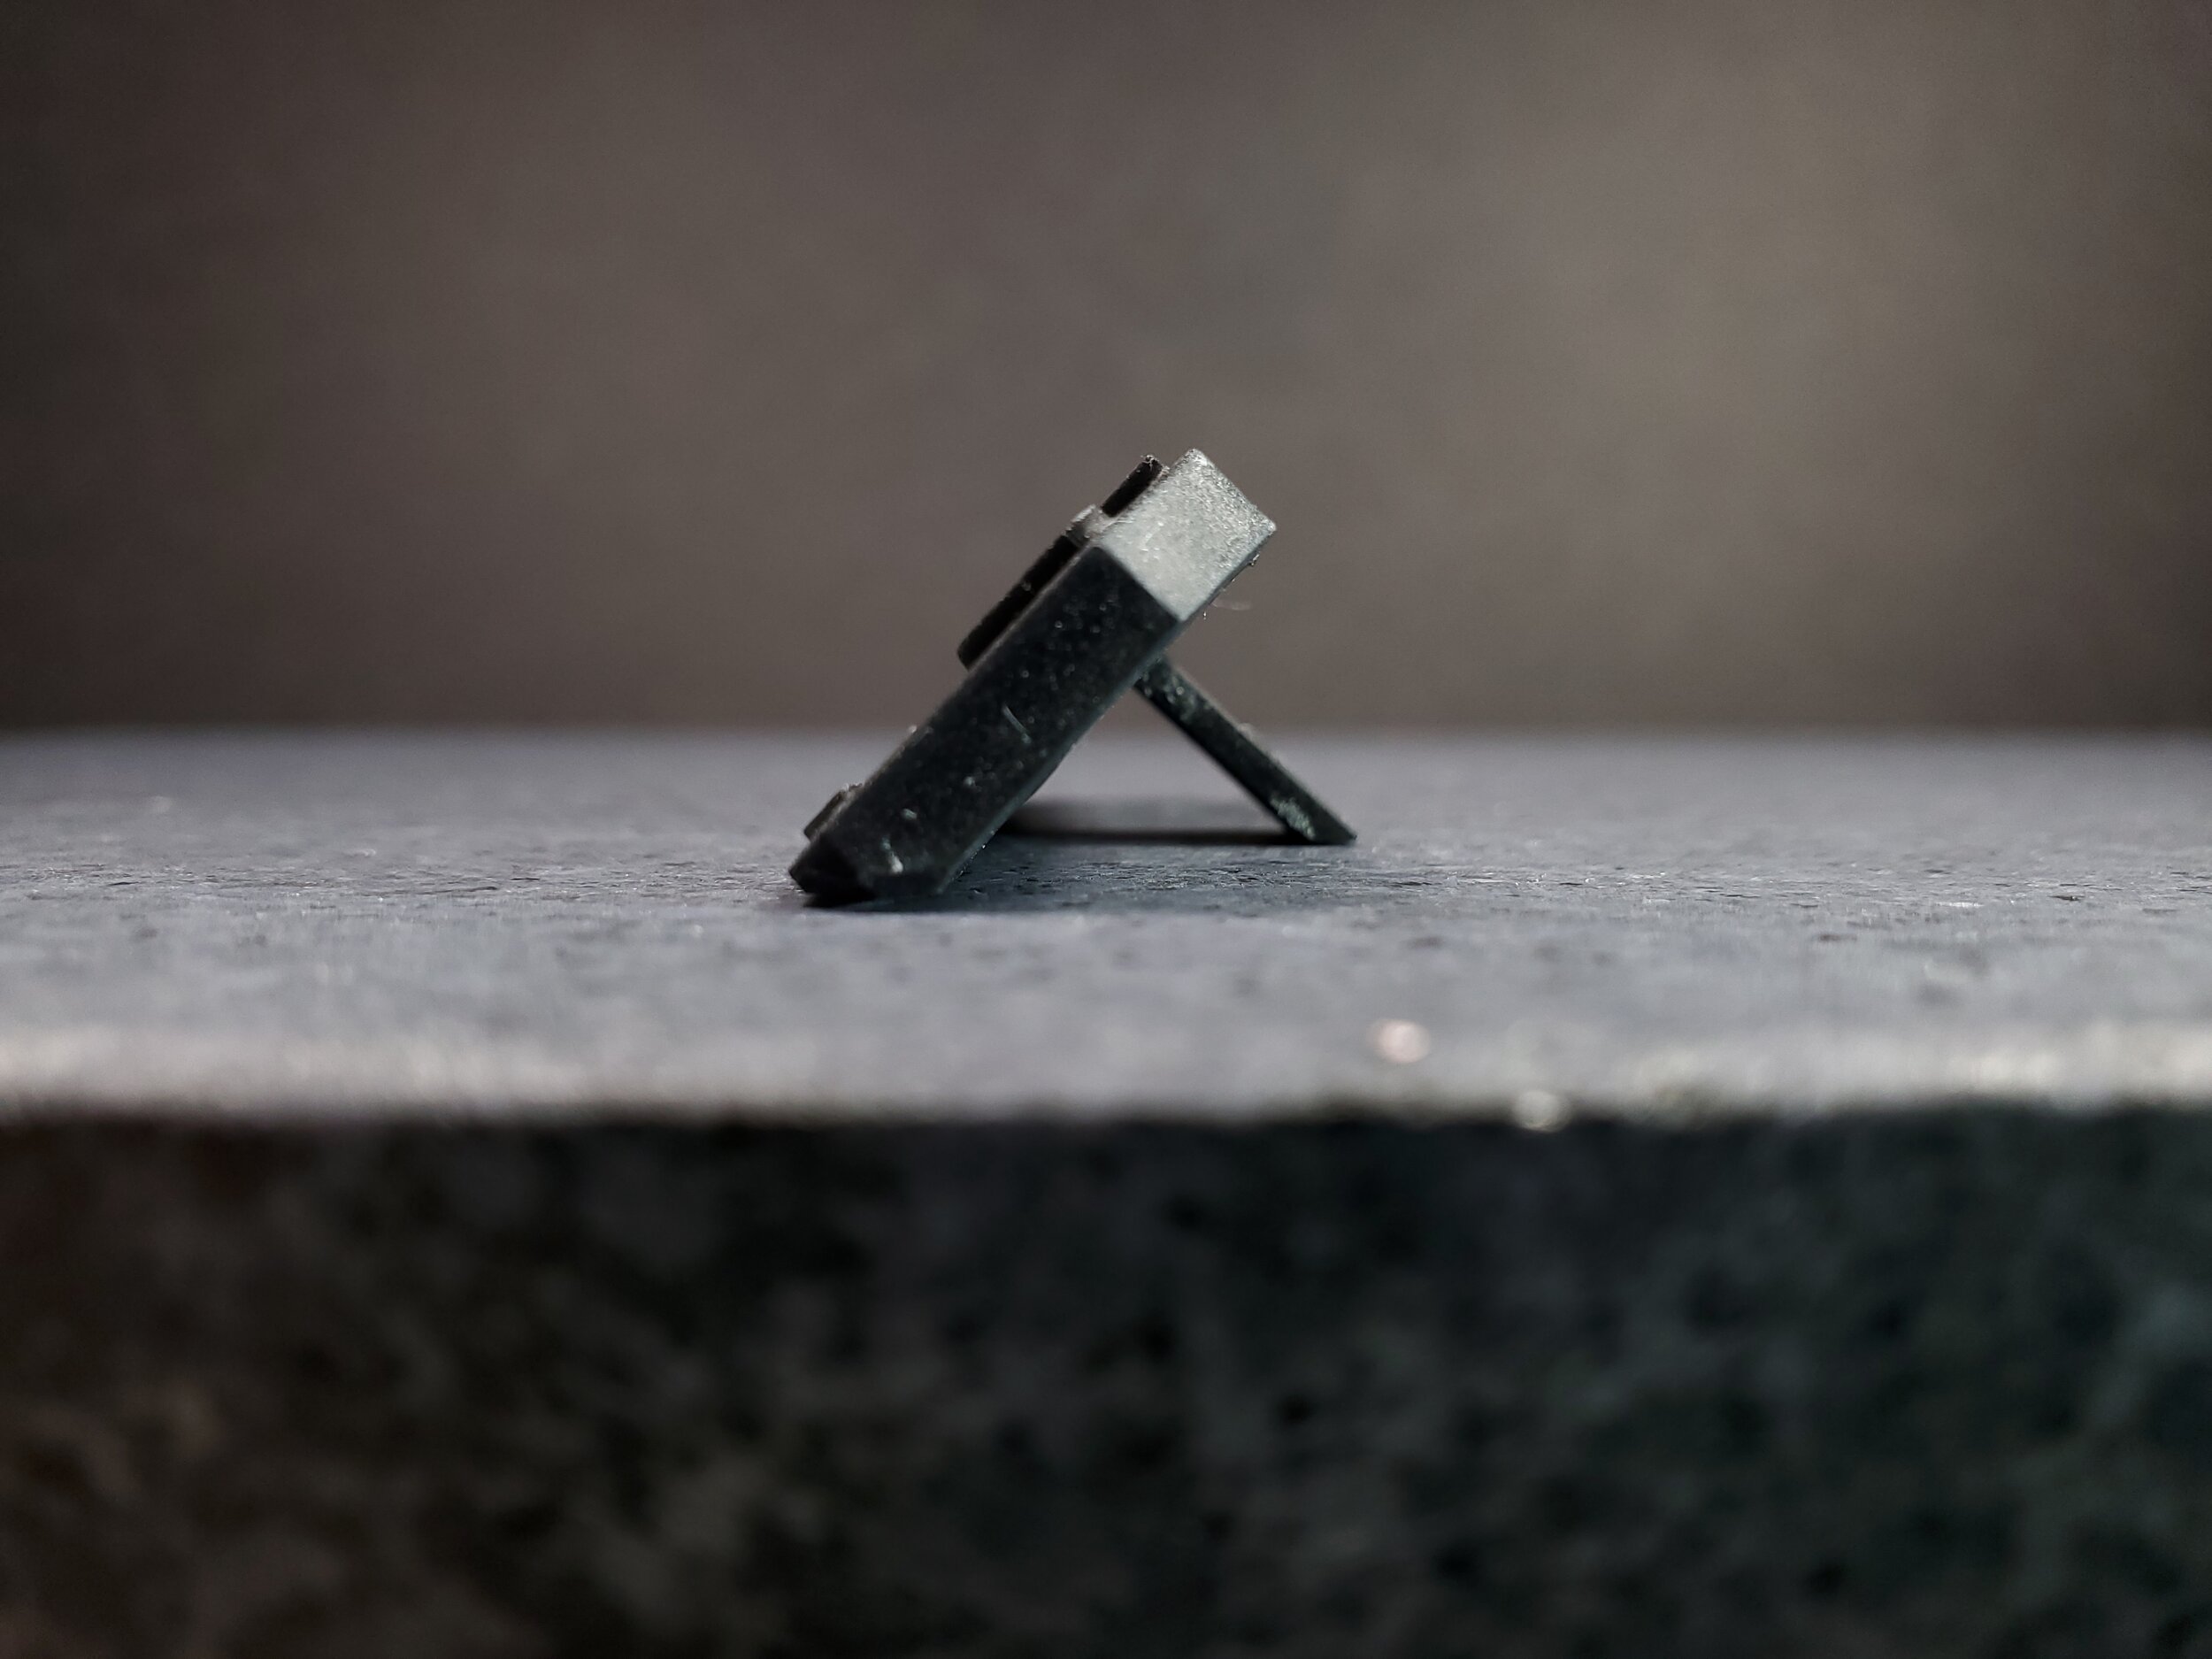
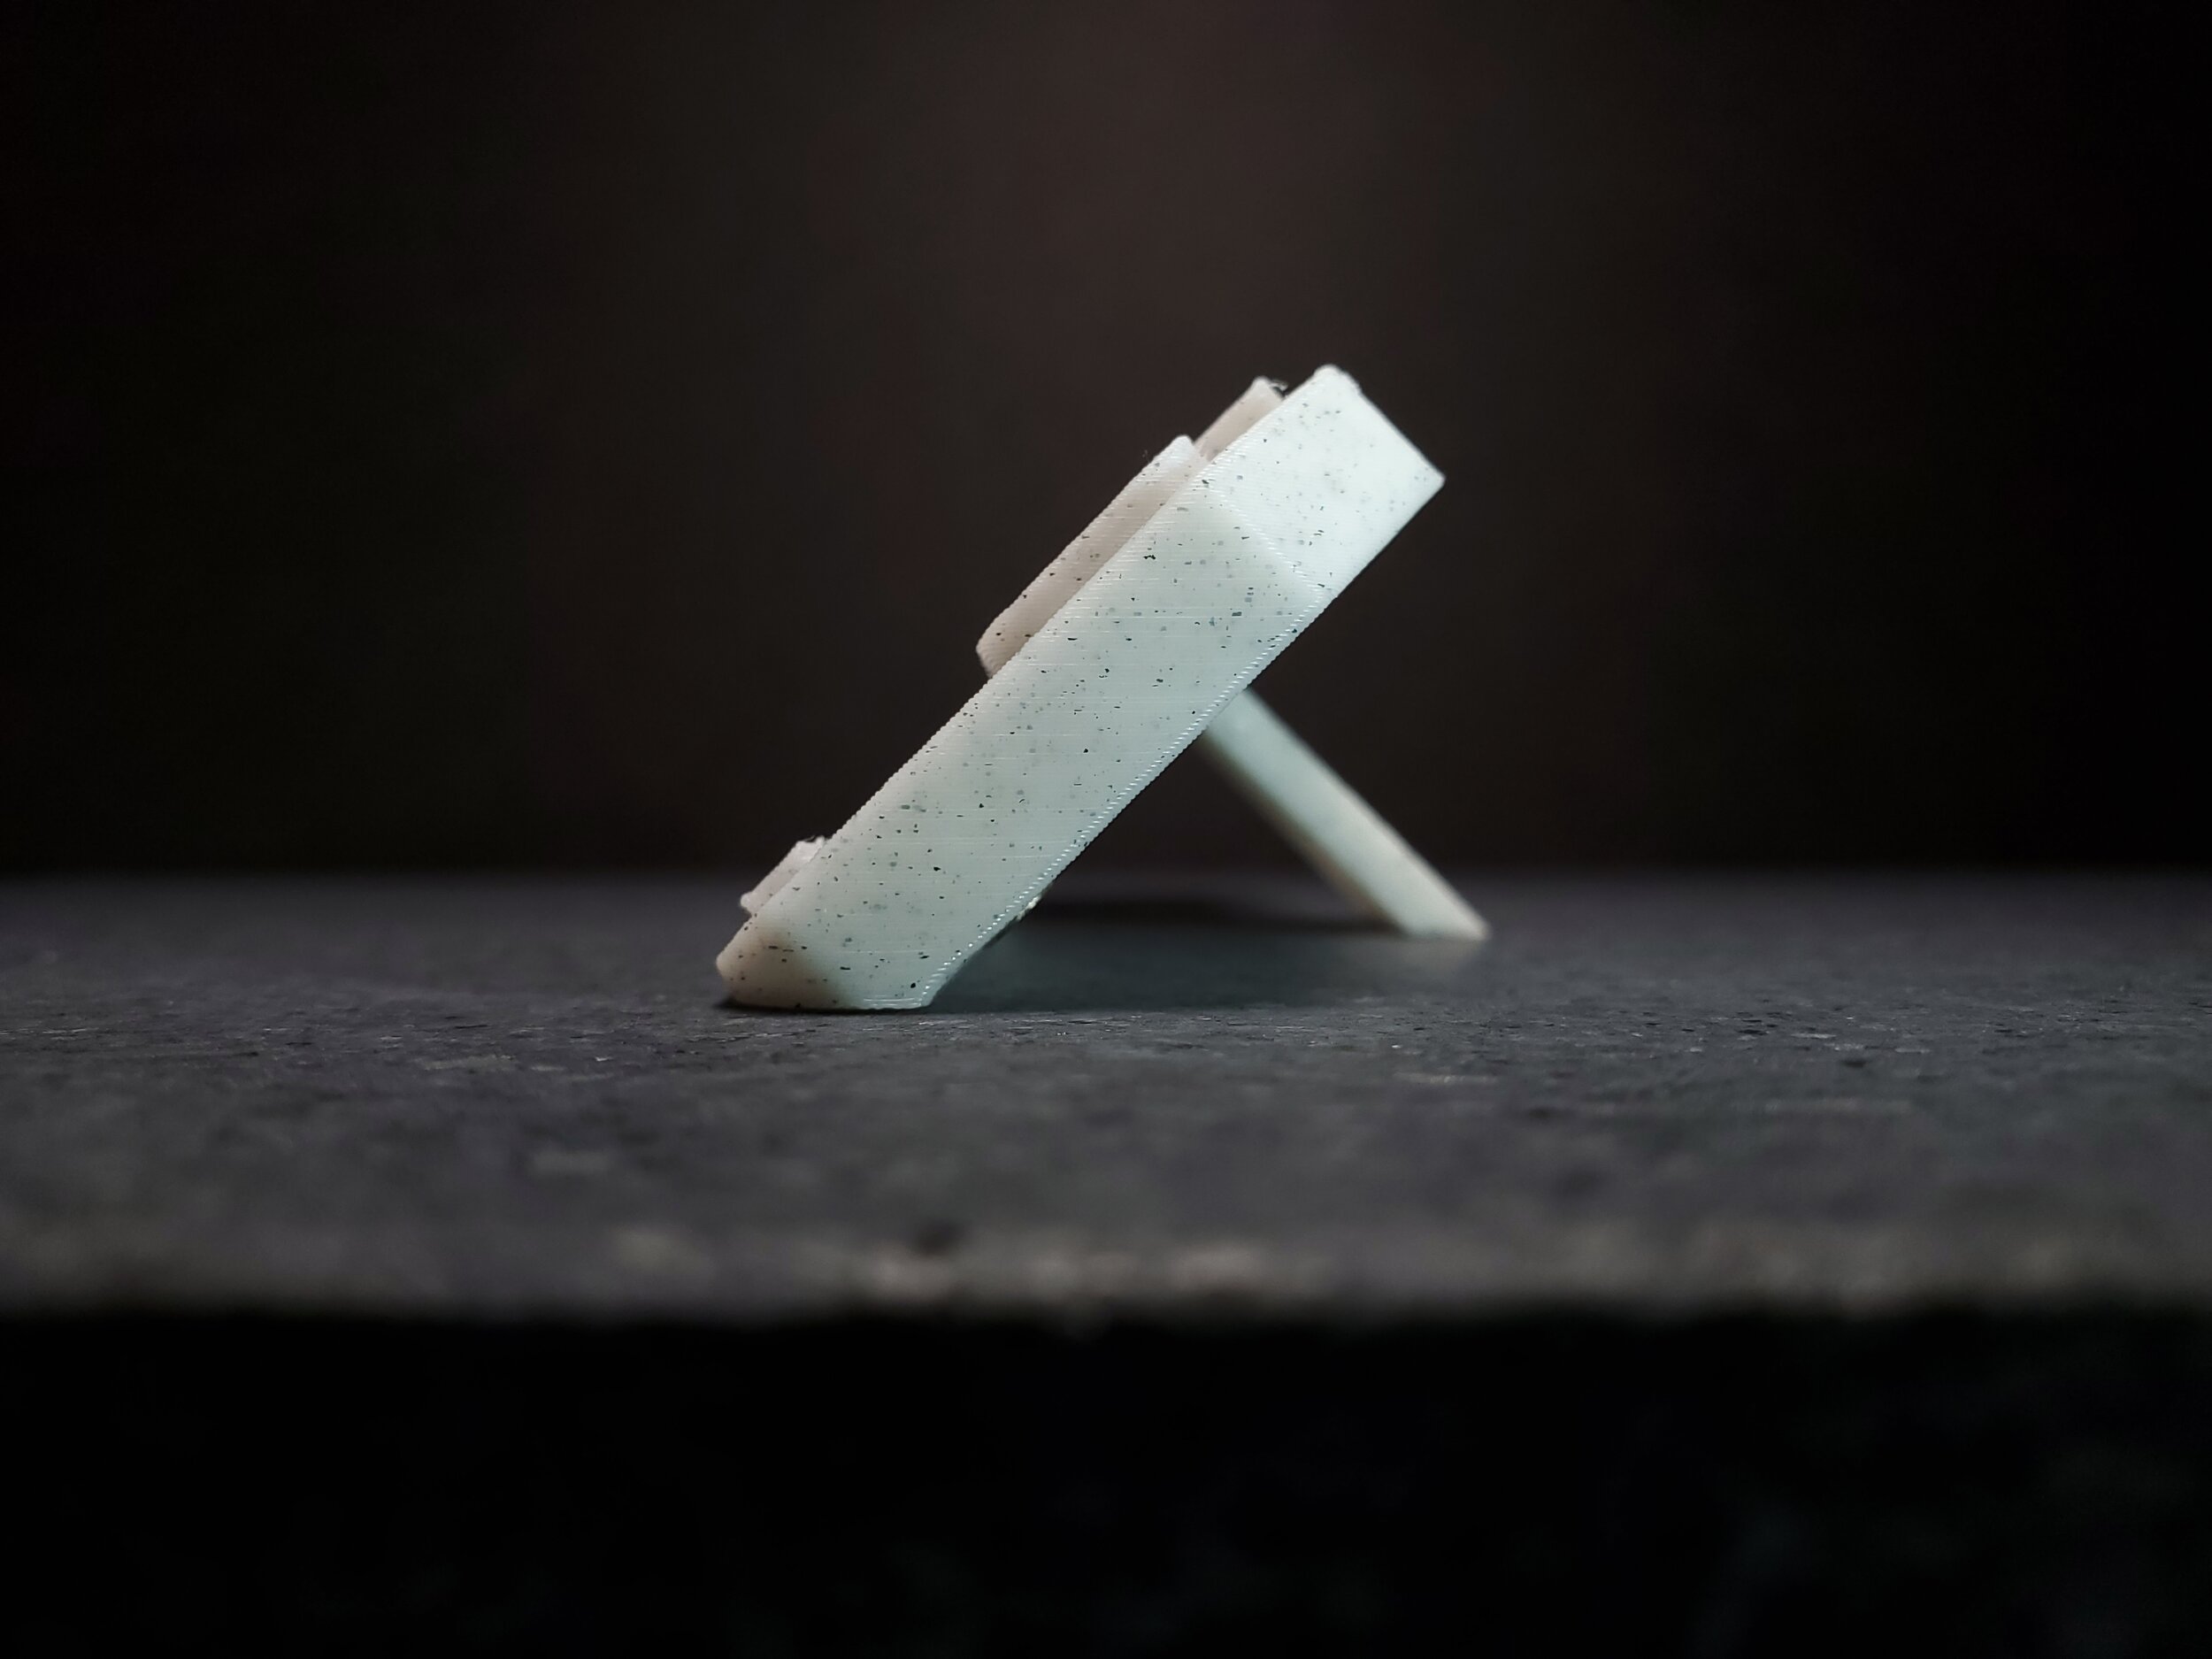
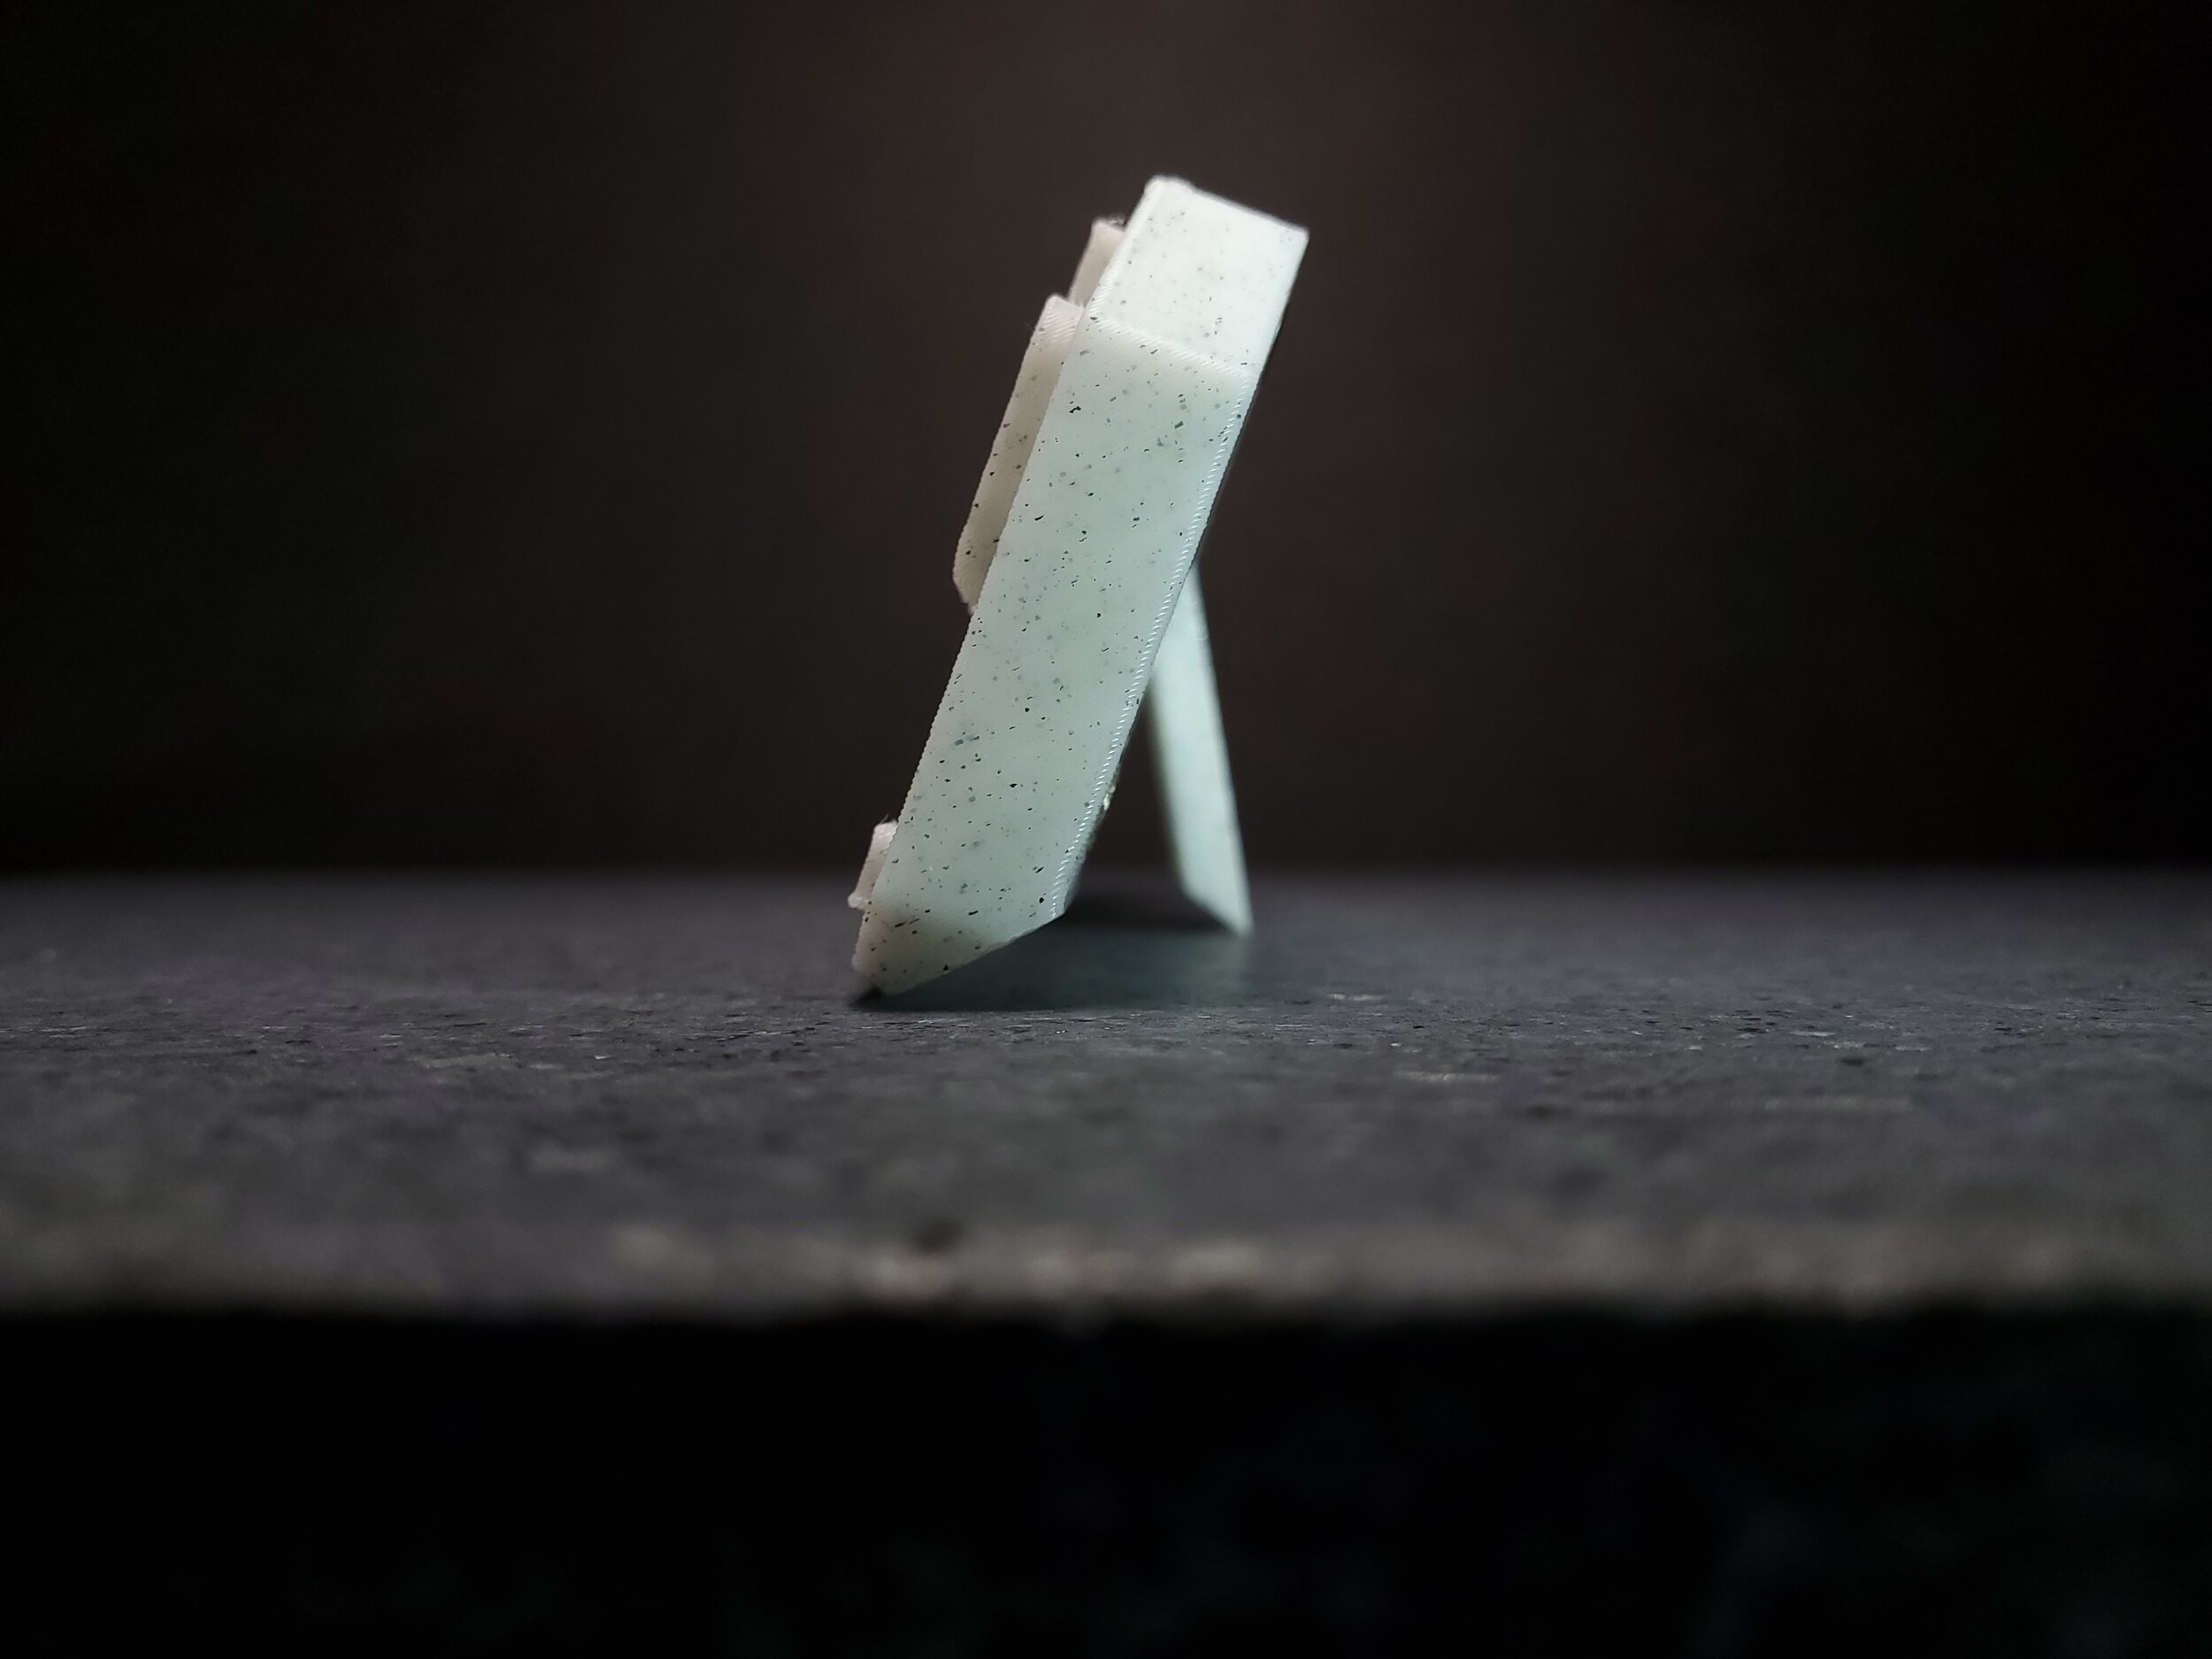
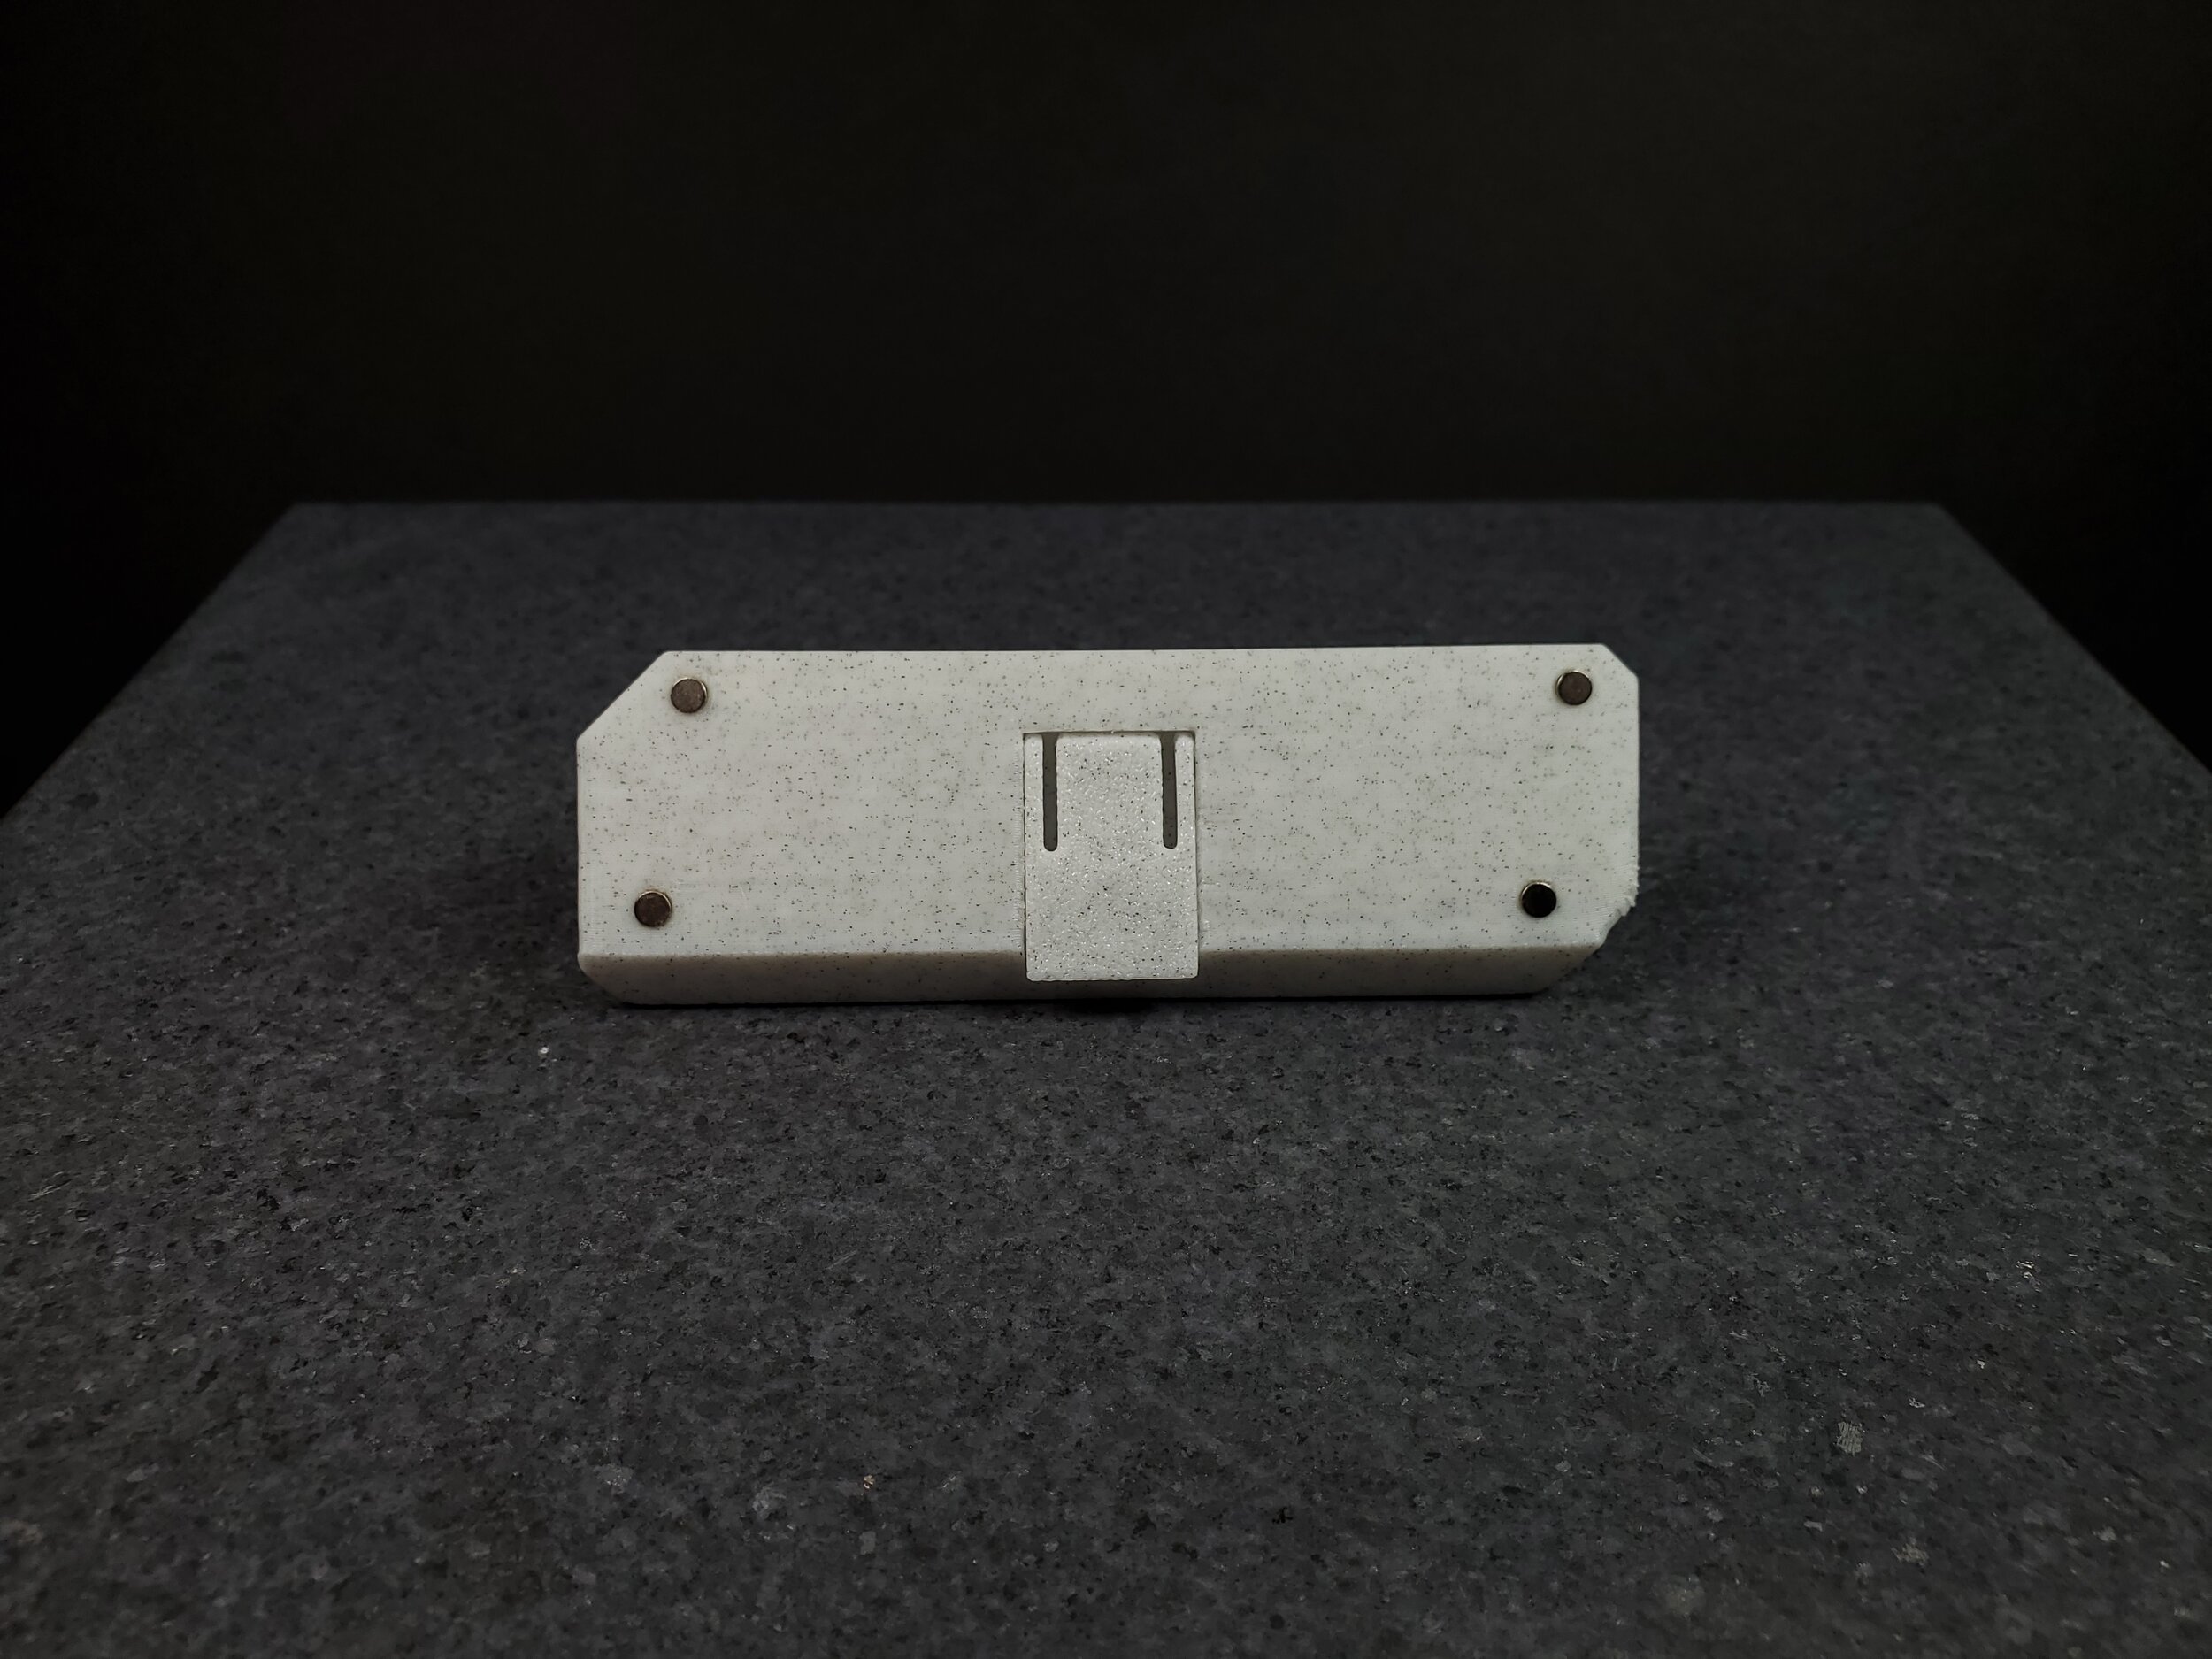
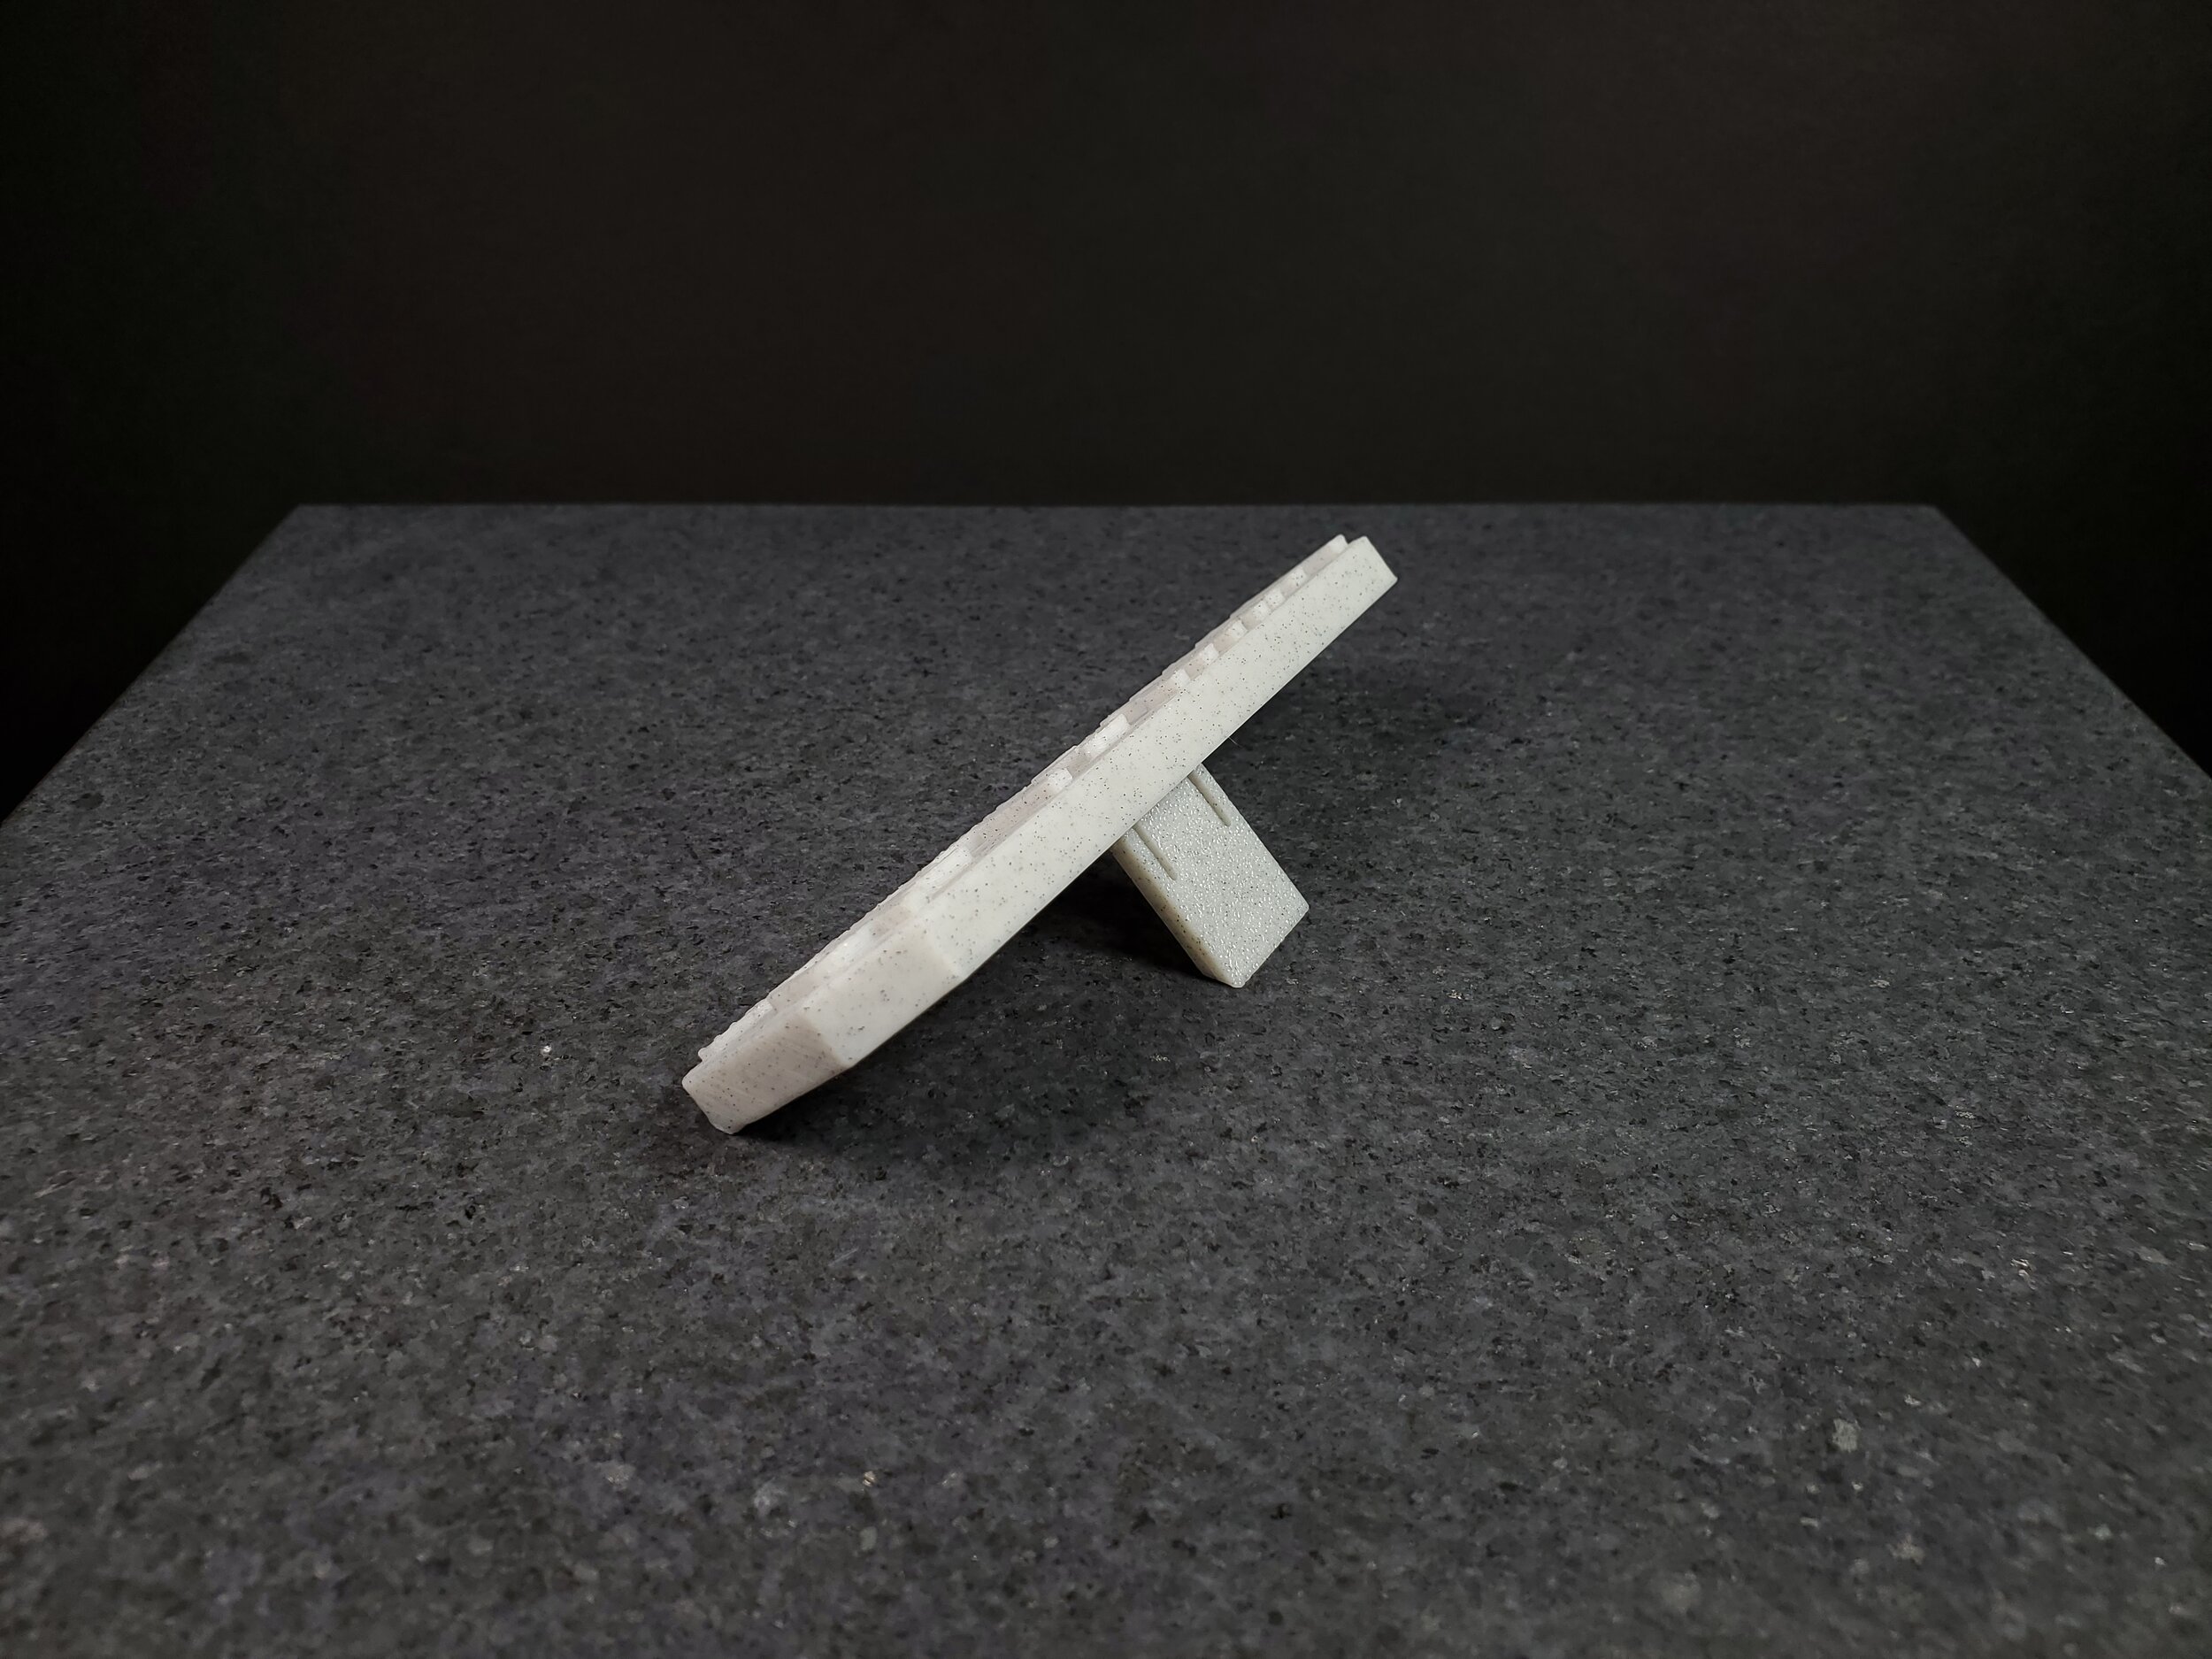
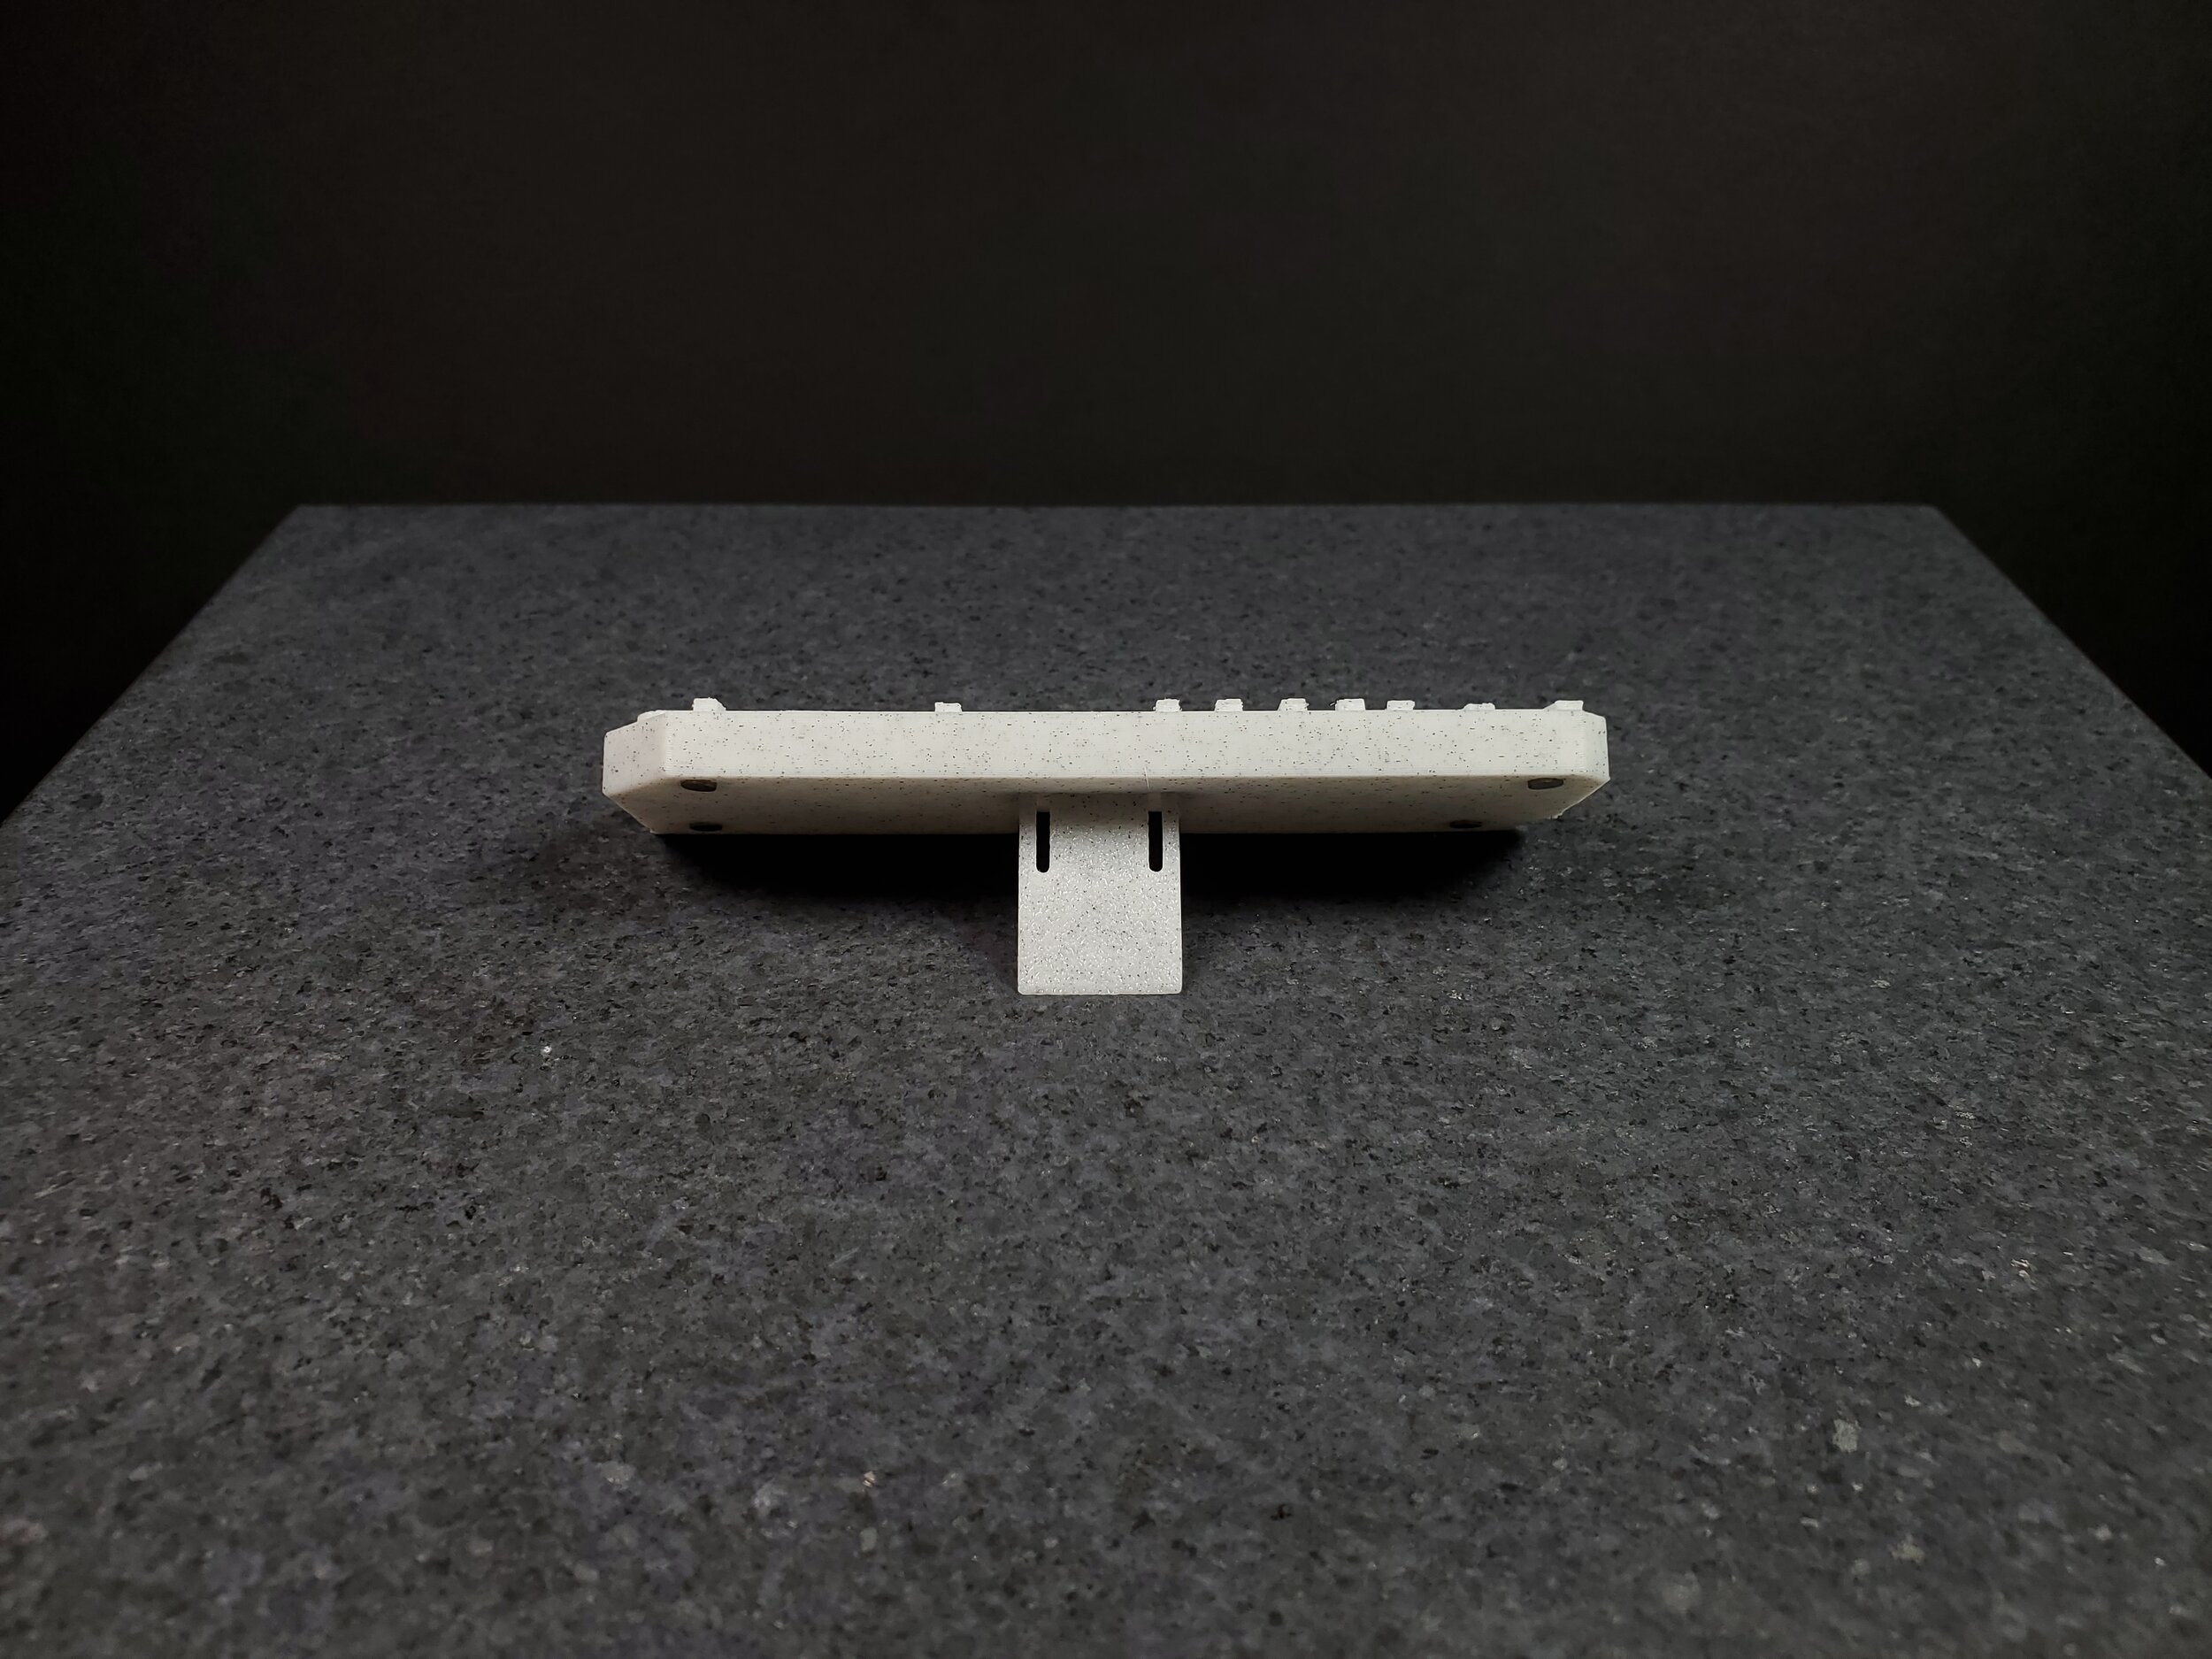
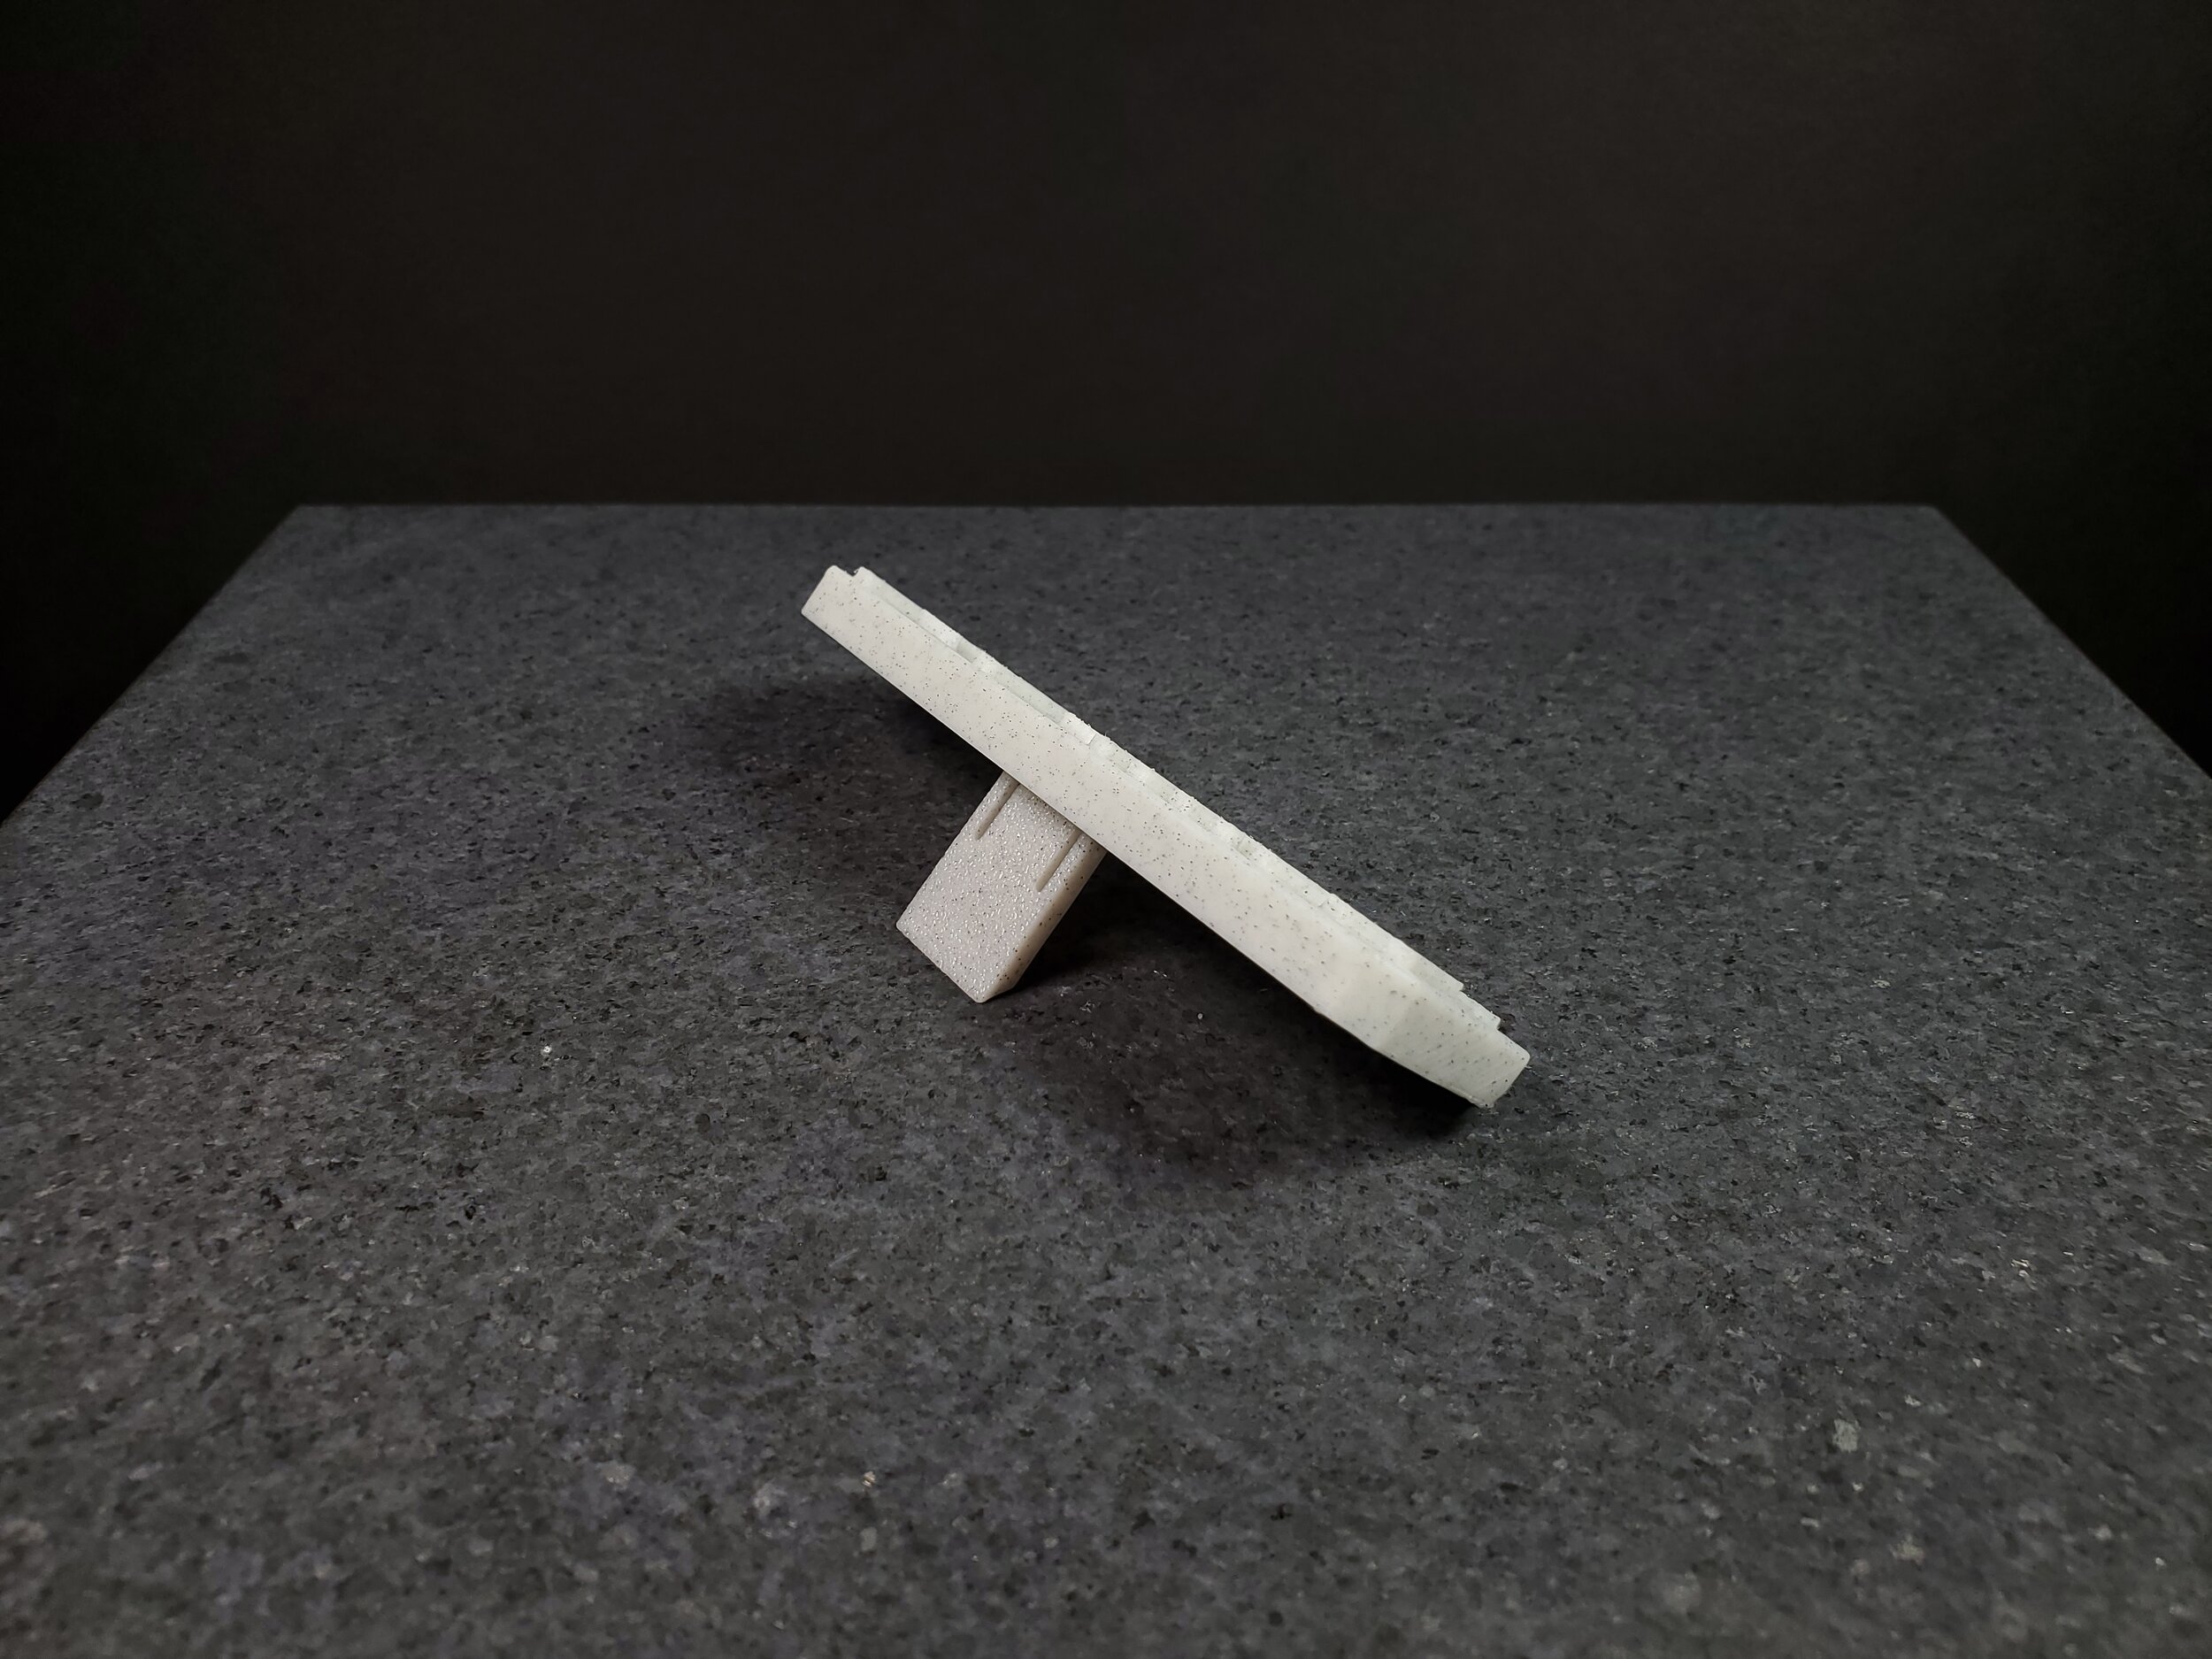
But I did add one moving mechanism to the part.
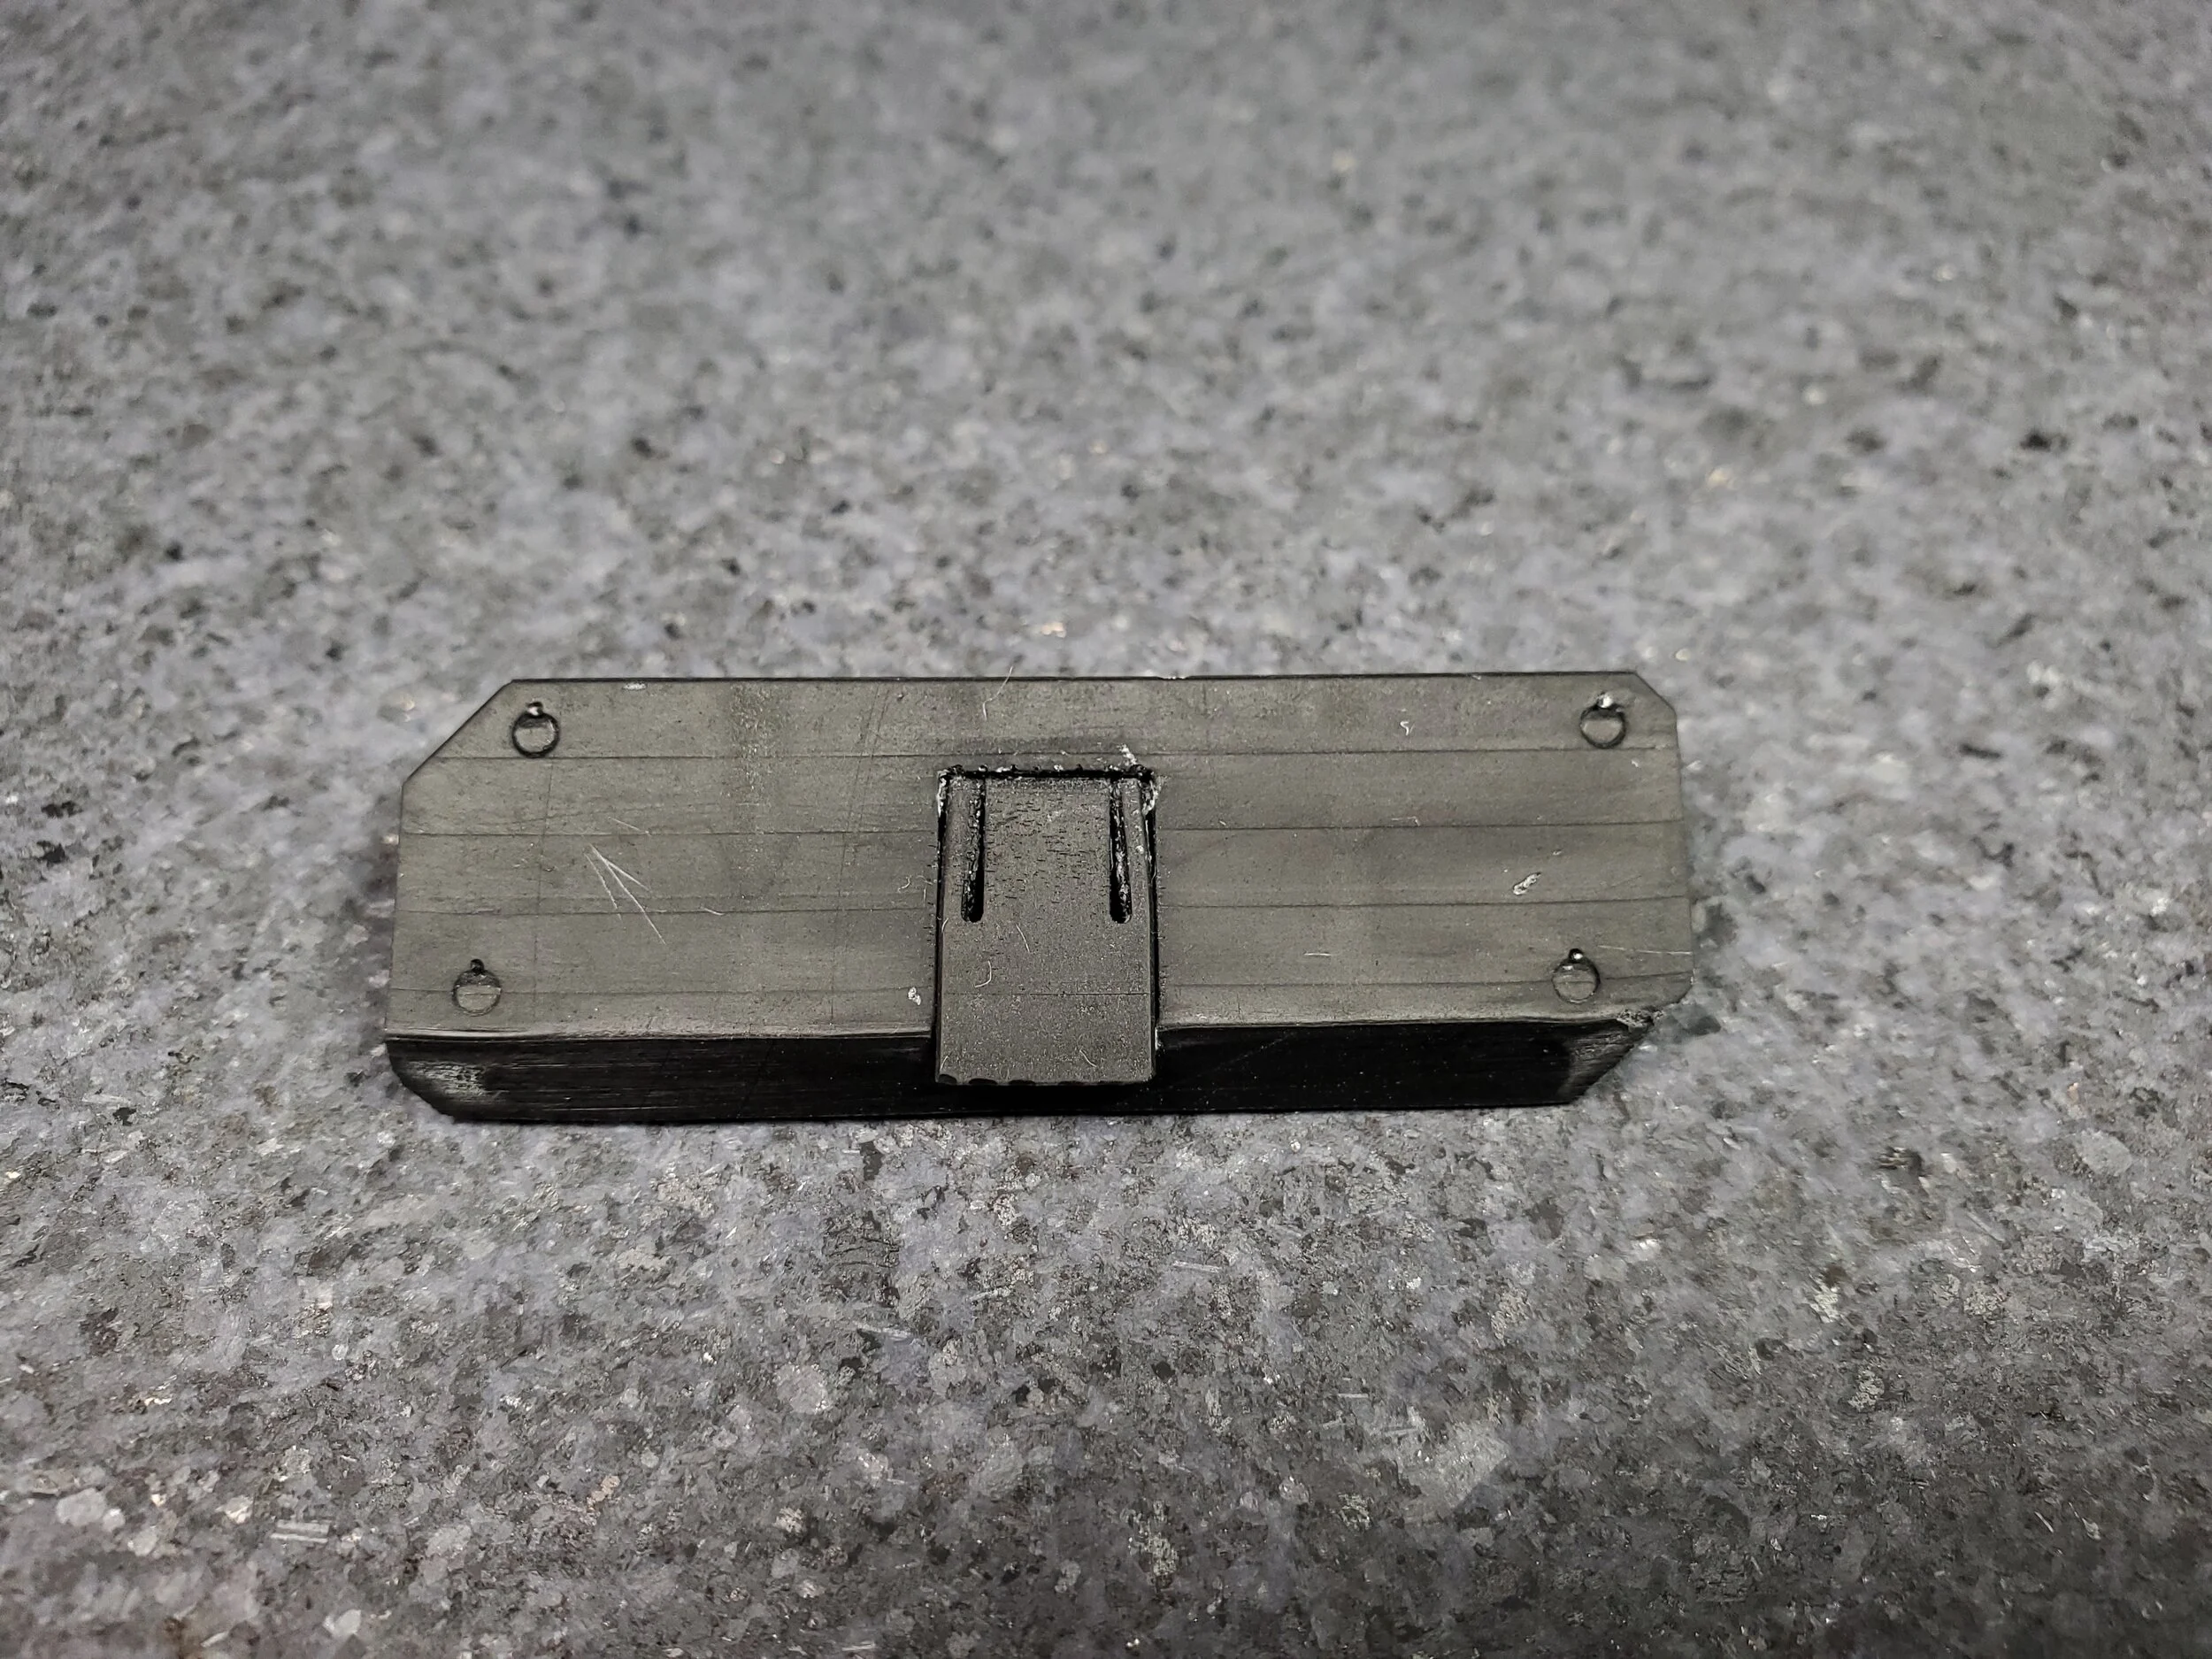
On the back, I have a small kickstand with some adjustable detents. I wasn't sure how reliable the kickstand hinge and detents would be, both for printability and functionality, so I sort of took a stab in the dark. Not quite sure what characteristics would be needed for the flexible bodies the pegs are attached to, I went with 14mm long by 2mm wide slits. These are important because they allow the pegs to flex inward when inserting the kickstand and also when the detents snap in and out of place. Without them, the pegs would be liable to snap on insertion, and the detents would wear down much faster with each use of the hinge.
I used my usual 0.1-0.3mm clearance range for the diameters of the pegs and detents since I've found that to work best with most FDM machines. Despite this uncertainty and guesswork, much to my delight, the kick stand design worked almost perfectly on the first attempt.
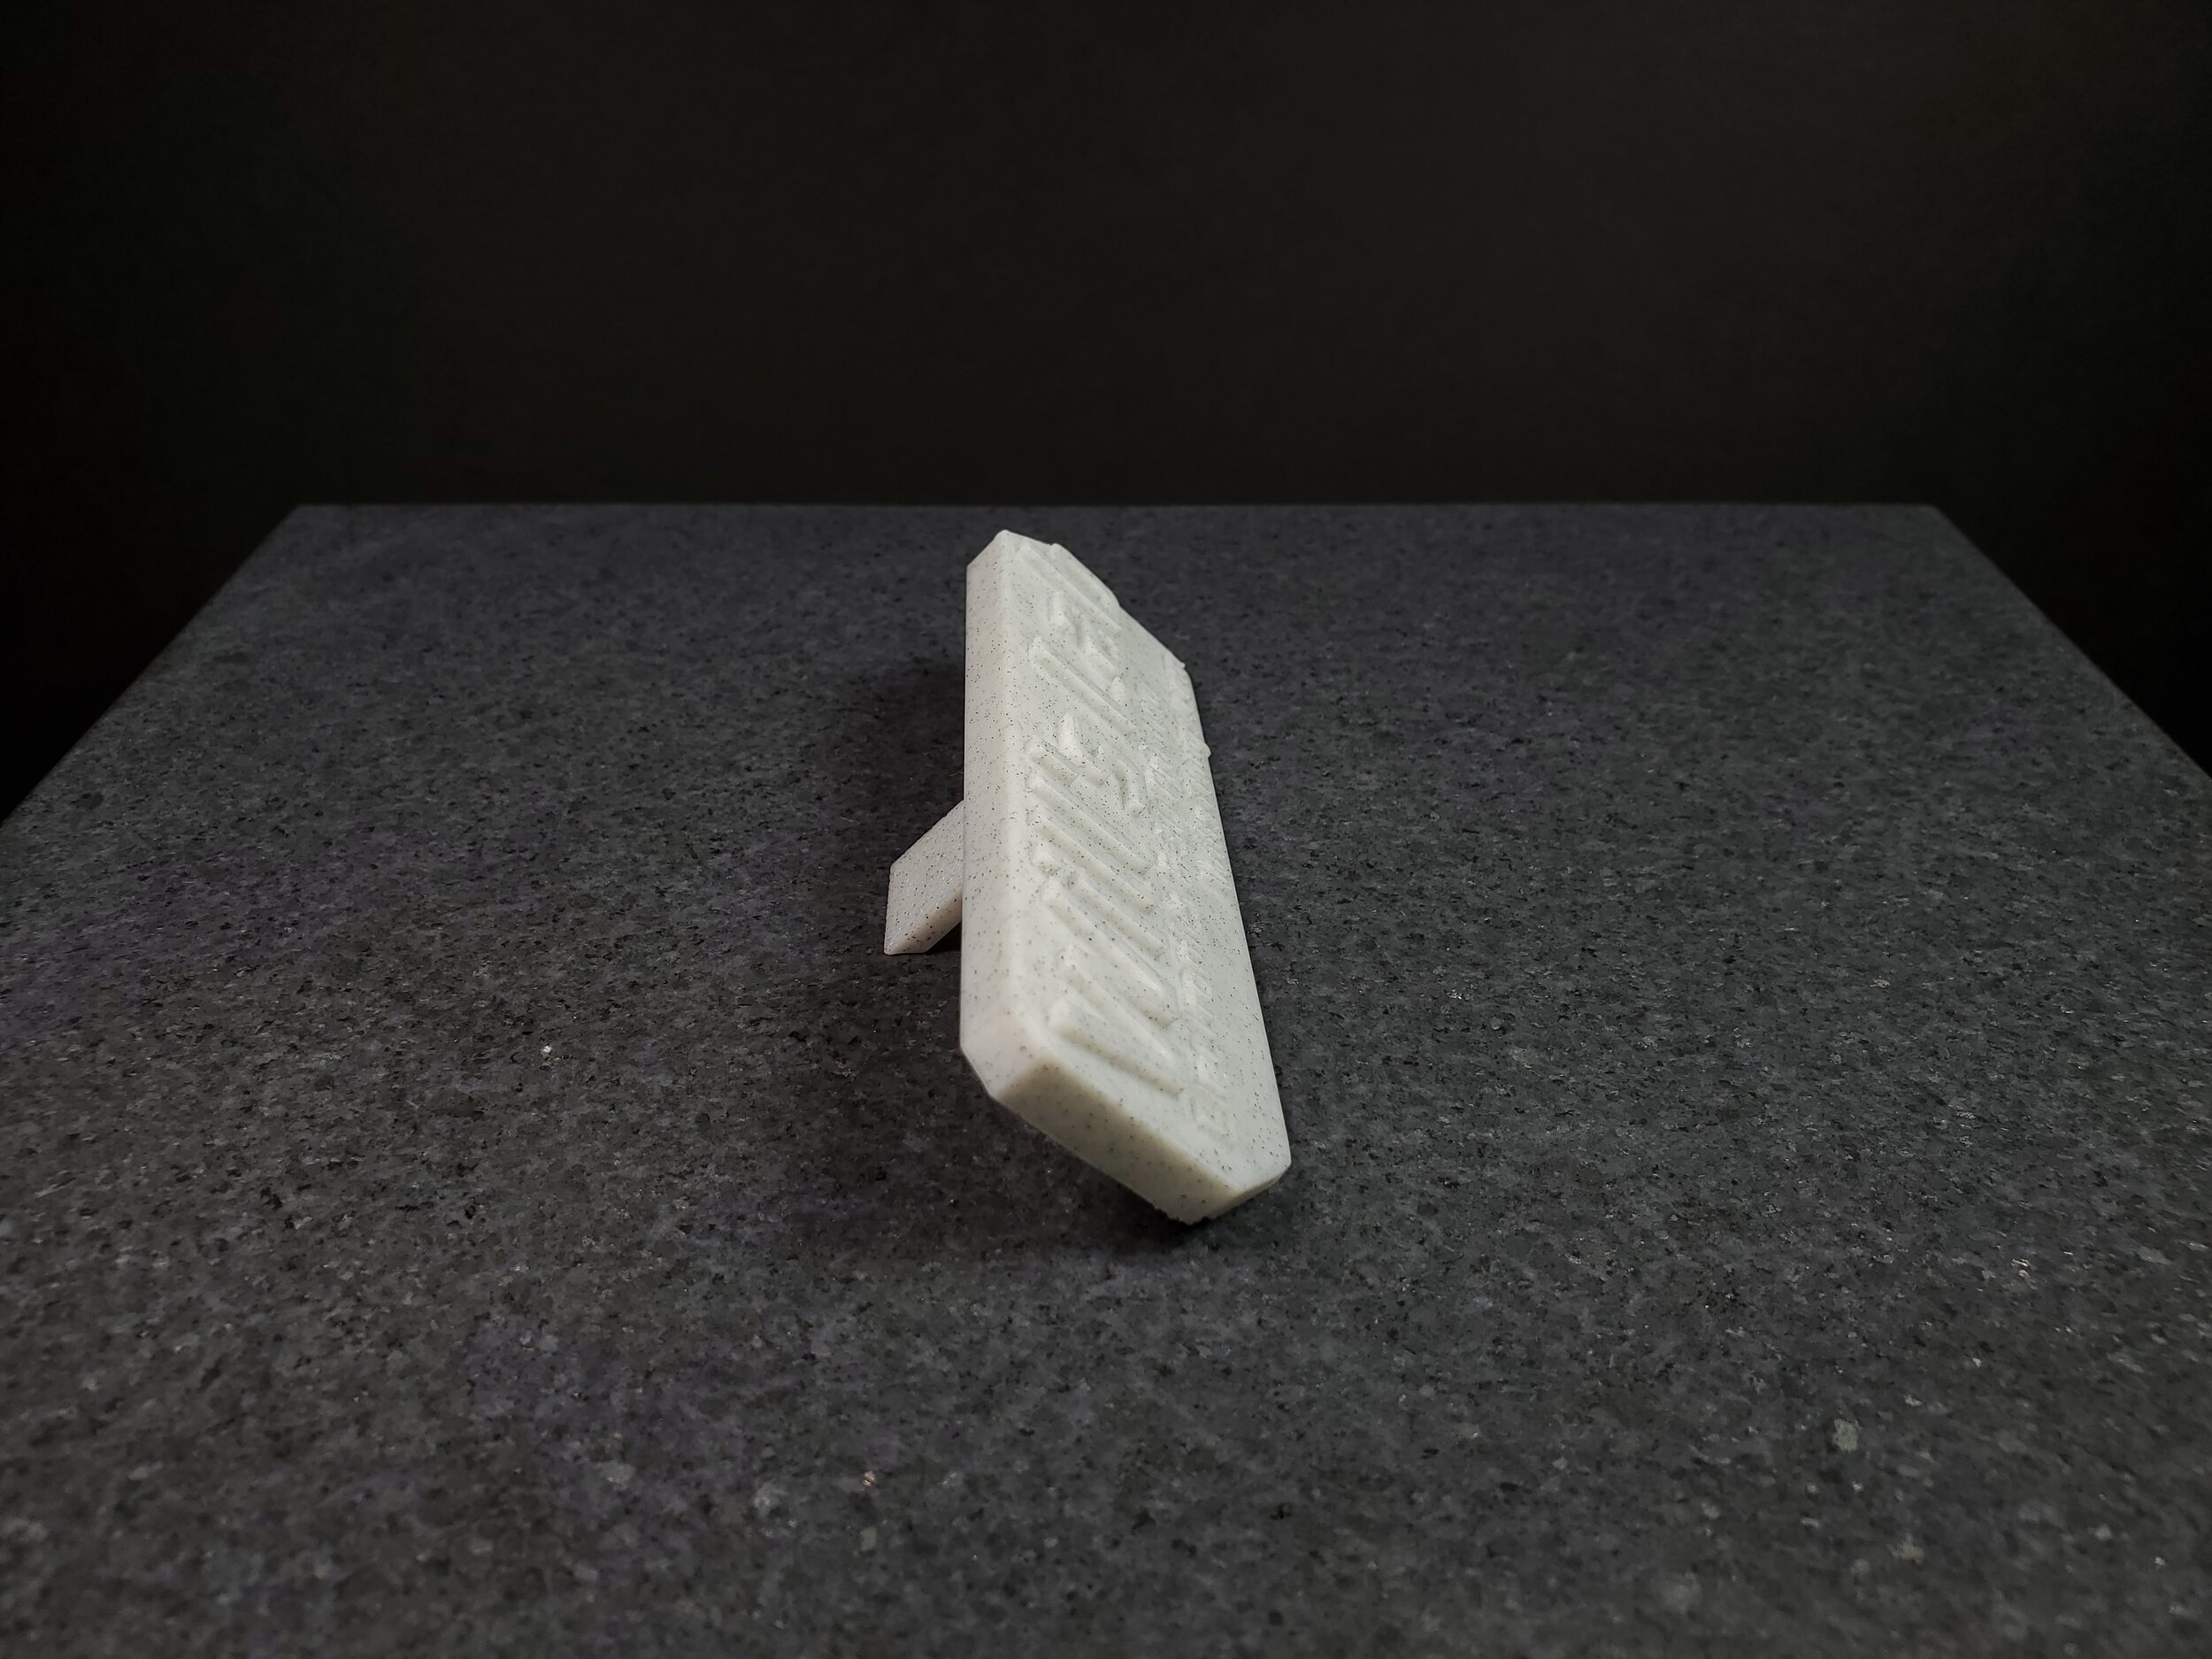
And I also added some holes to insert magnets, because who doesn't want my lovely logo stuck proudly on their fridge?
Print and Assemble


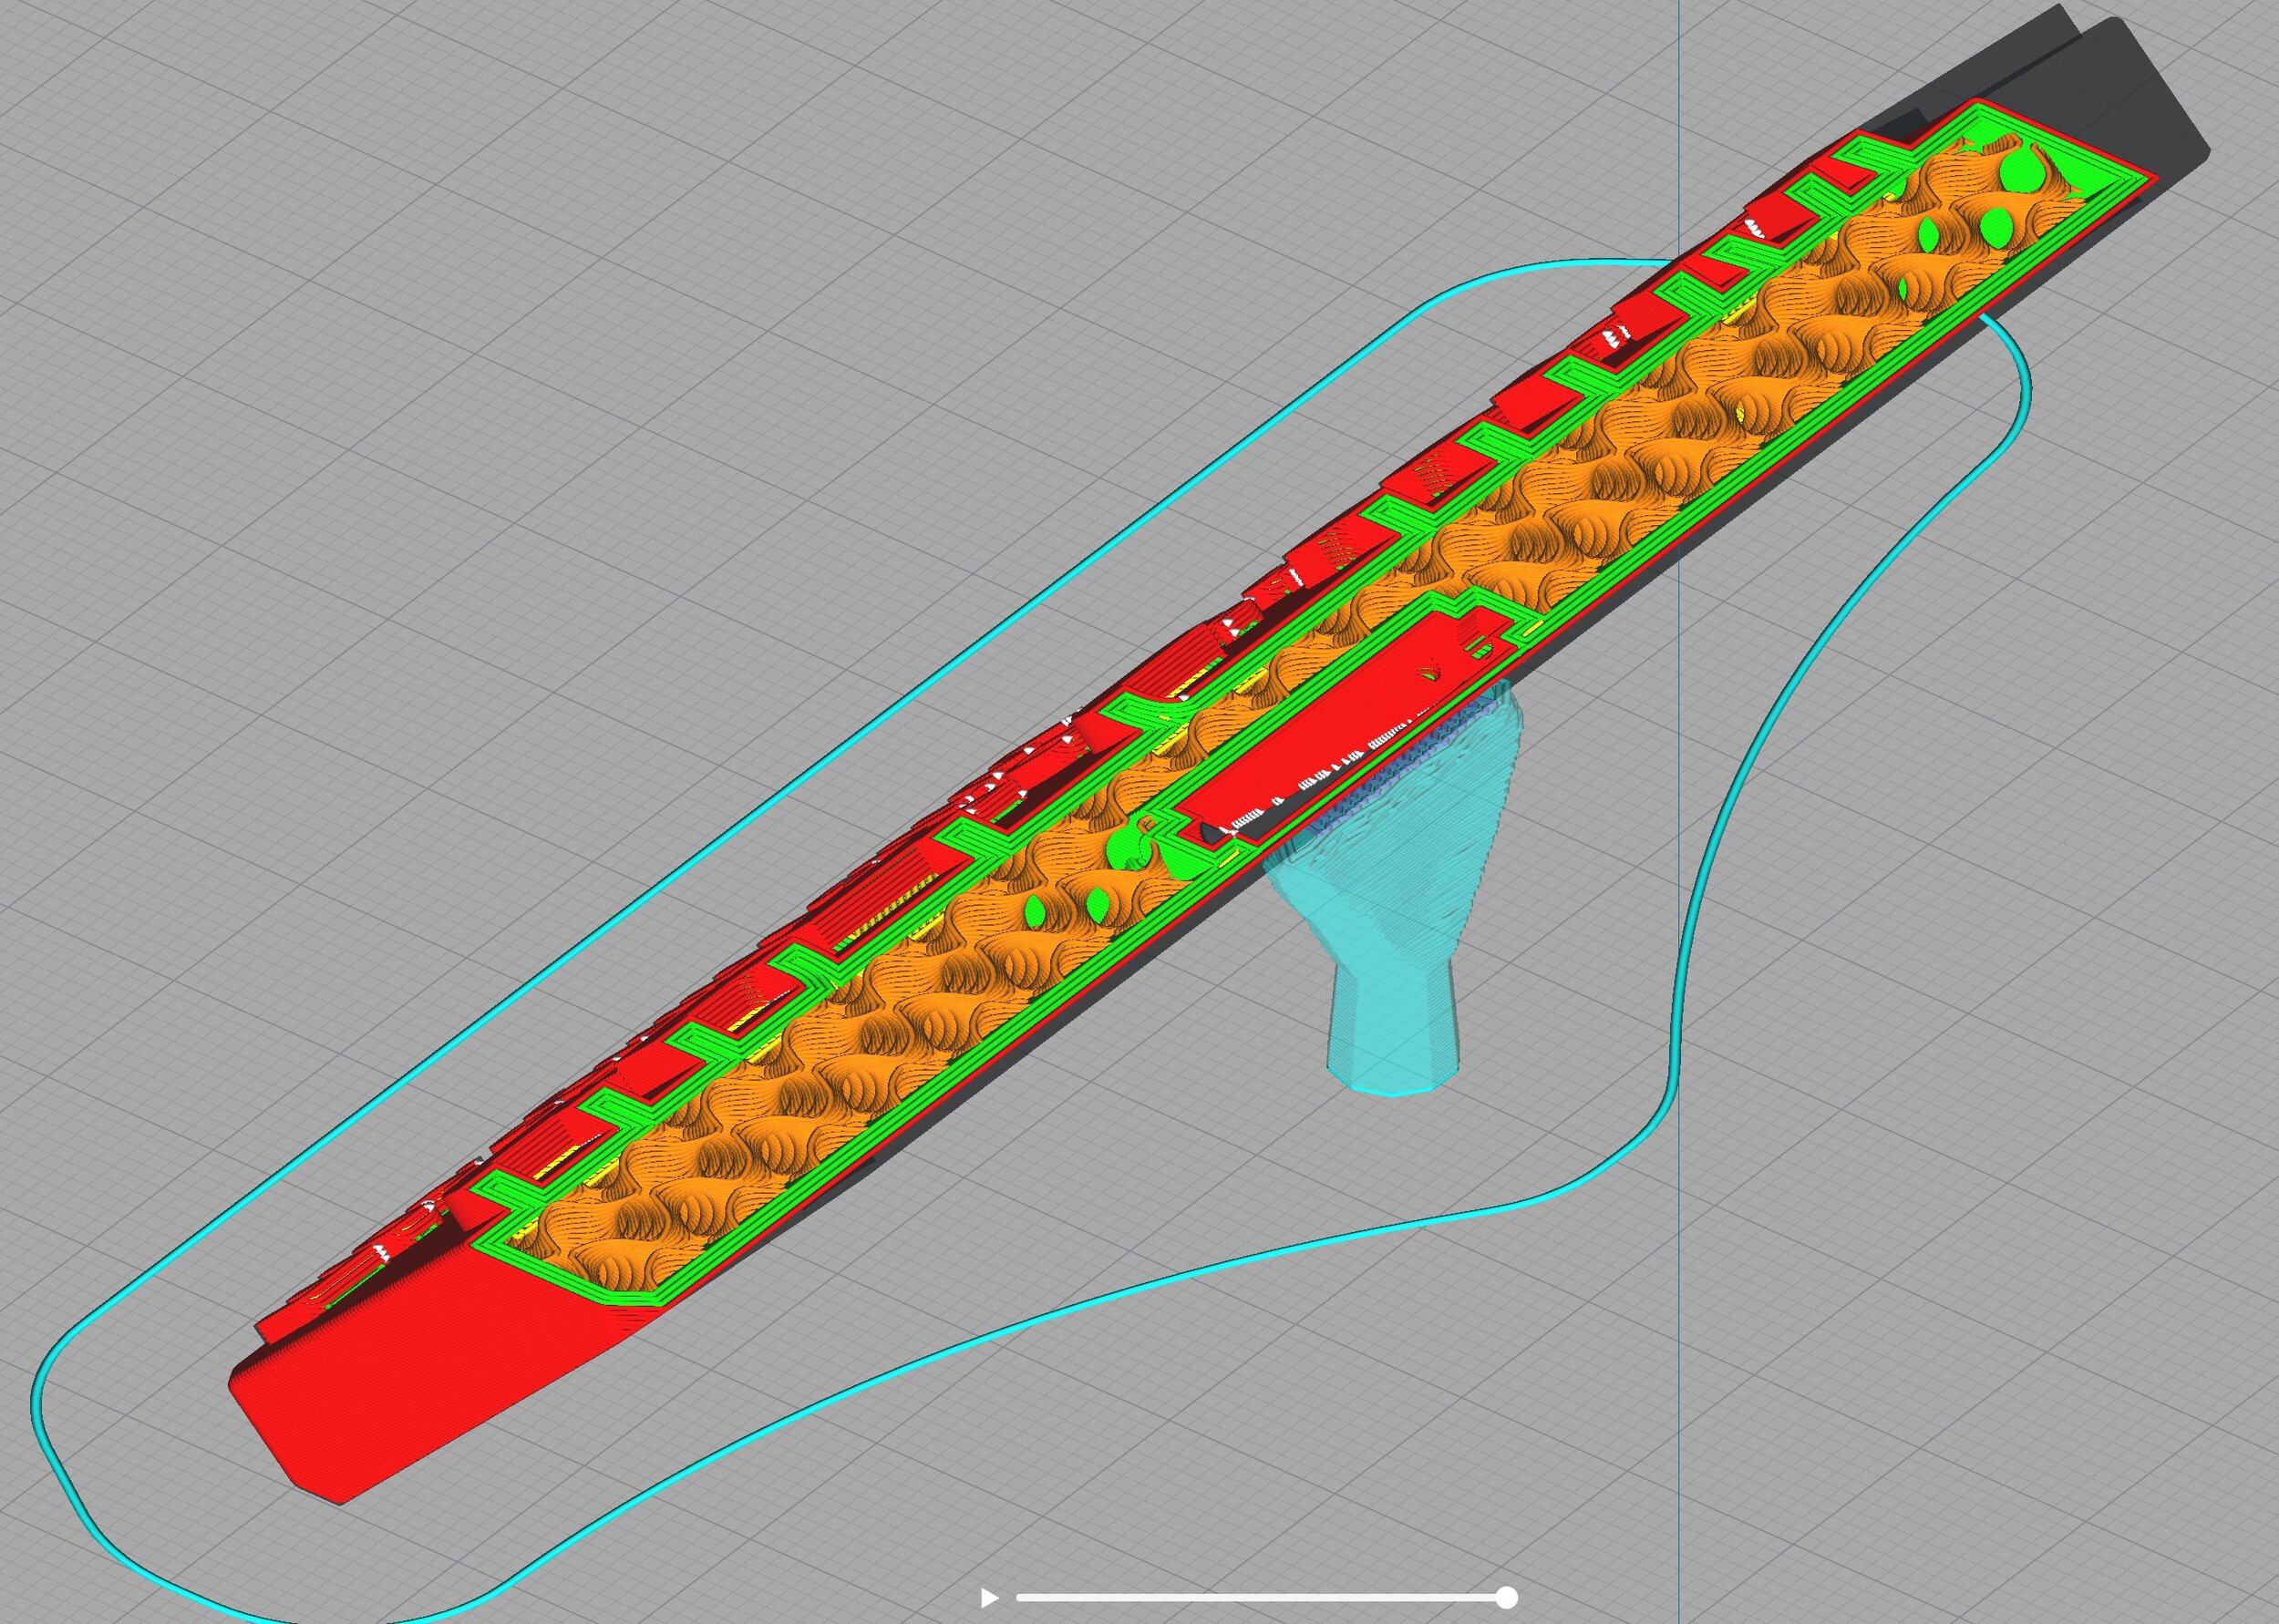
As for printability, the plaque has two parts. The kickstand prints on its back with no need for supports—though a brim might be advisable for some build surfaces; I did notice the two small flexible bodies trying to peel off my PEI bed once or twice. Then the plaque itself can print without supports, however for best quality, I printed them with a single tree support on the back to hold up the initial bridge above the kickstand pocket. The width of the bridge is 20mm, so for most decent printers (I suspect) it could easily be left unsupported.
One concern of mine was the stability of the part sitting at 45° (for example, whether it might snap off the bed mid-print) but it turned out to be fine. This is again something that might need a brim depending on the build surface.
Once printed, the kickstand easily snaps into the back of the plaque and four 4x1mm round magnets (like these) can be glued into the four holes (I used super glue). Depending on your printer's dimensional accuracy, a heat gun or lighter might be needed to soften up the holes so that the magnet will fit easily when inserted (heat the hole, apply glue, insert magnet and press into place).
Results
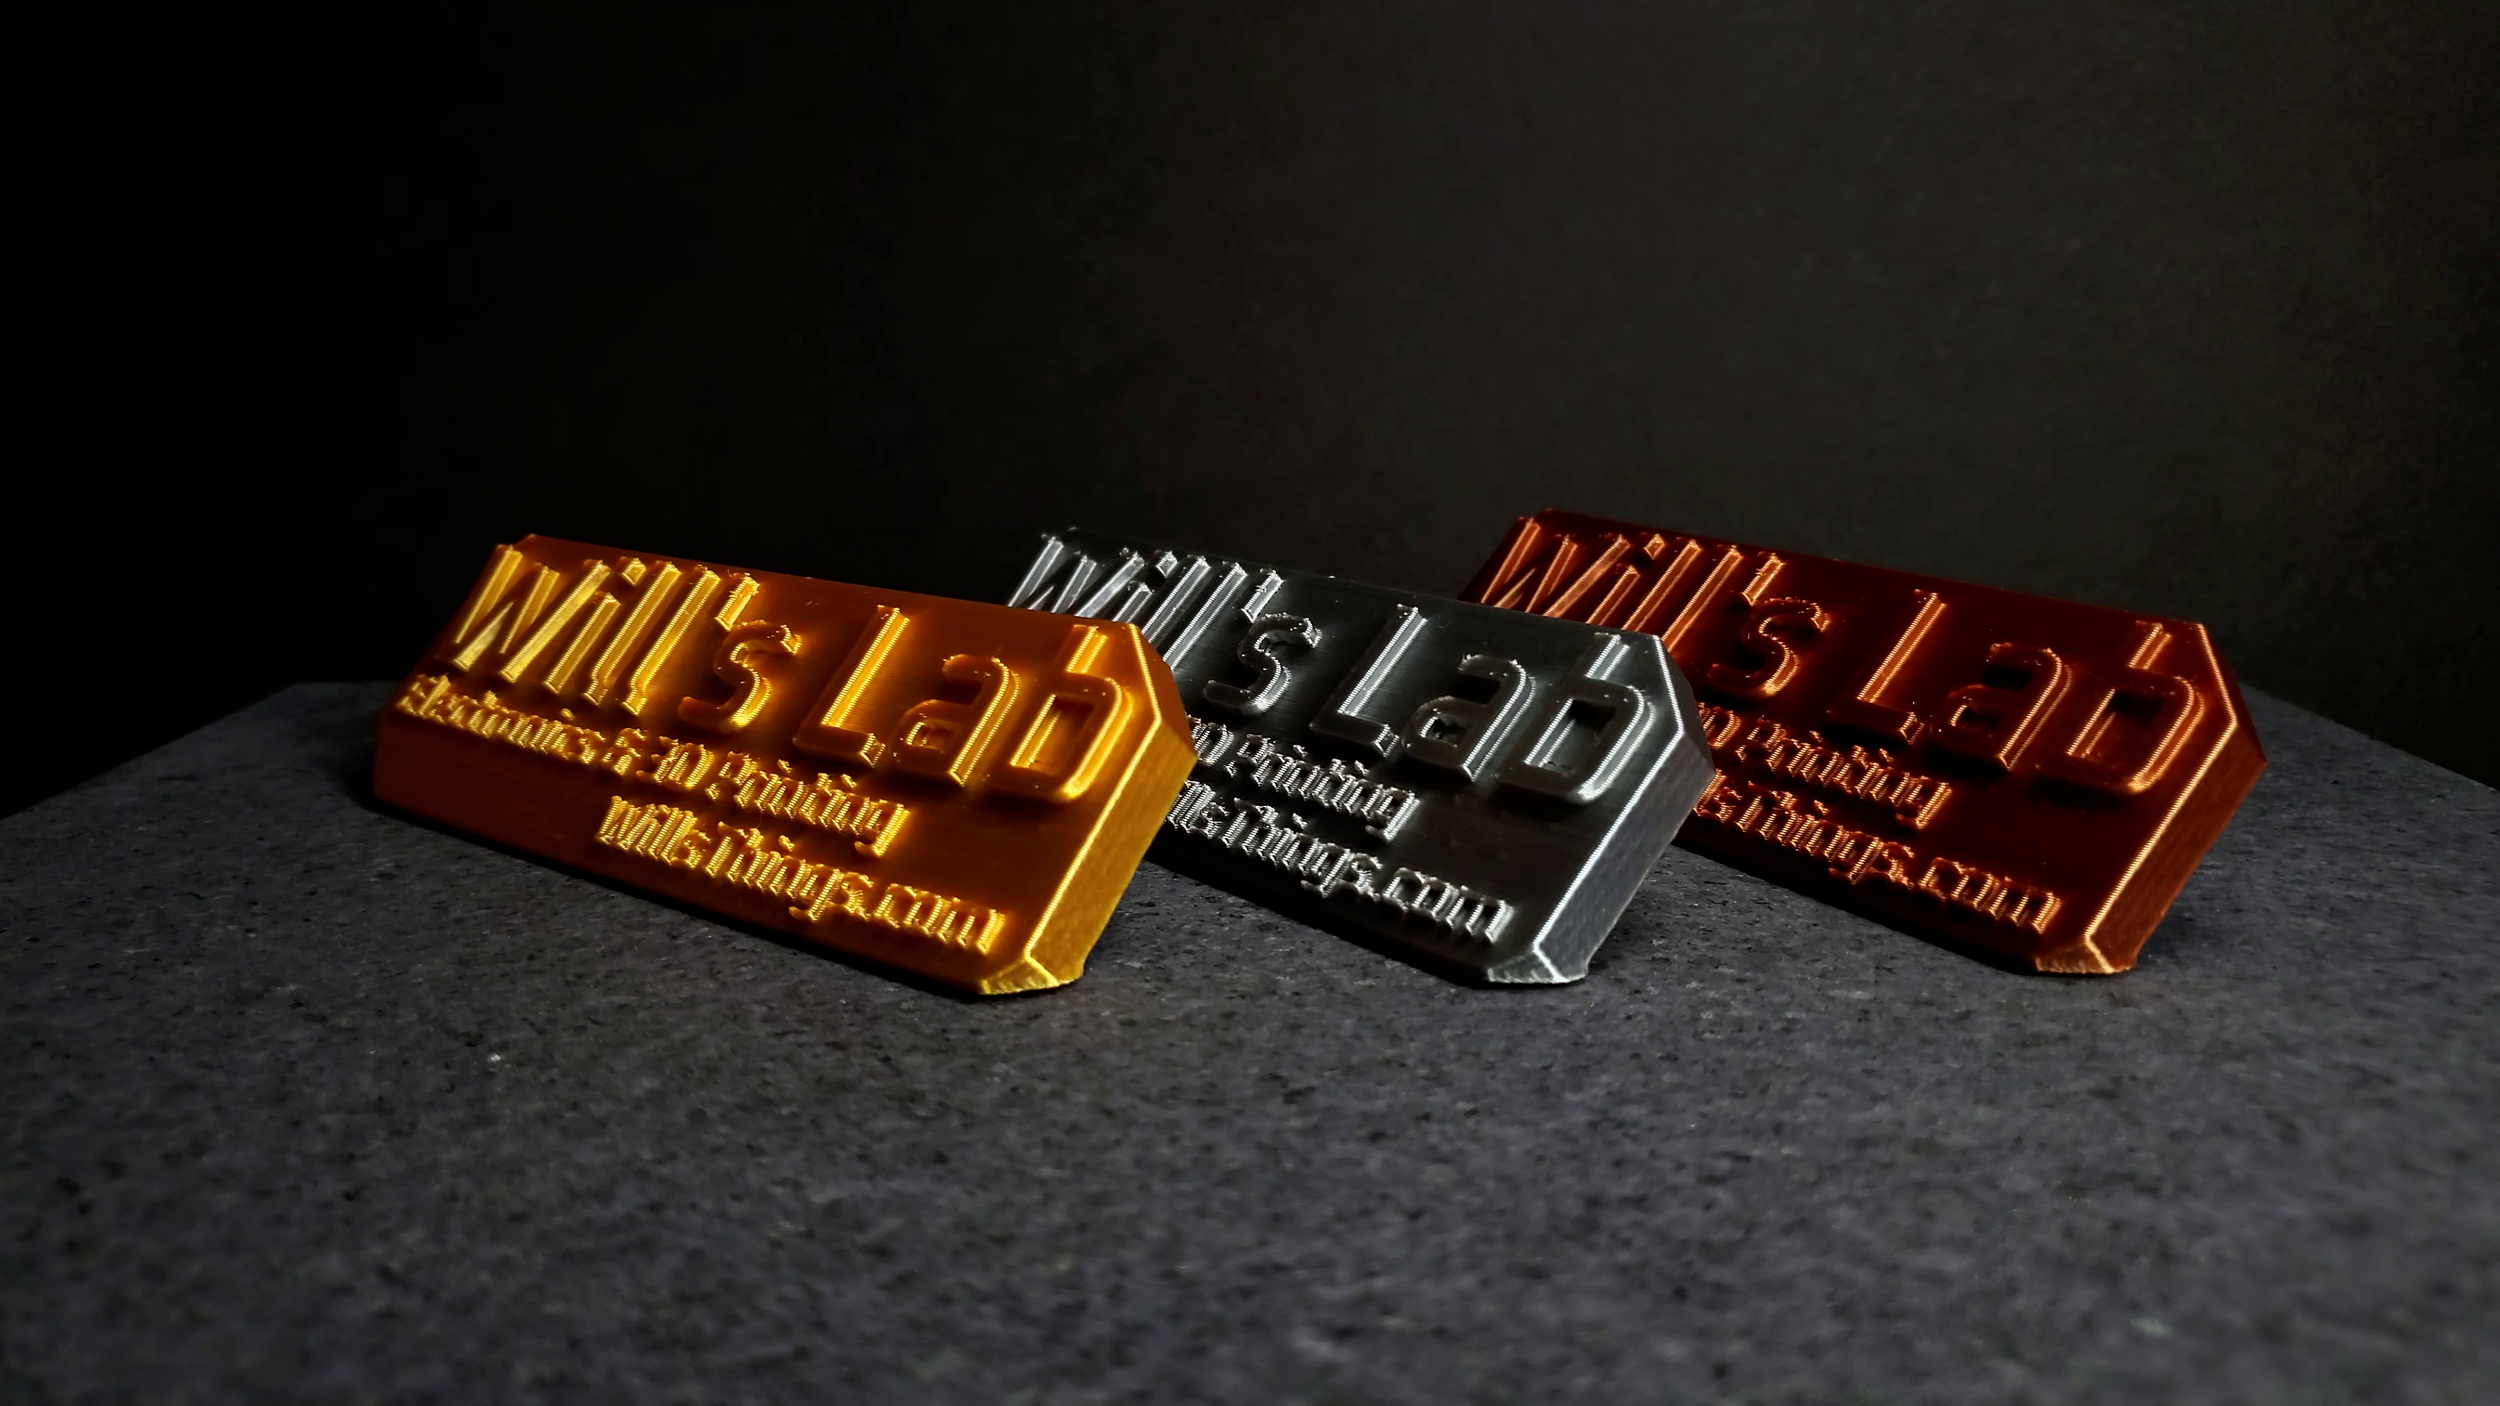
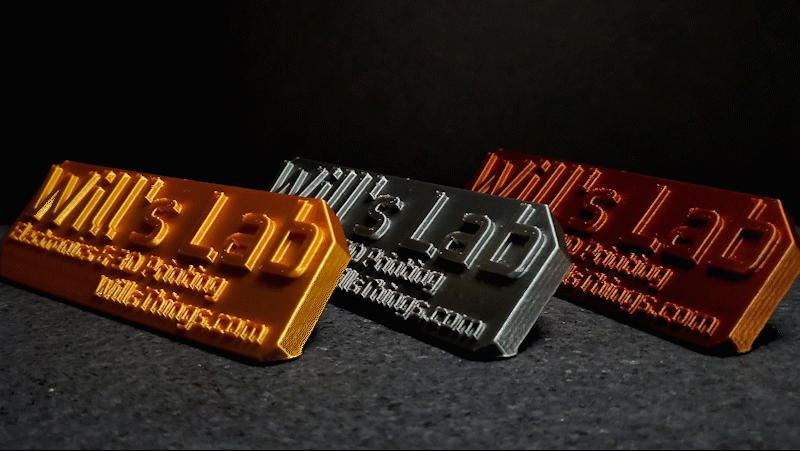
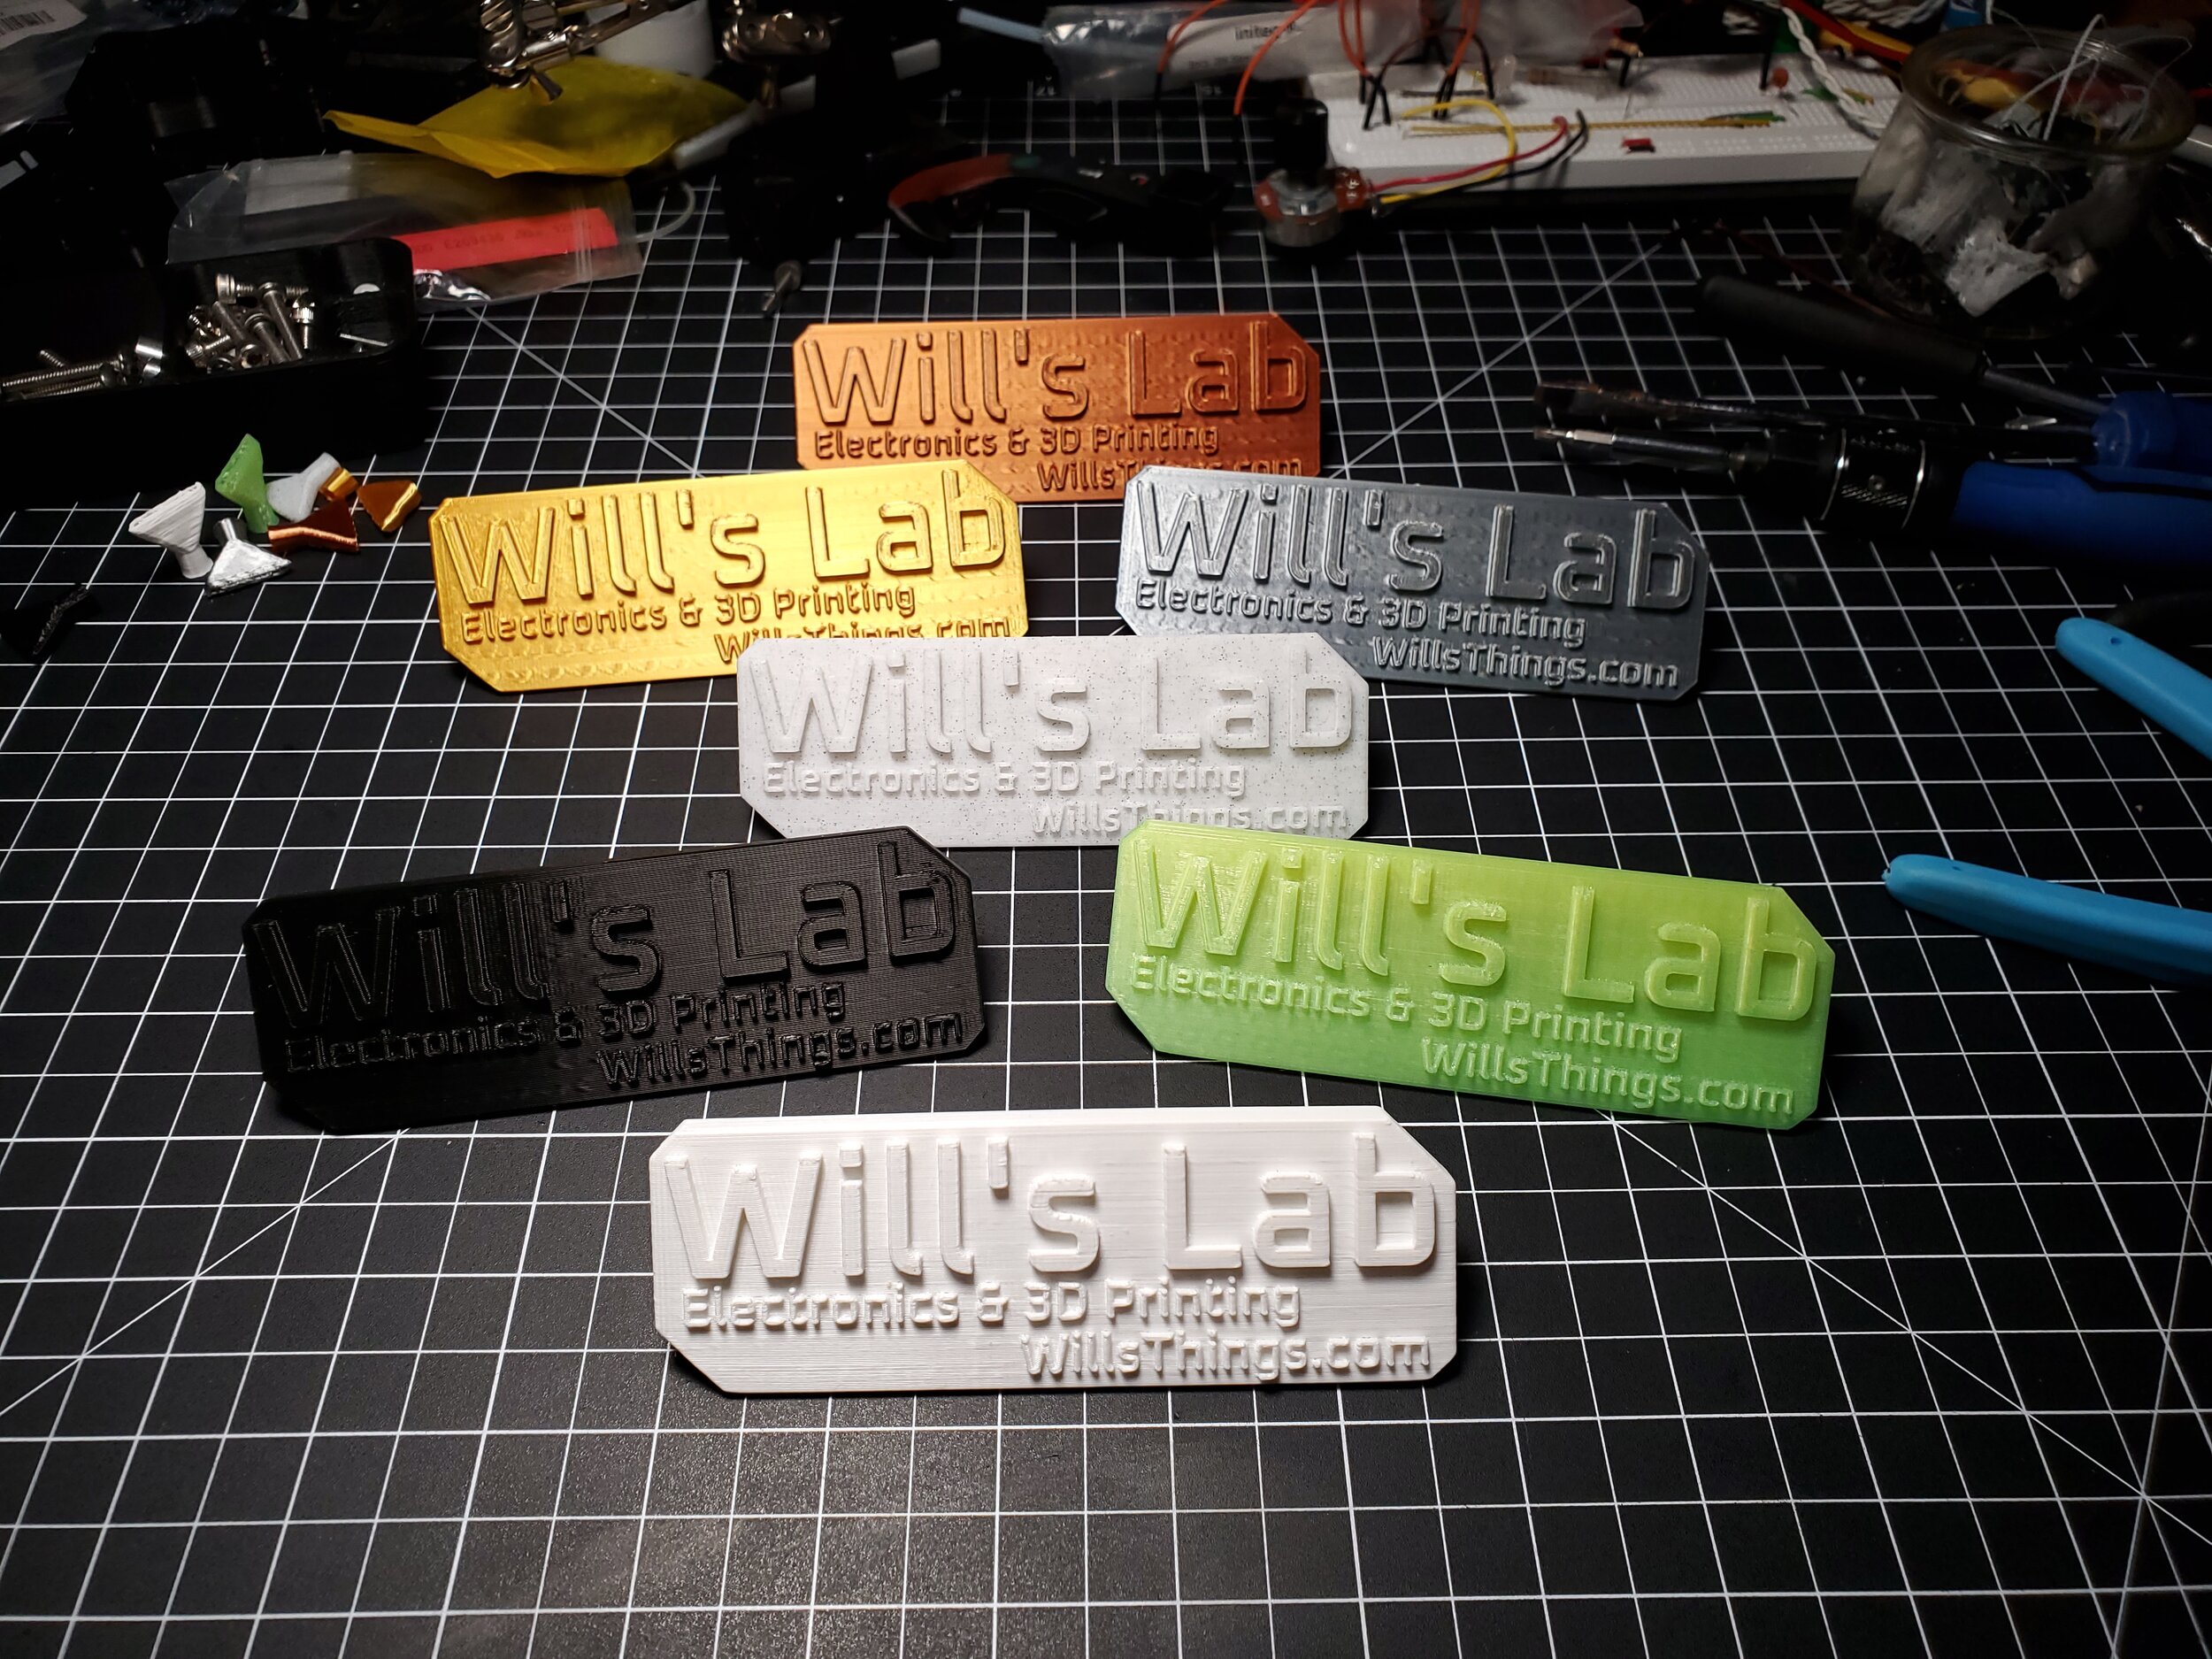
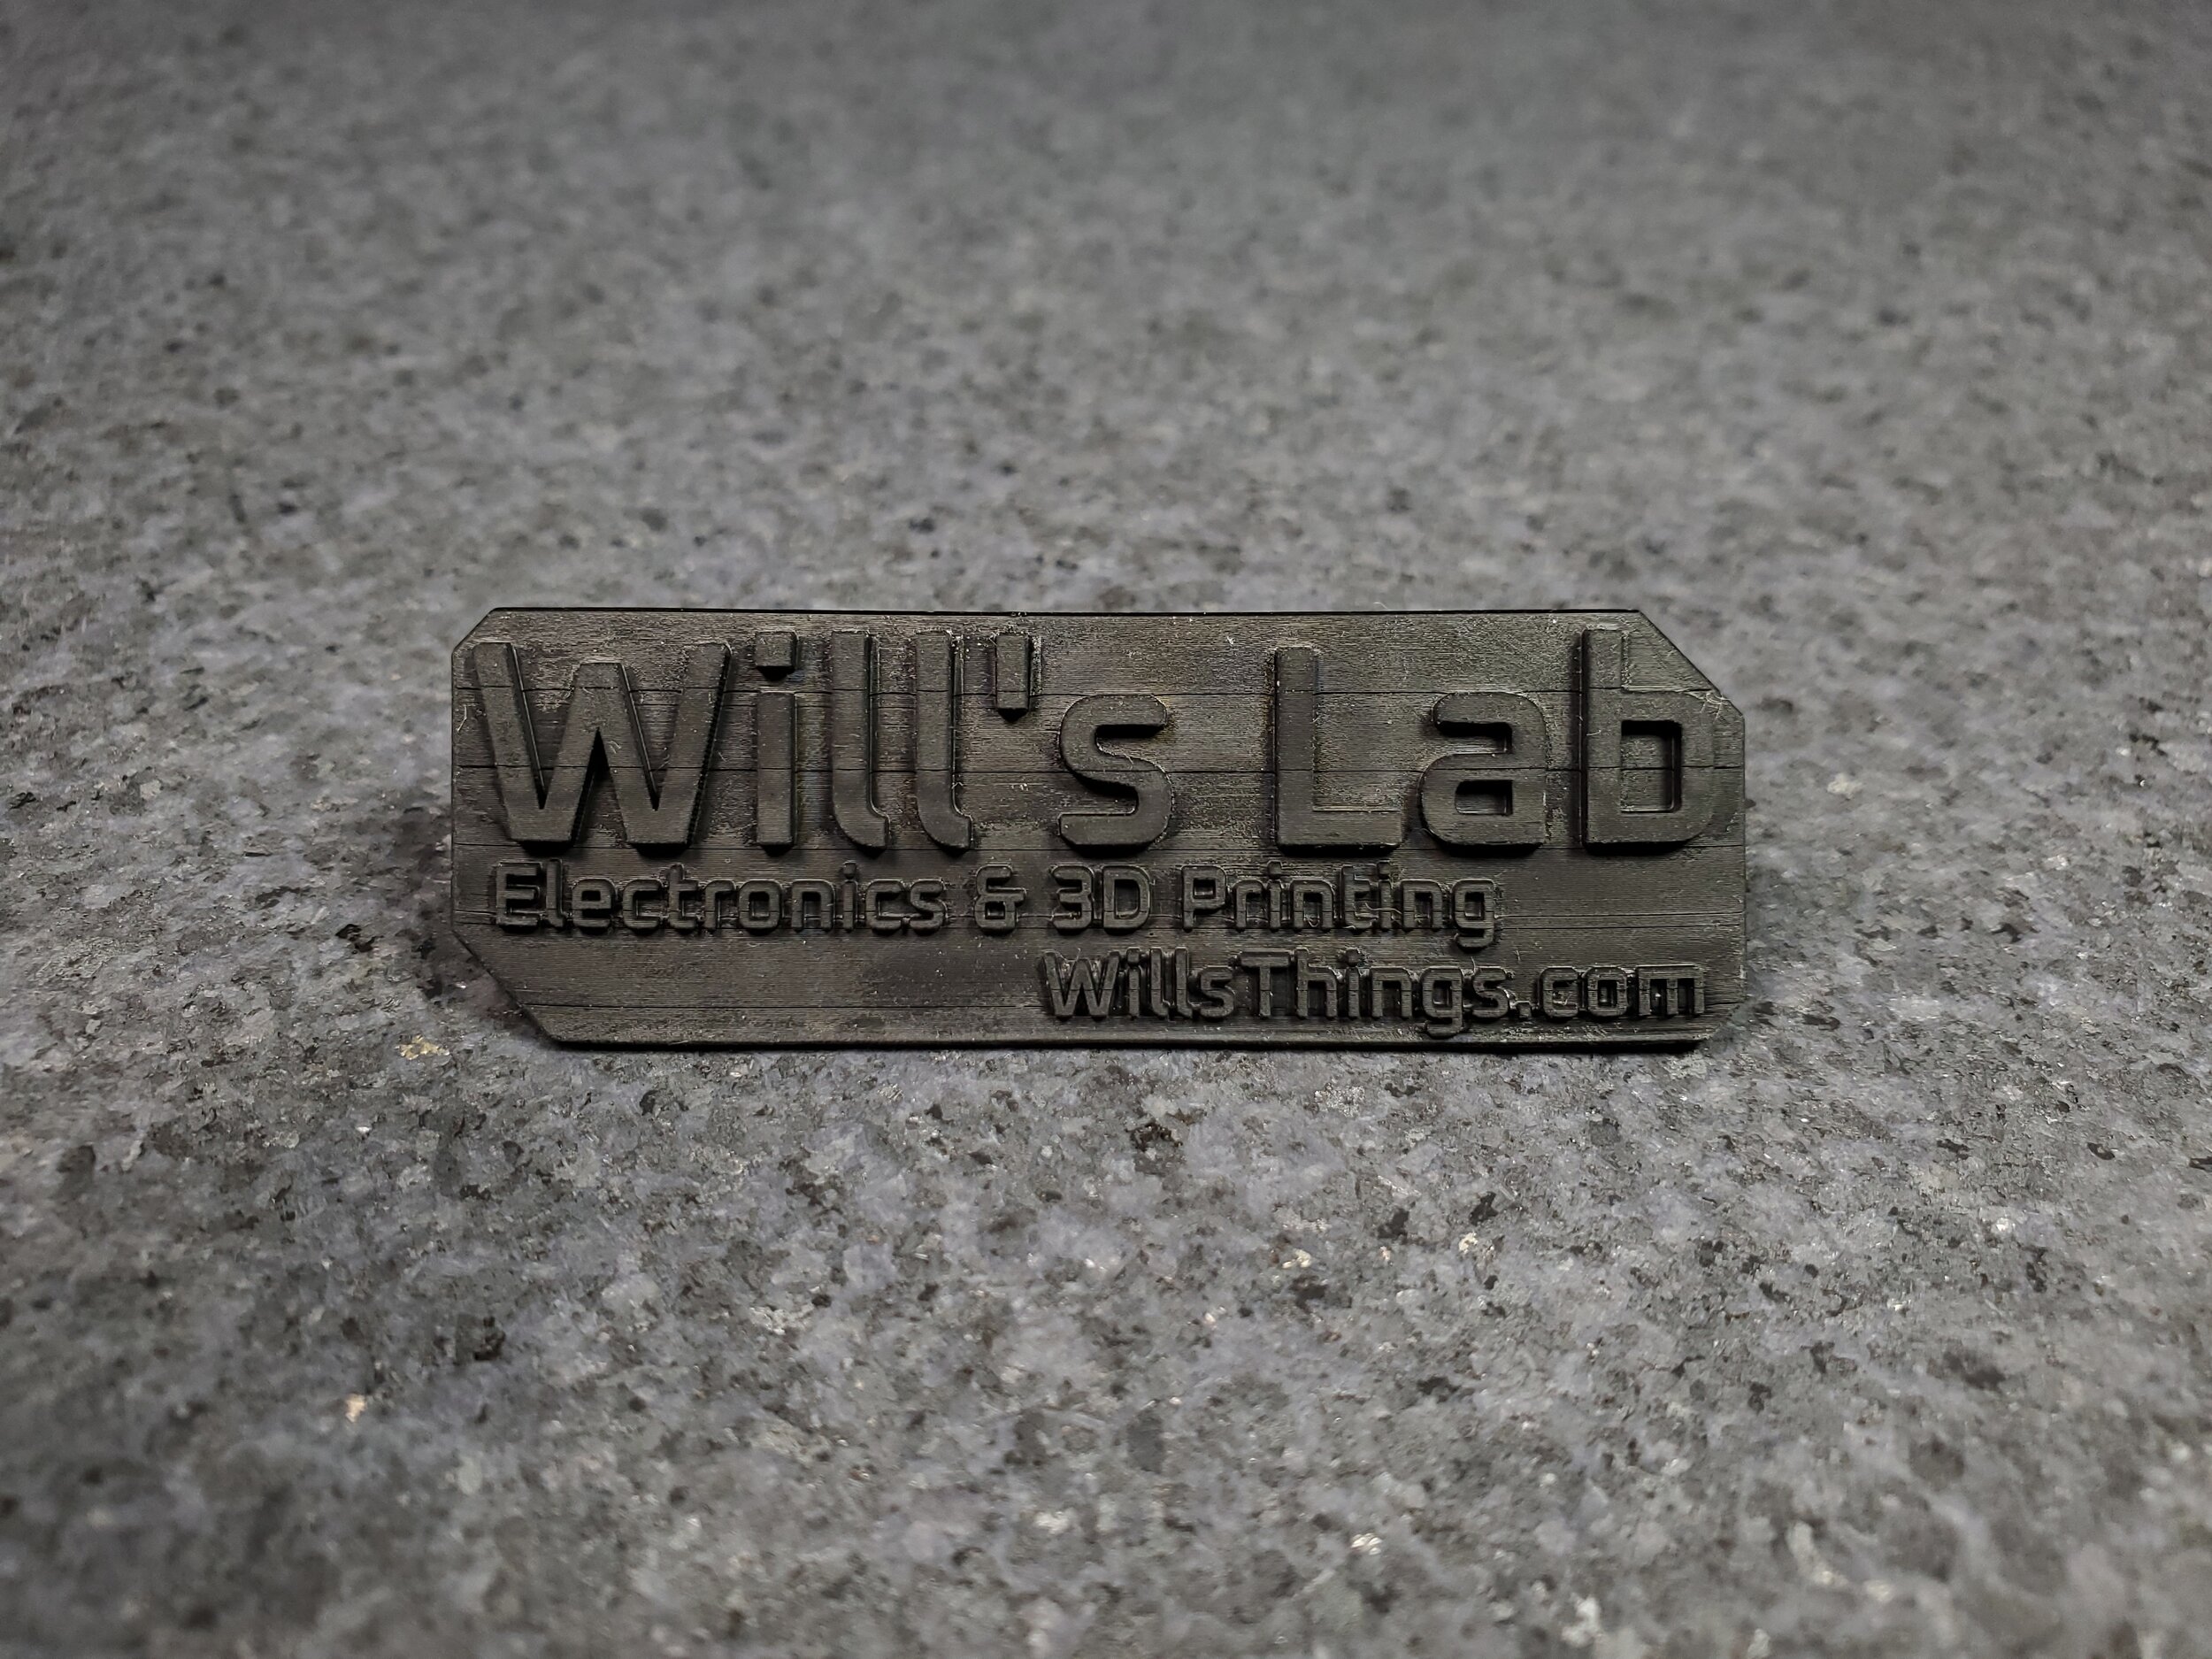
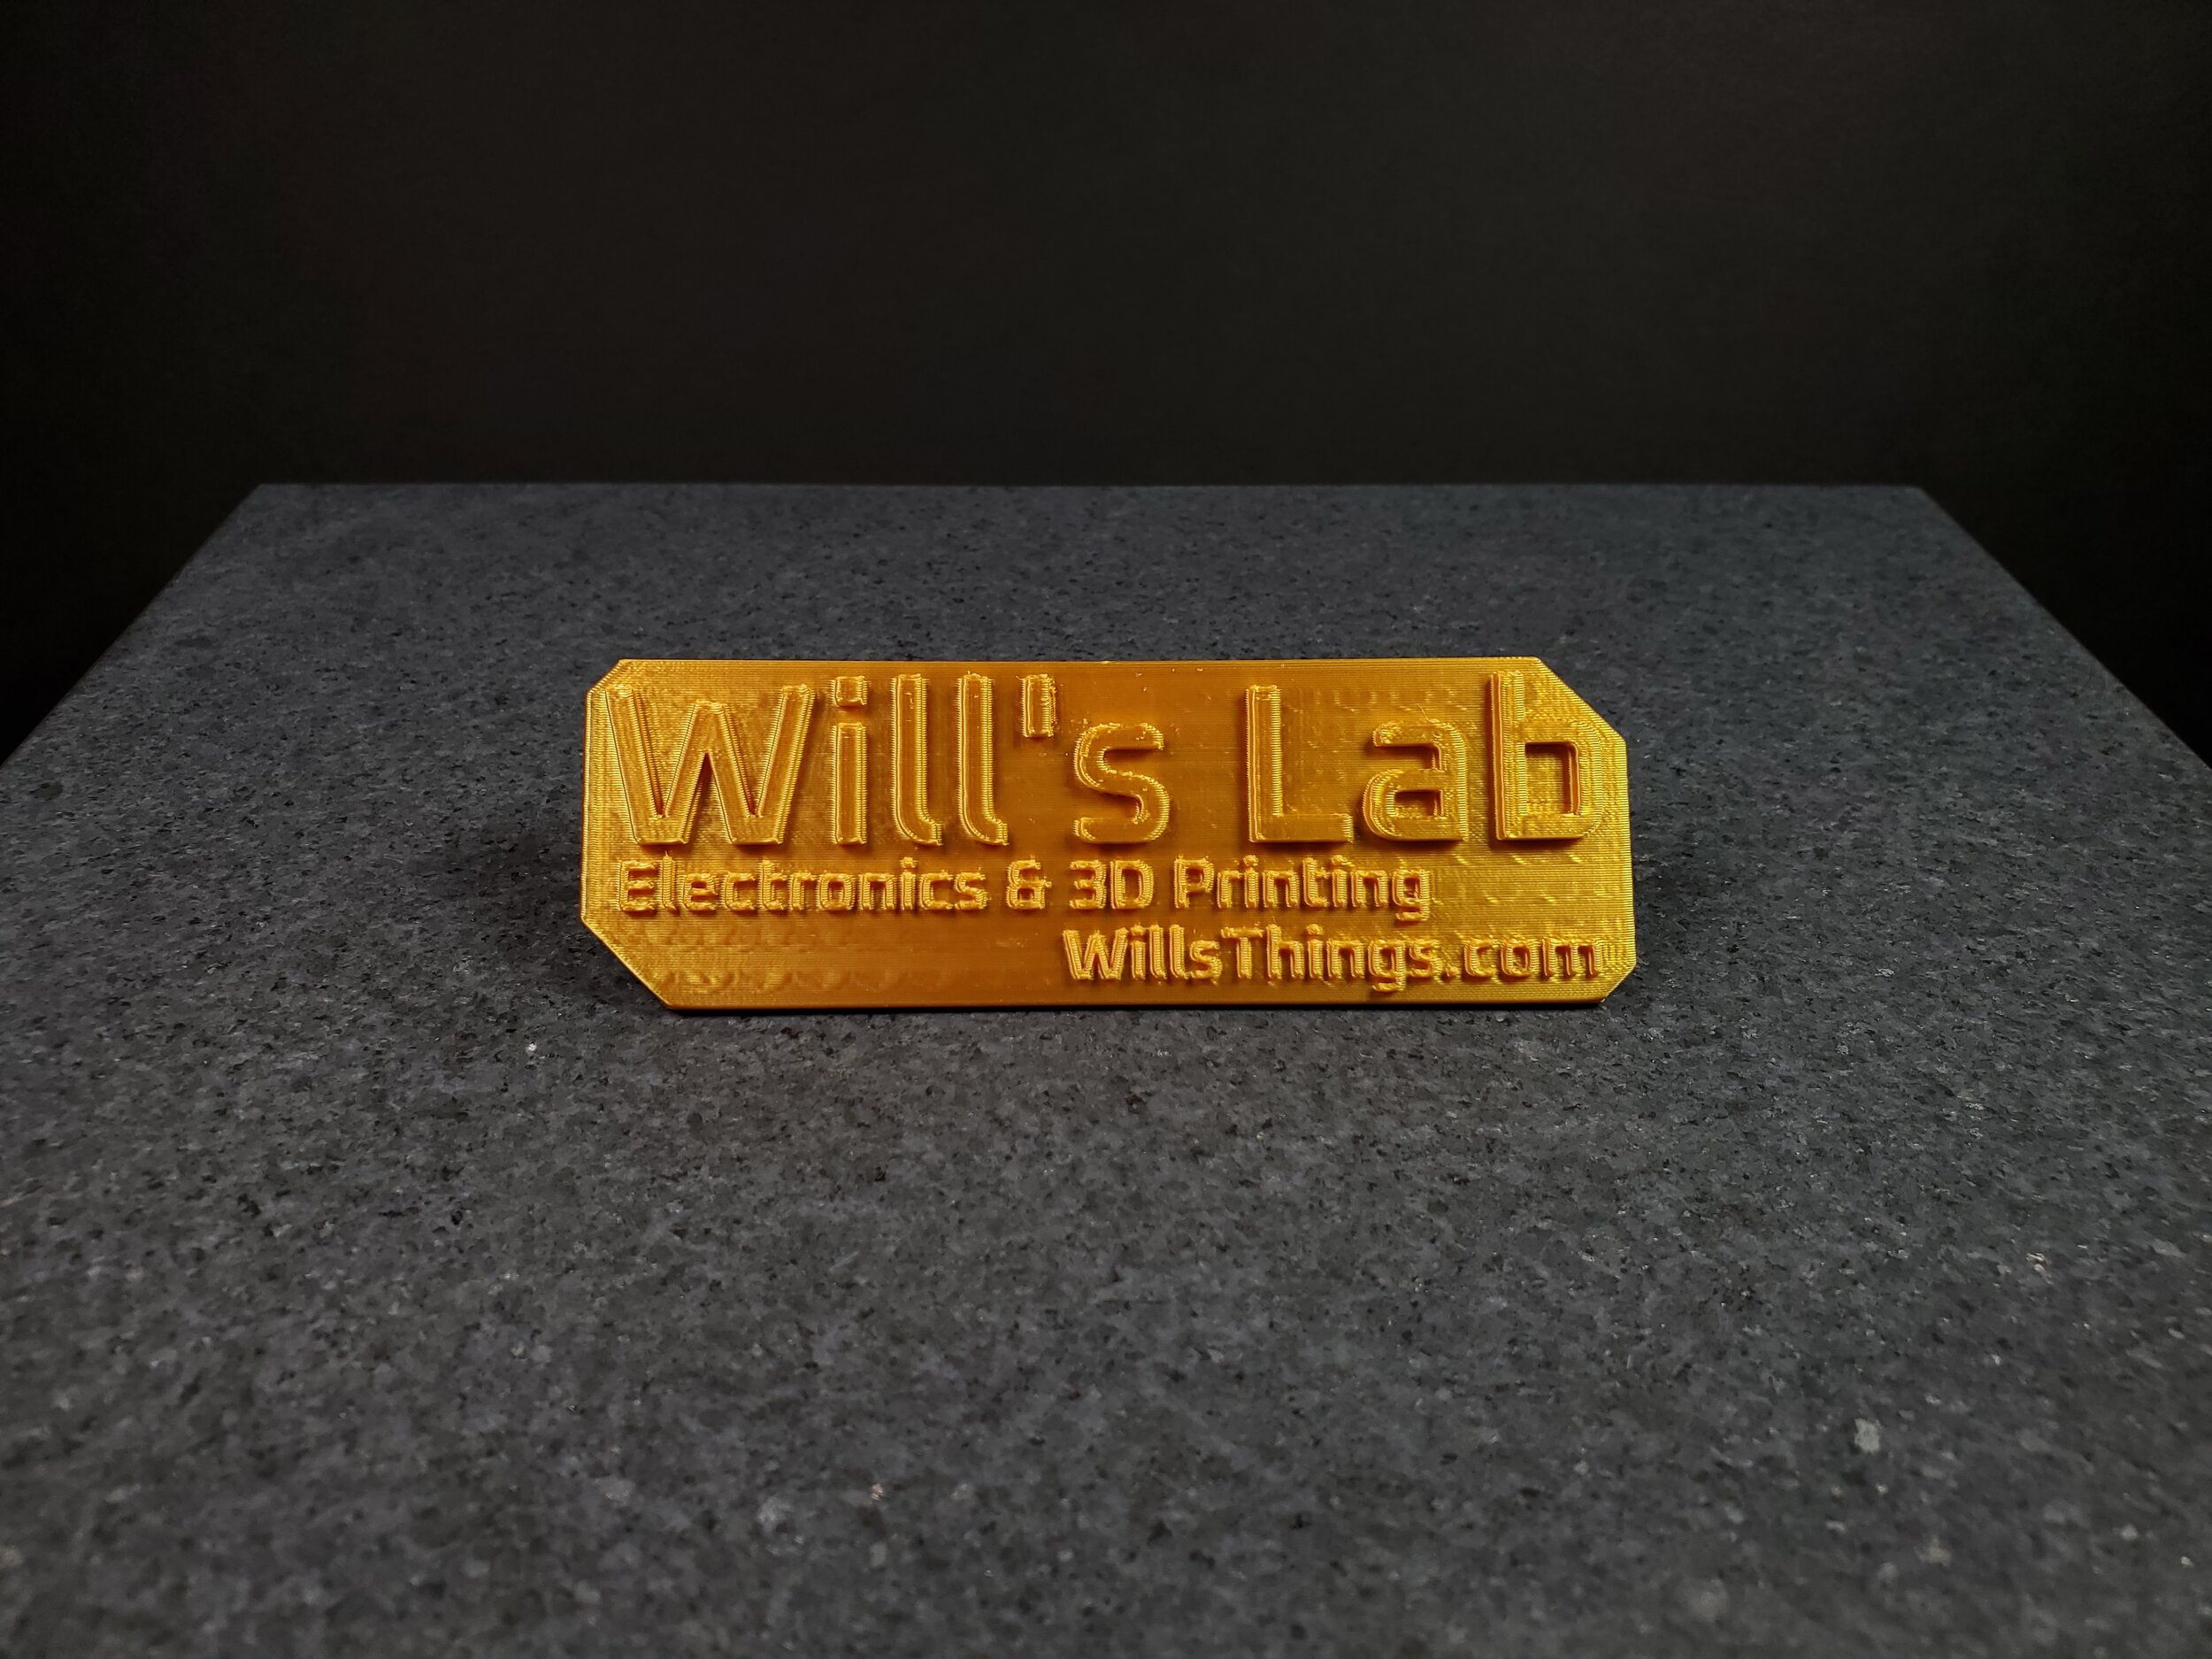
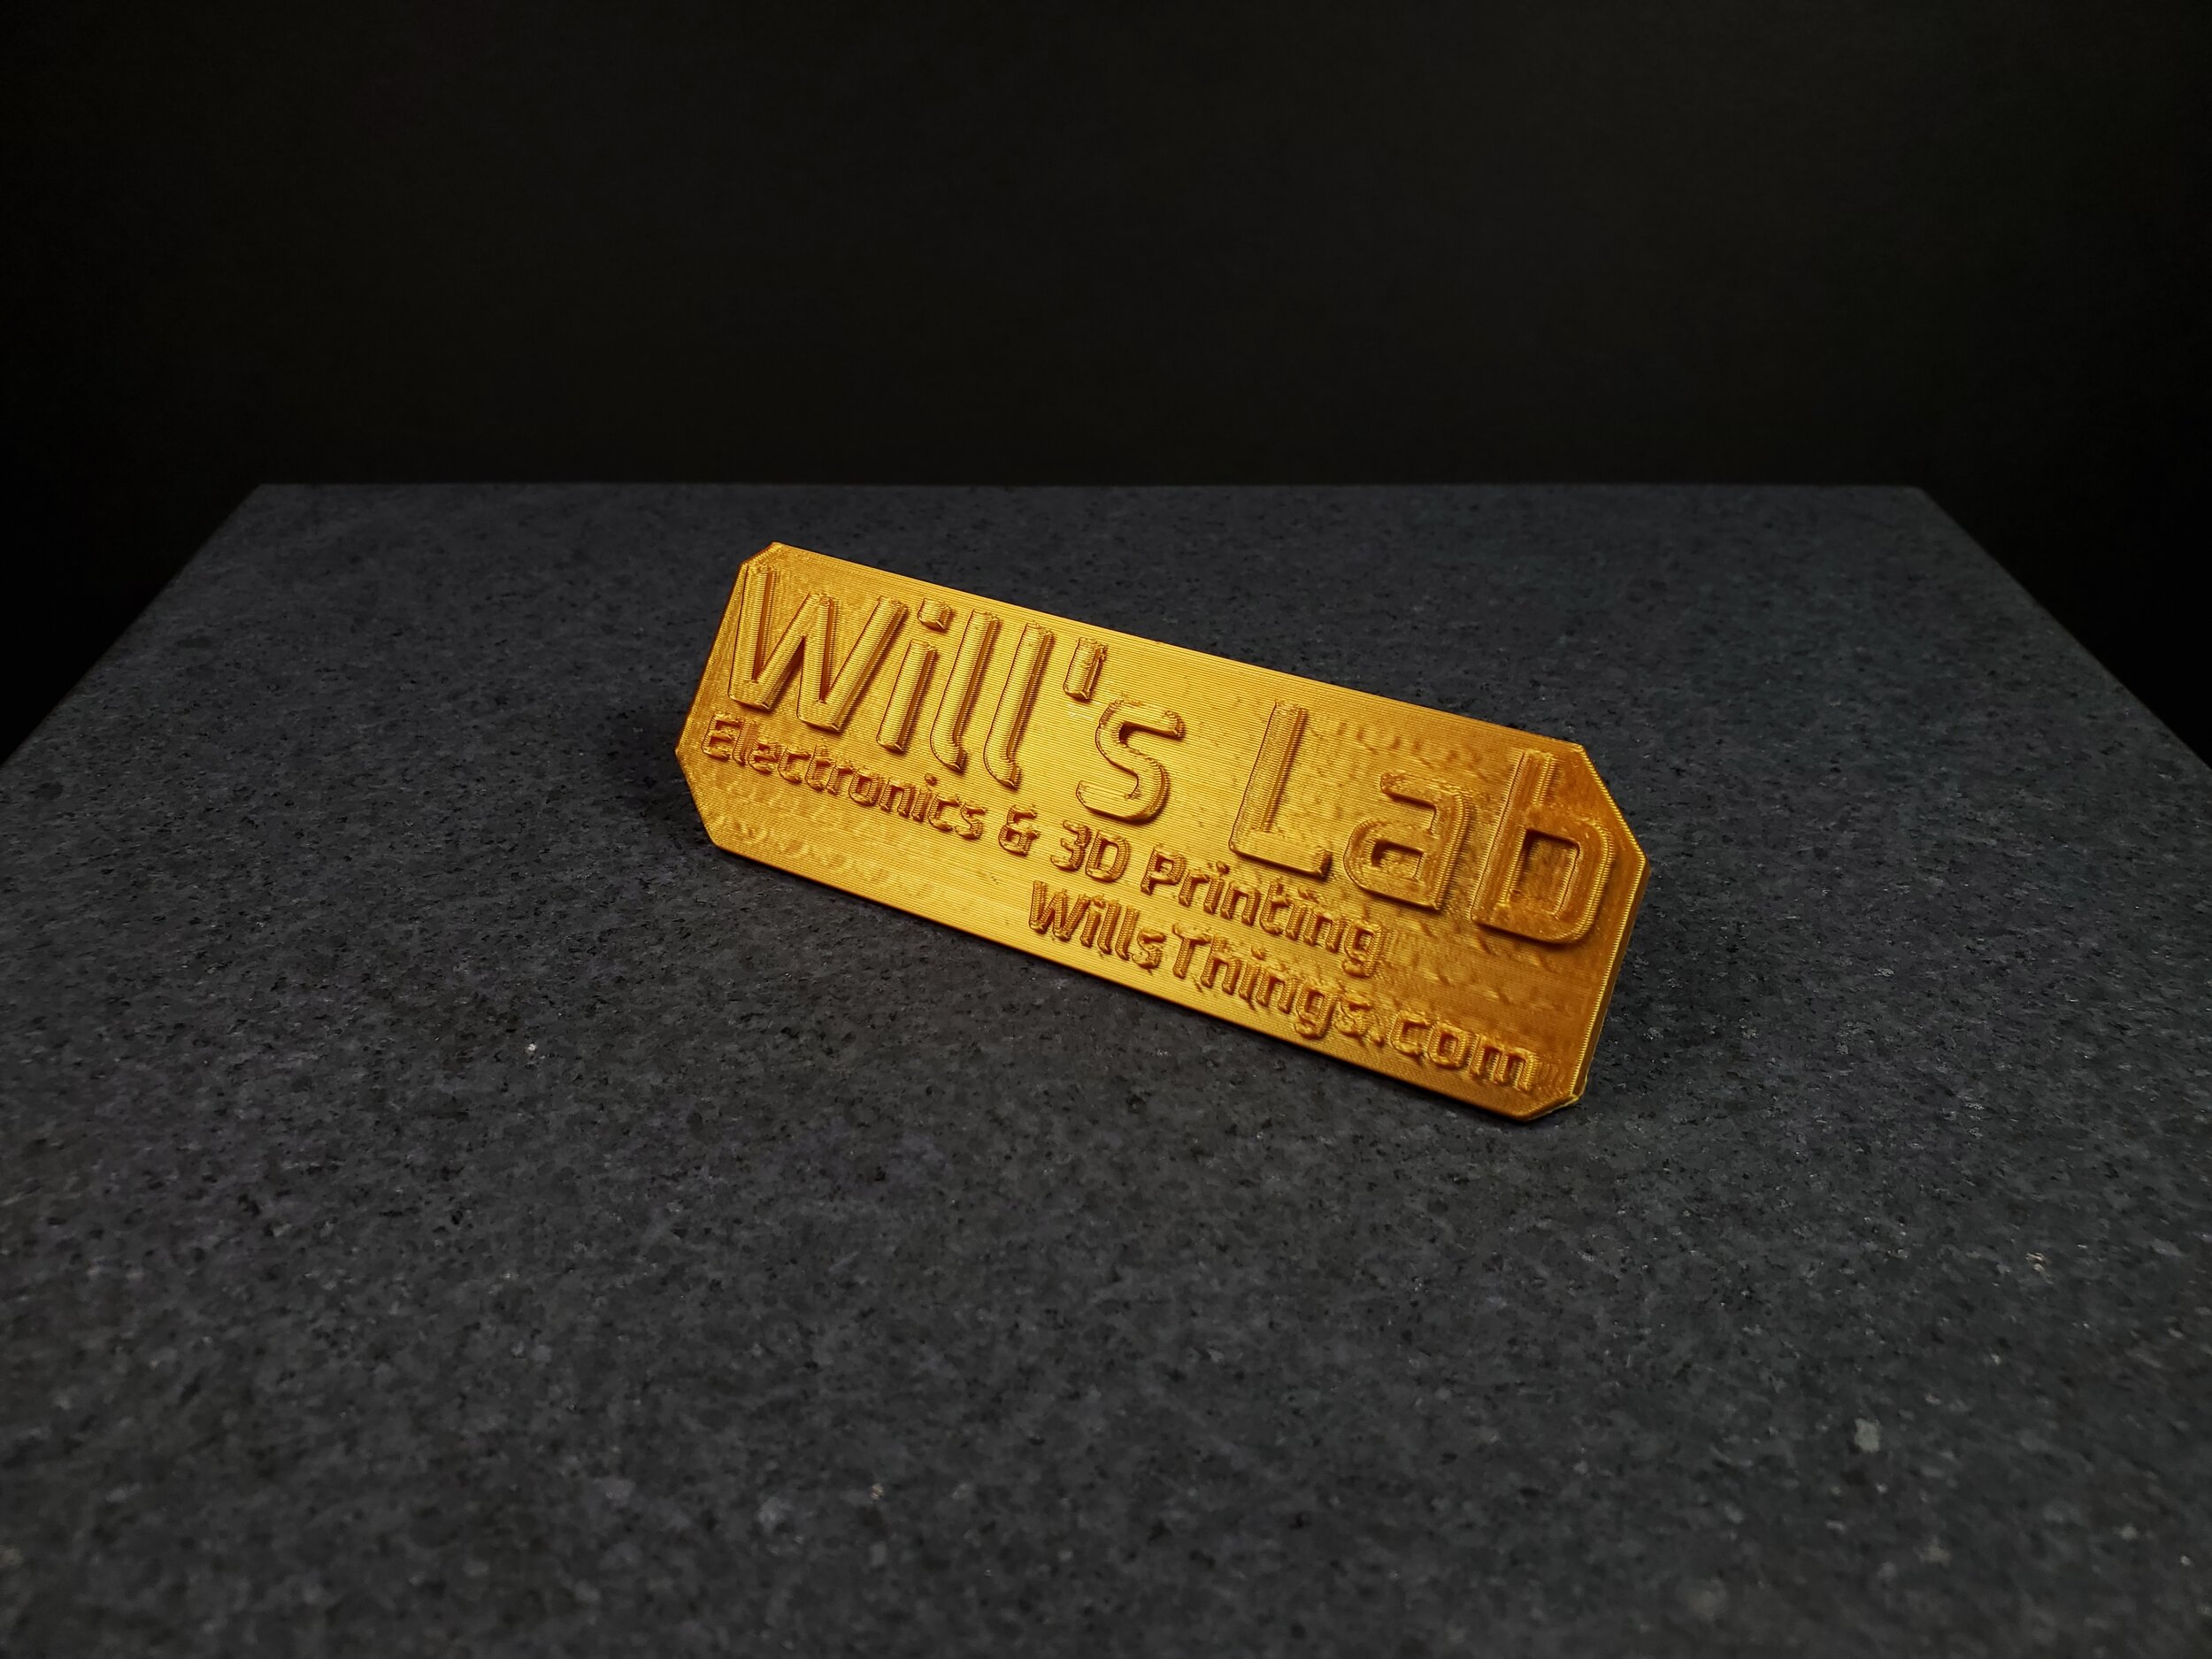
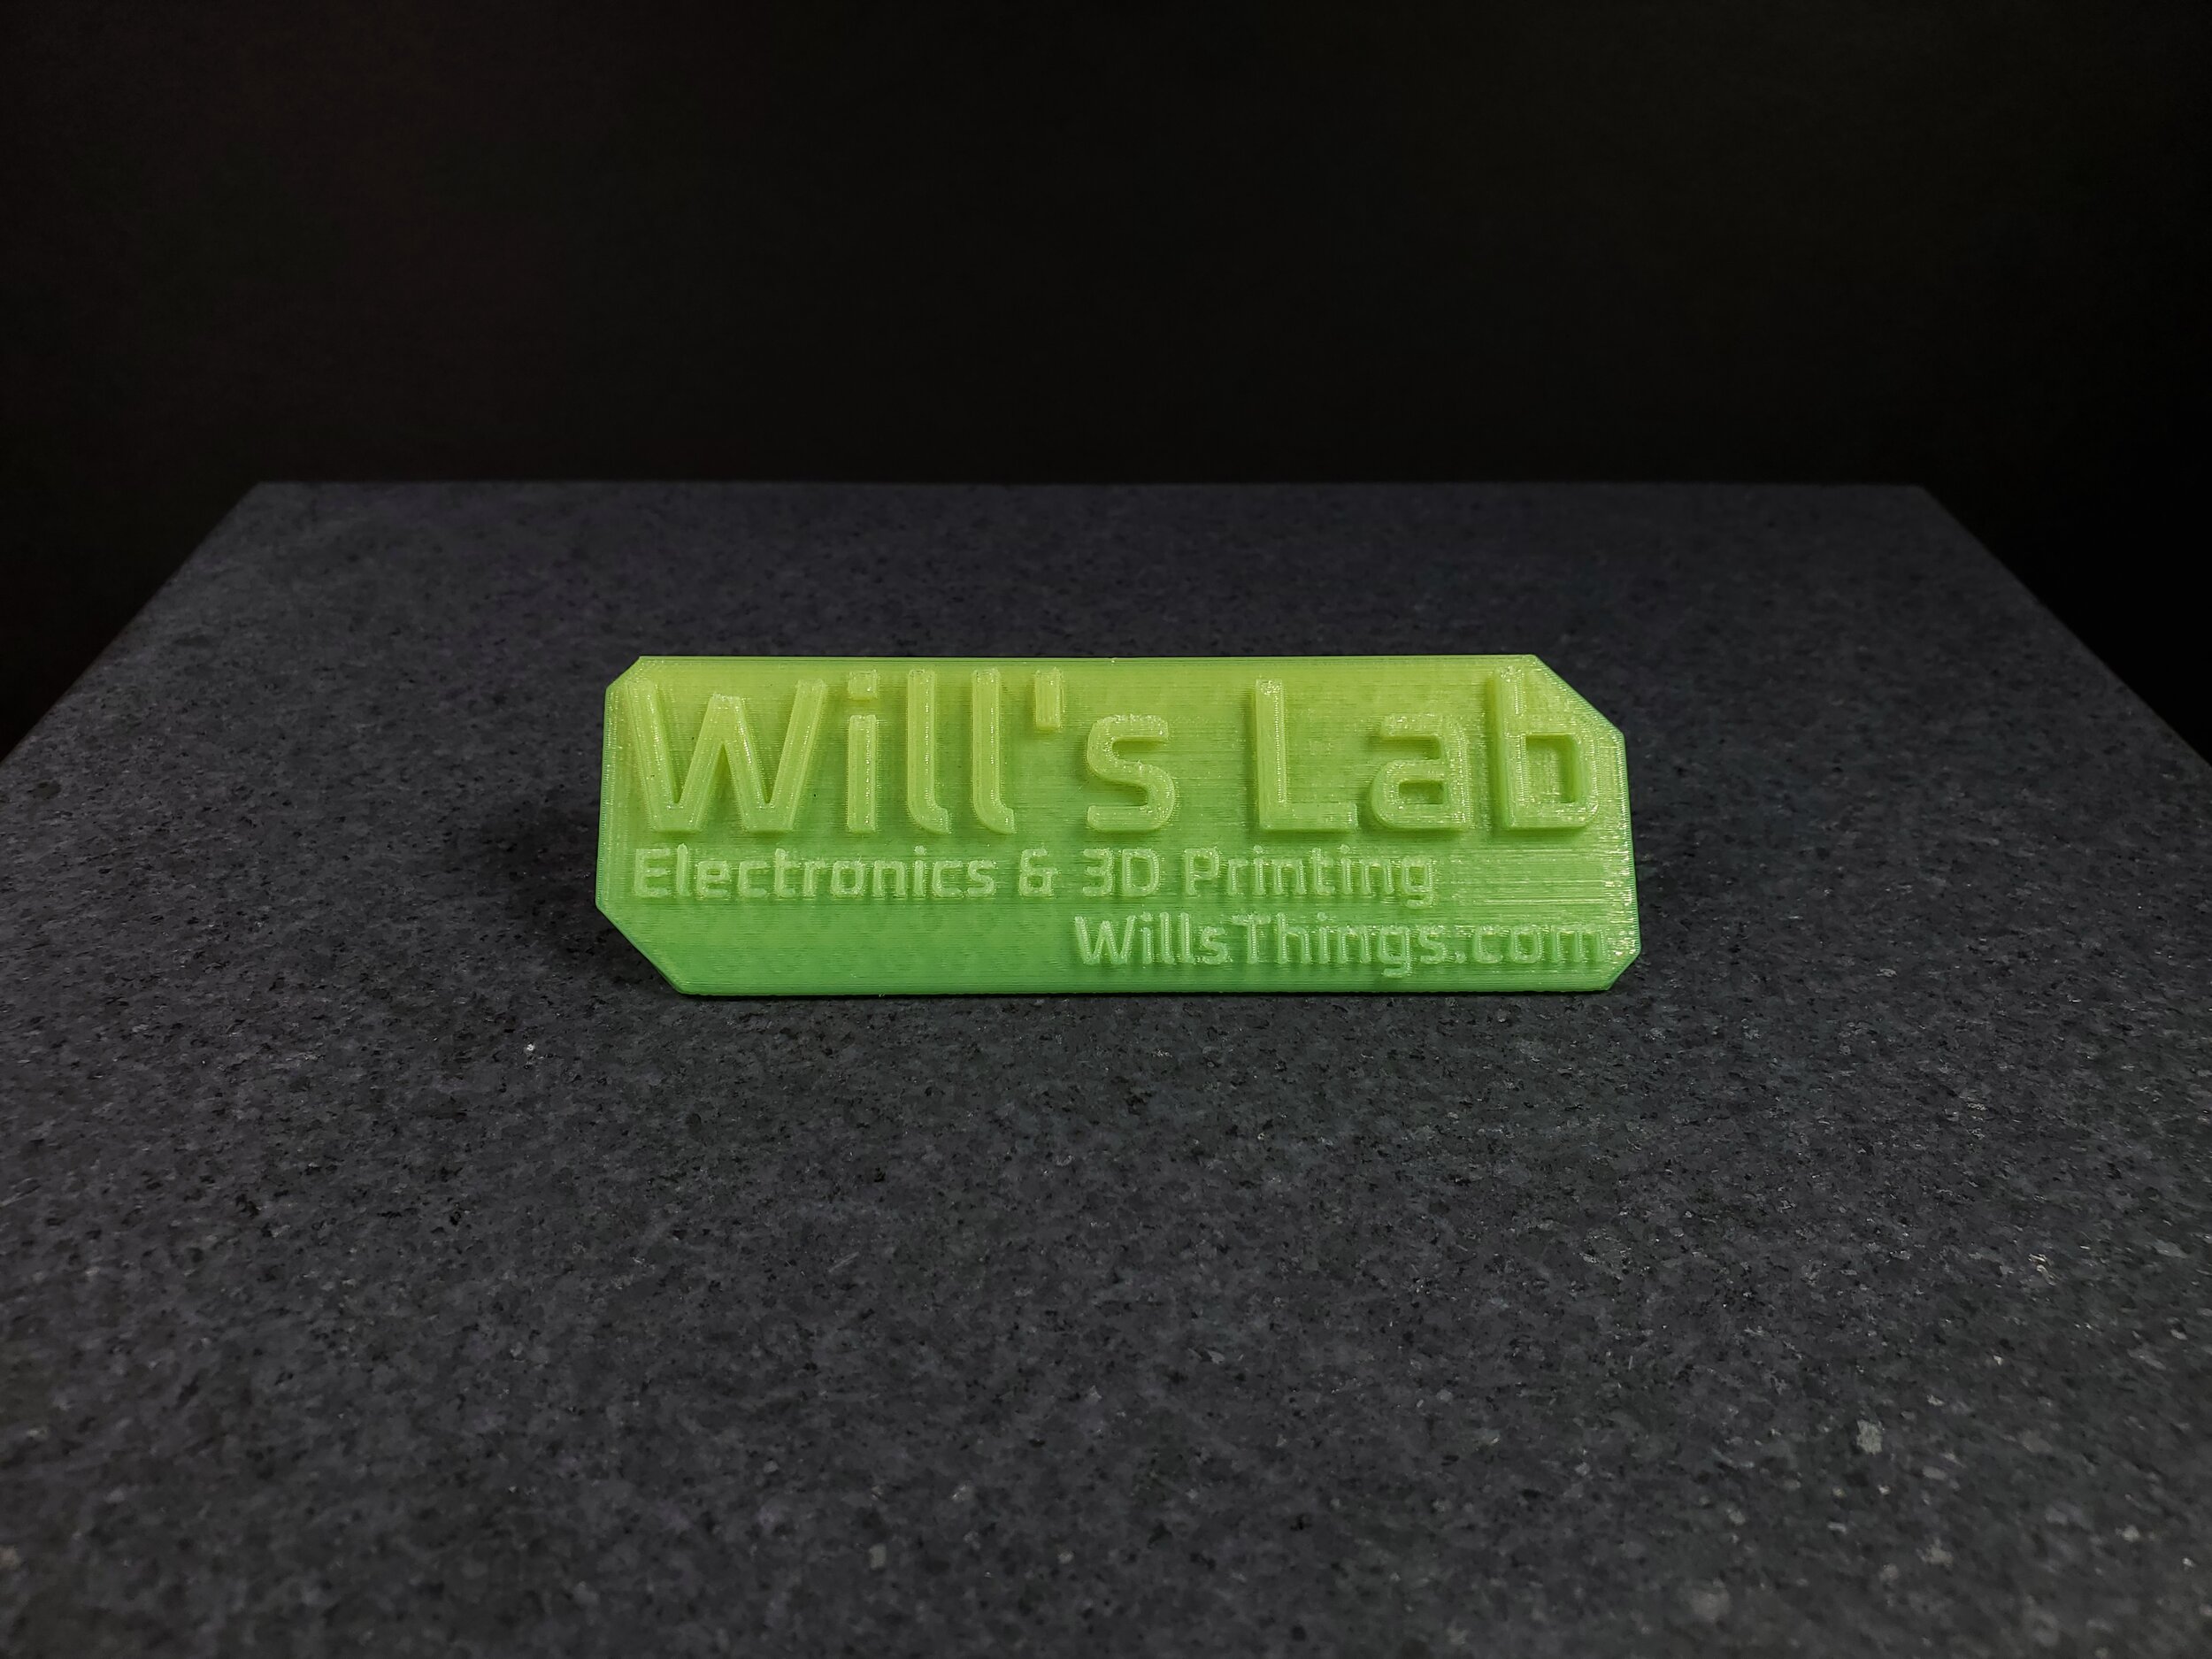
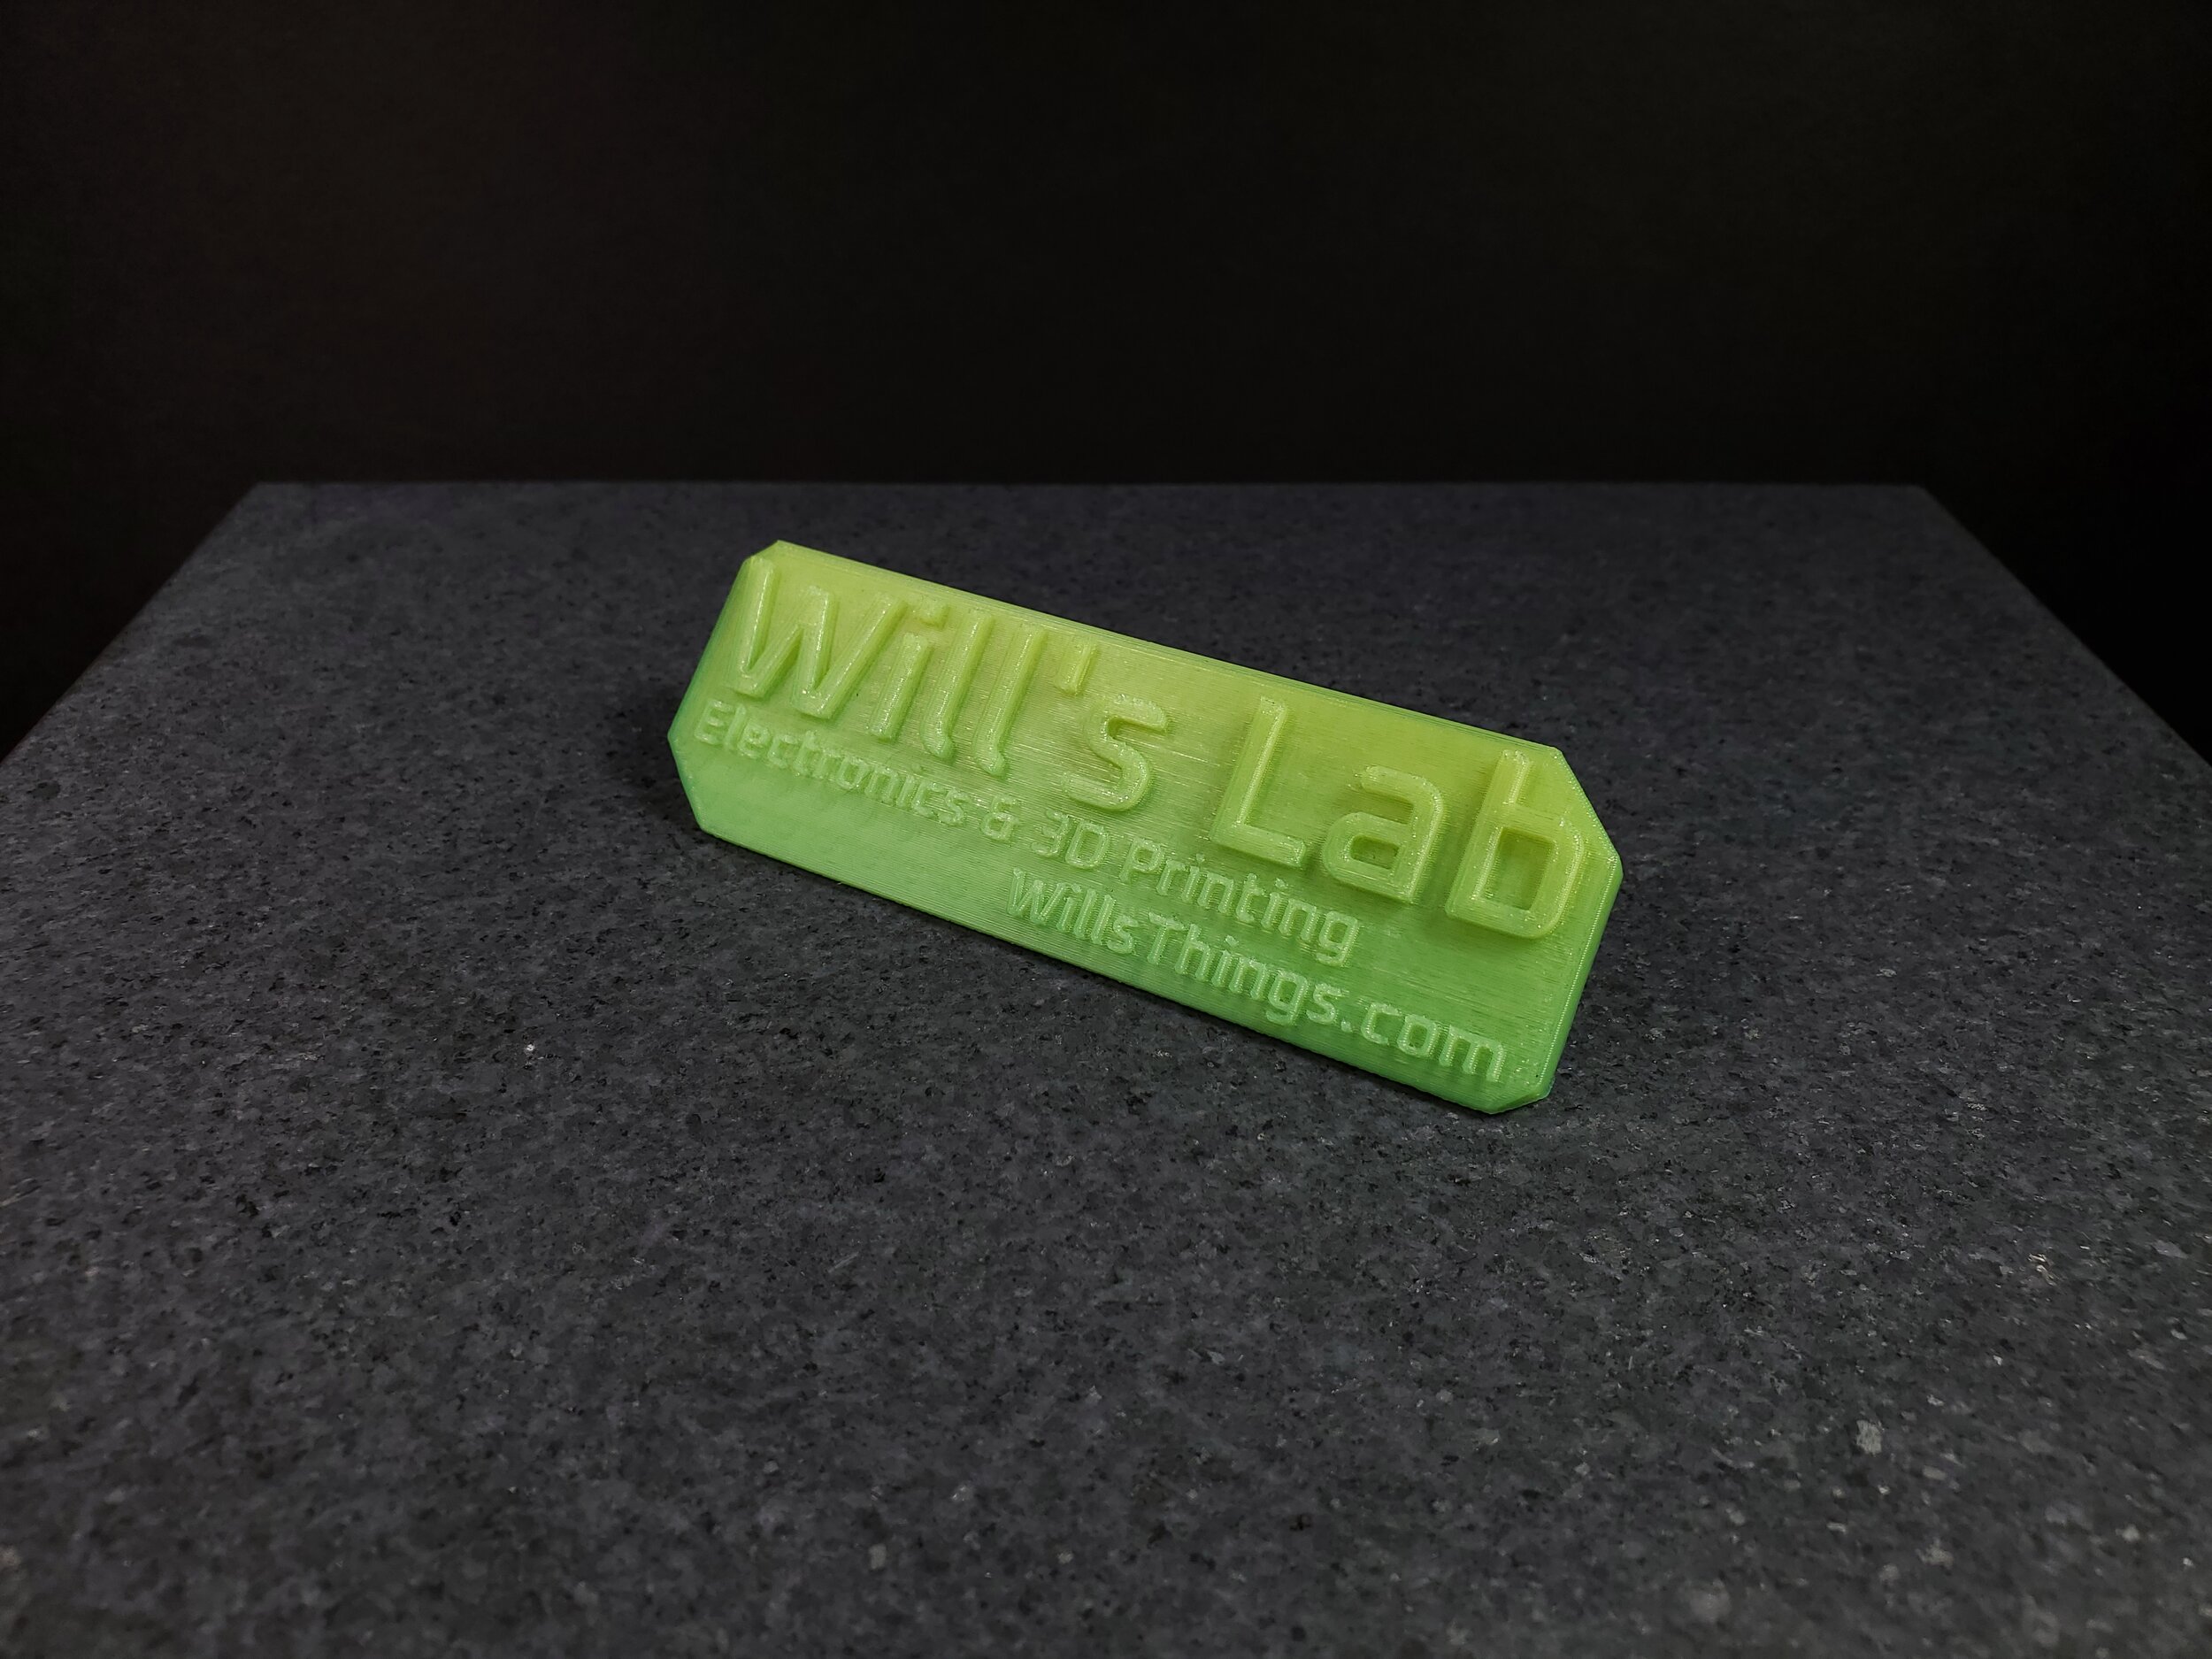
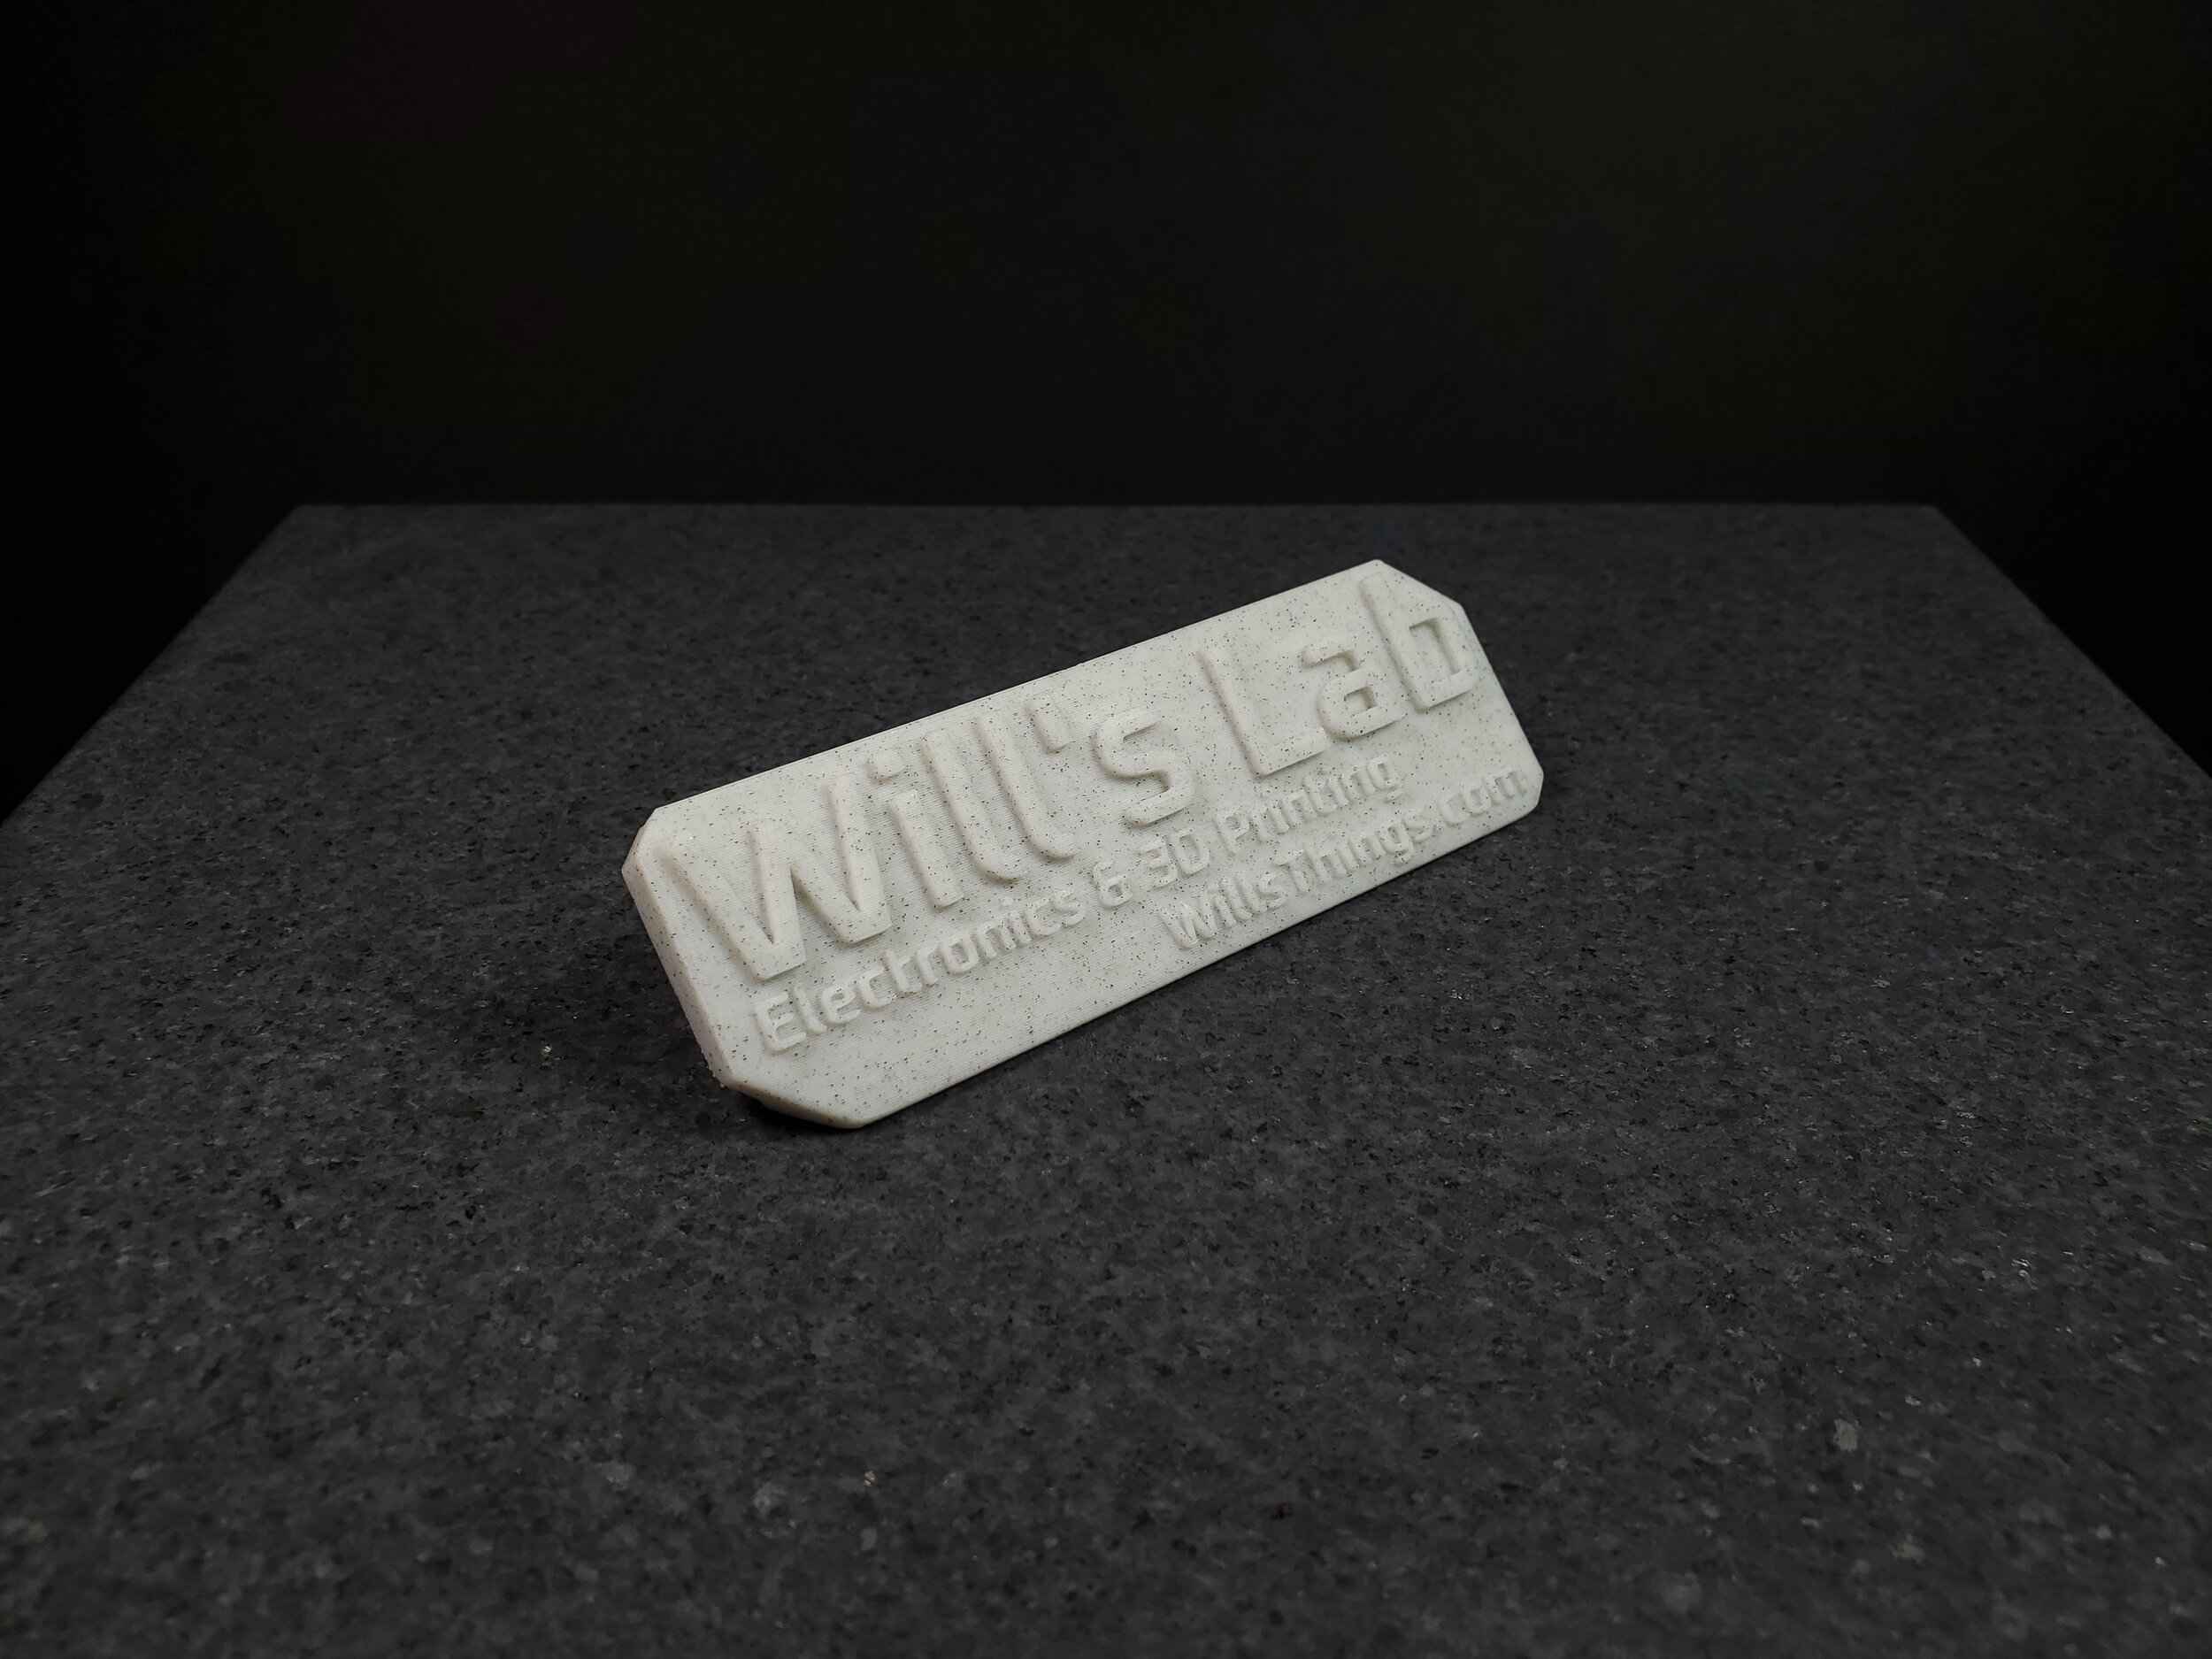
I have to say, after trying a few different filaments, I’m very satisfied with these little things. While they all look great, my favorite material is definitely the marble, with metalic copper coming in a close second.
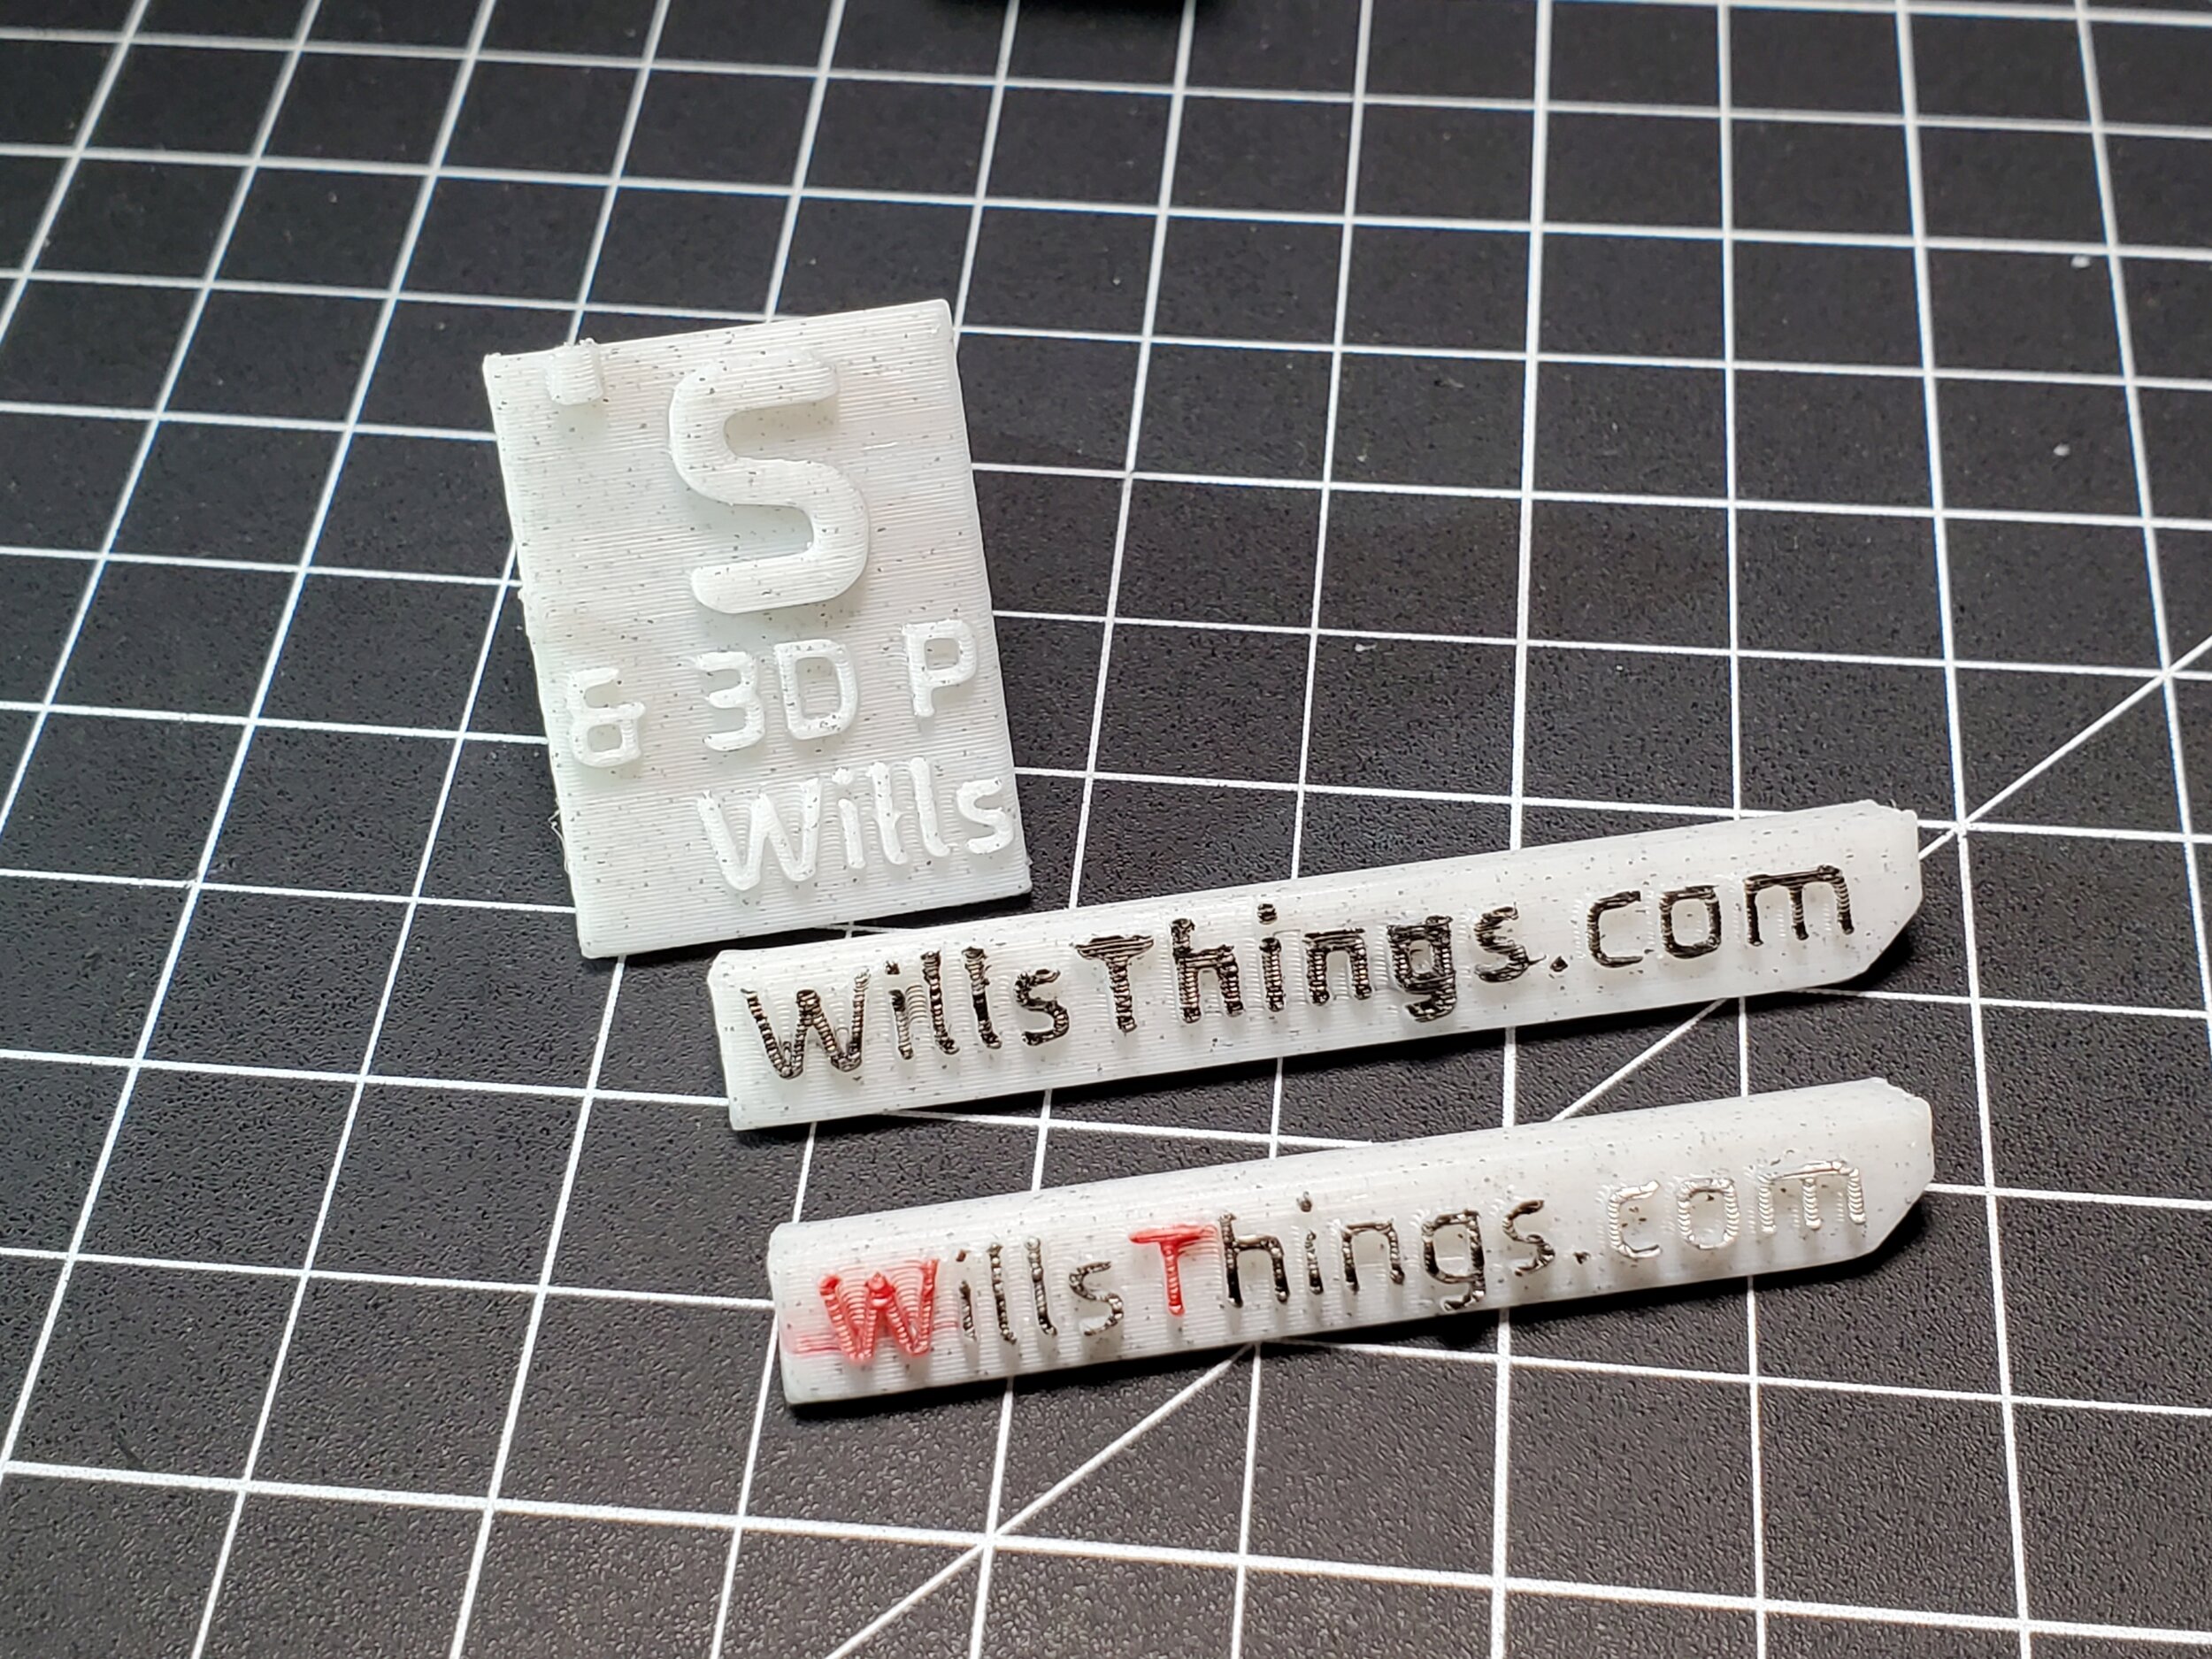
I tried SLA printing one at 50% scale, and it came out… Well, not good. I’m quite disappointed with the surface finish, and for some reason it developed Z banding—the first time that’s happened with this printer. The tiny resin kickstand does work after some careful trimming with fine carving tools, but tolerances designed for FDM definitely didn’t translate well to this shrunken SLA model. Perhaps I’ll tweak the model and try an SLA version again someday in the future.
I also made a timelapse of one printing, you can find it here.
Finally, I'll leave you with some glam shots of all the plaques I've printed so far!

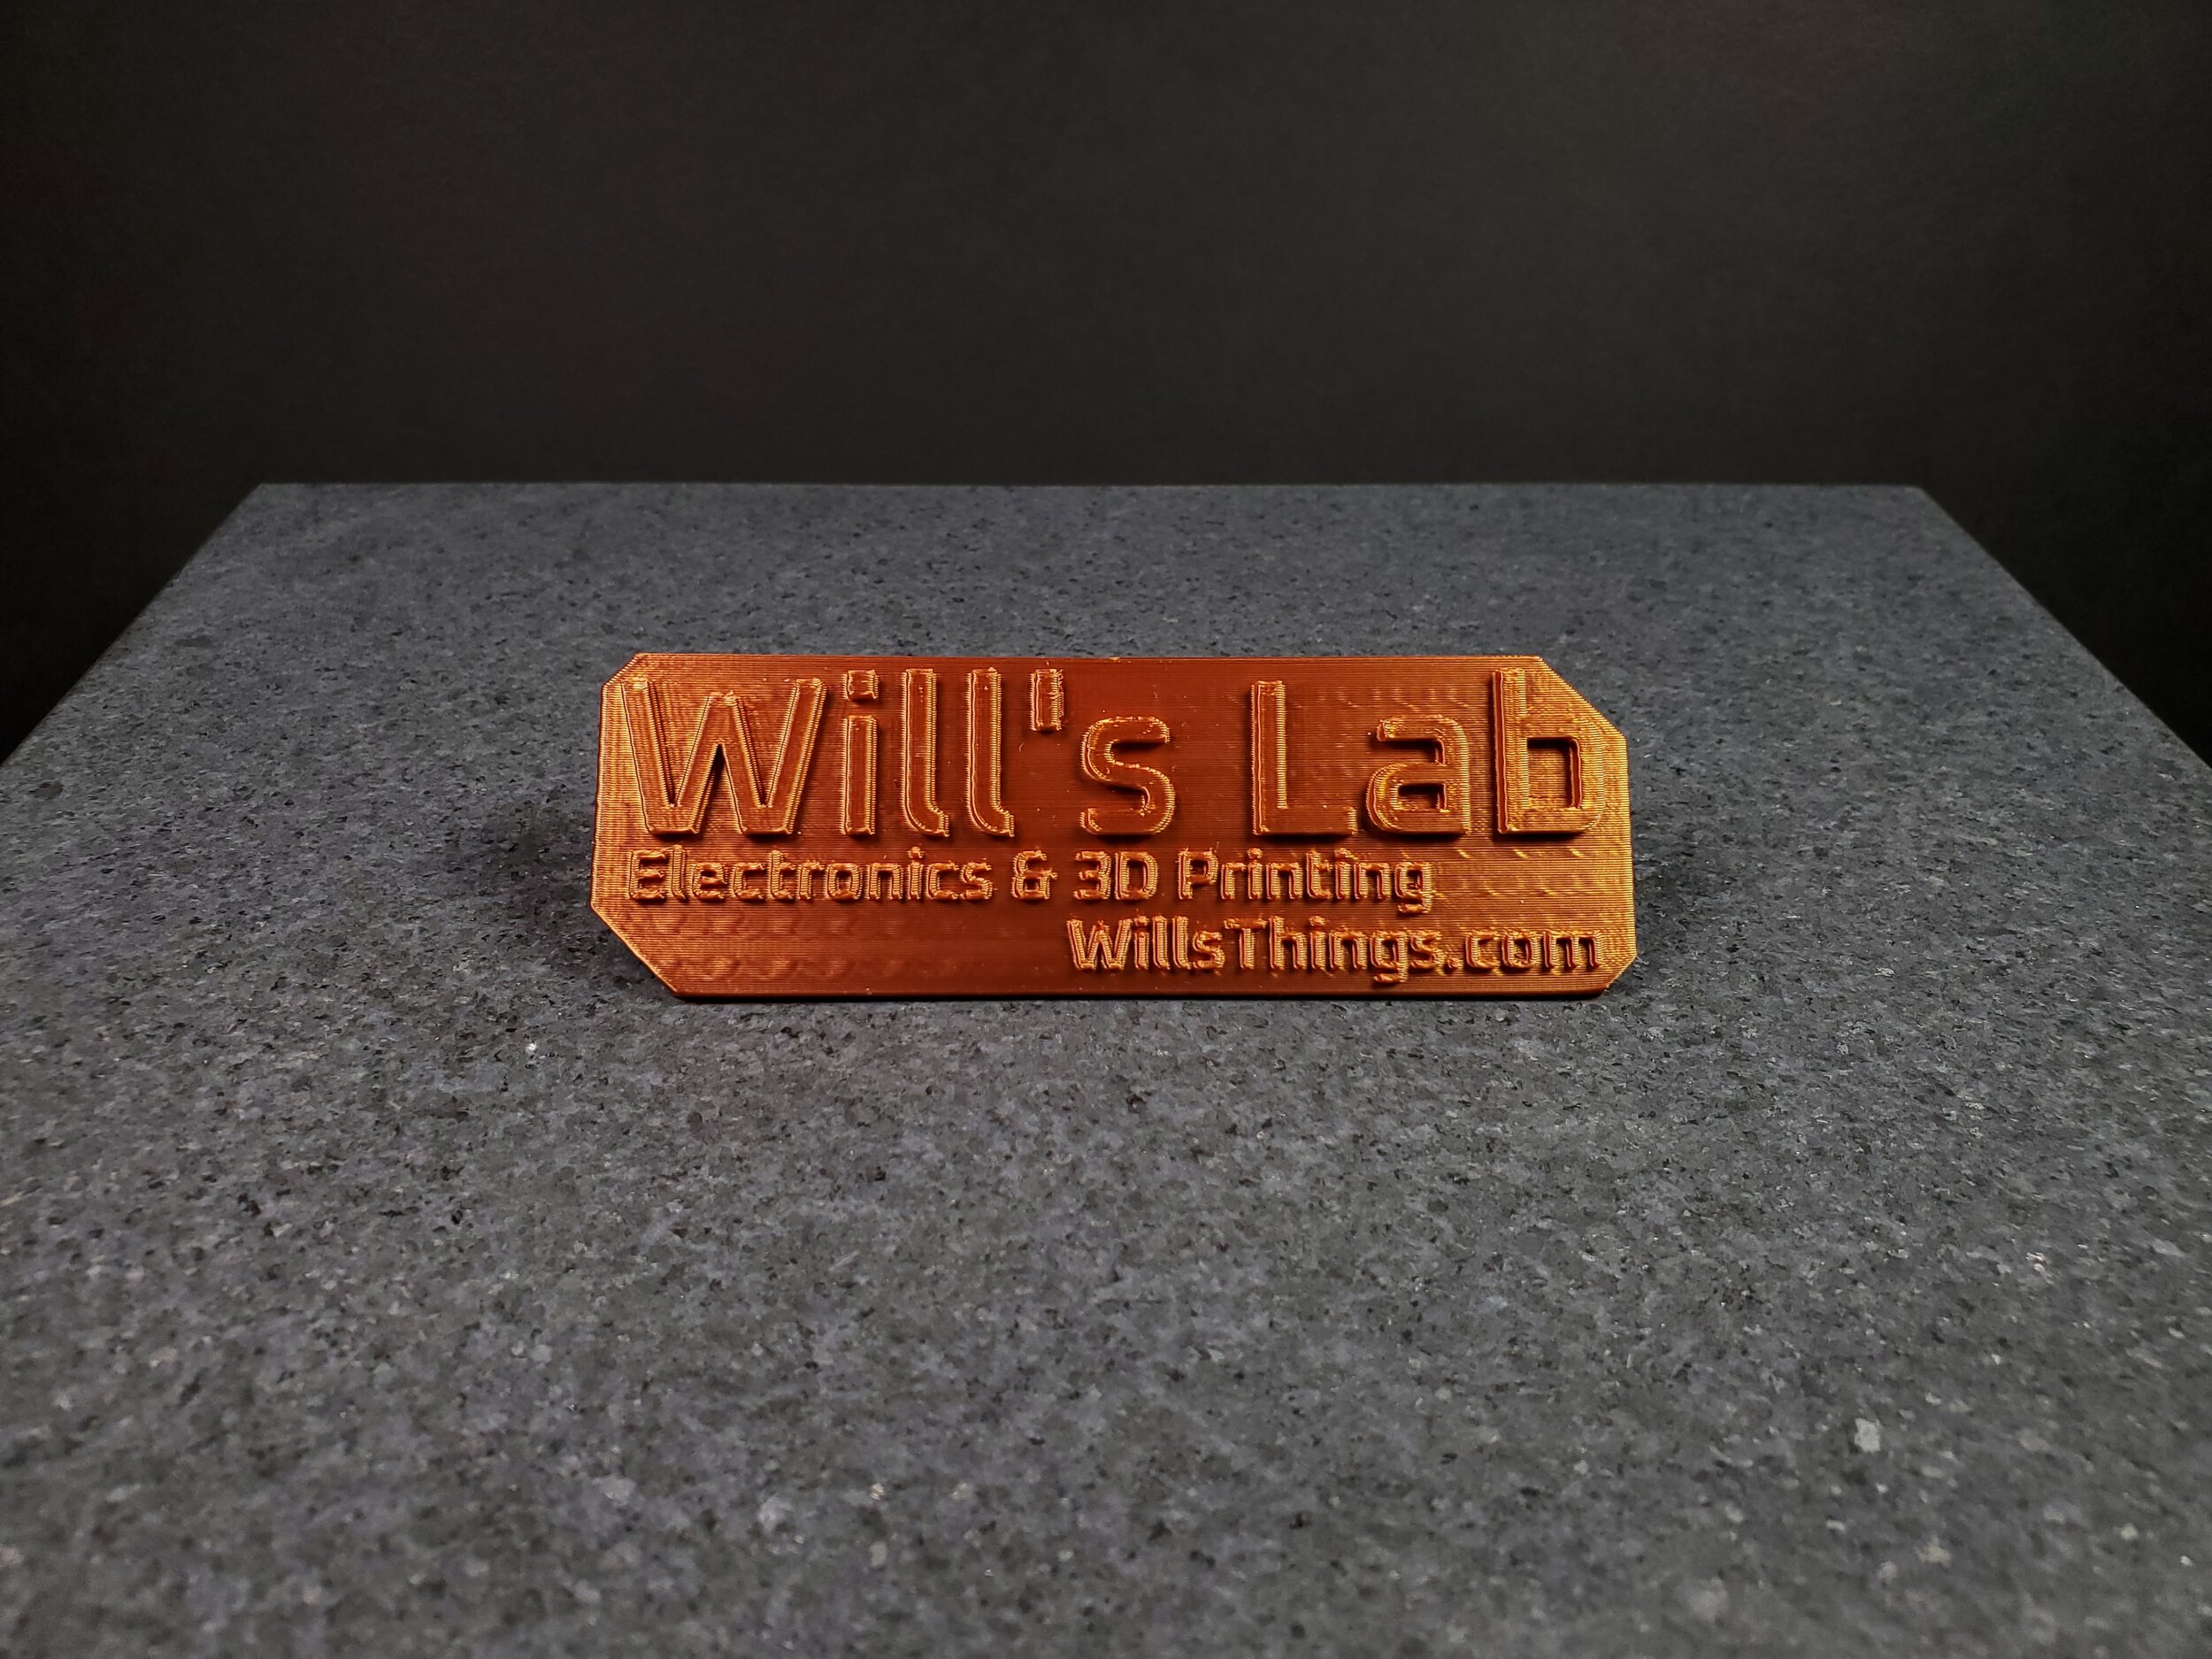
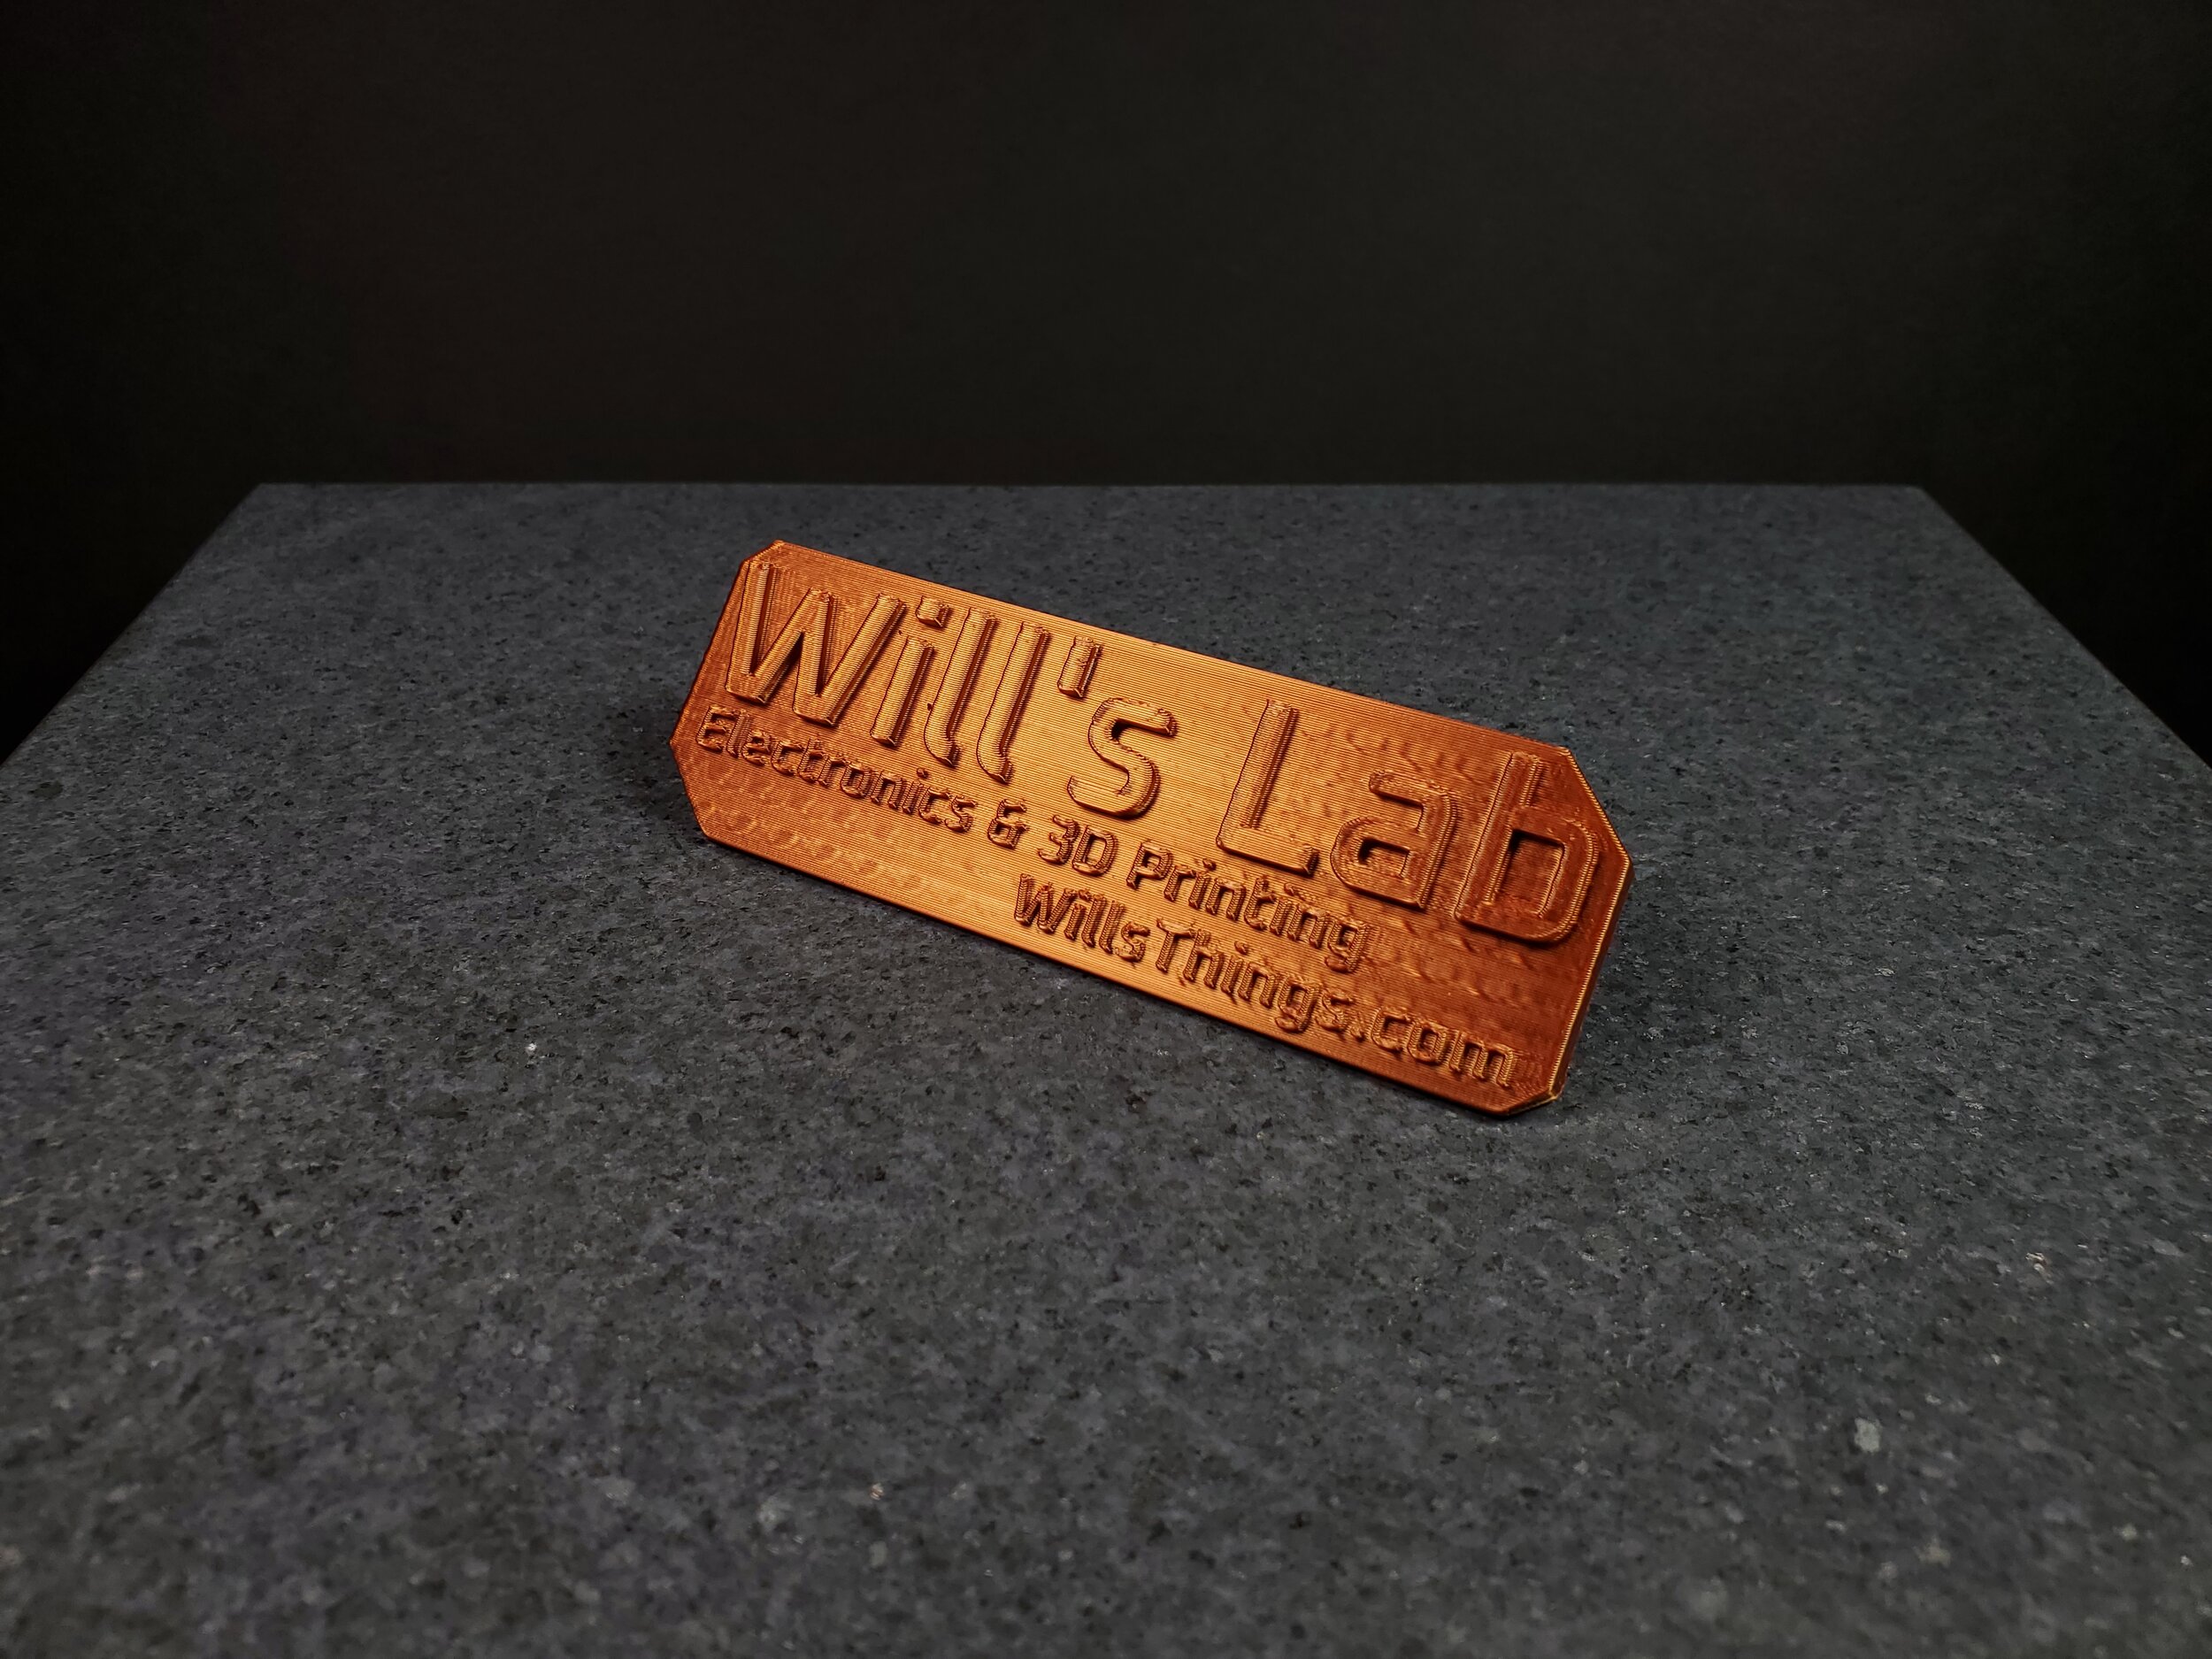
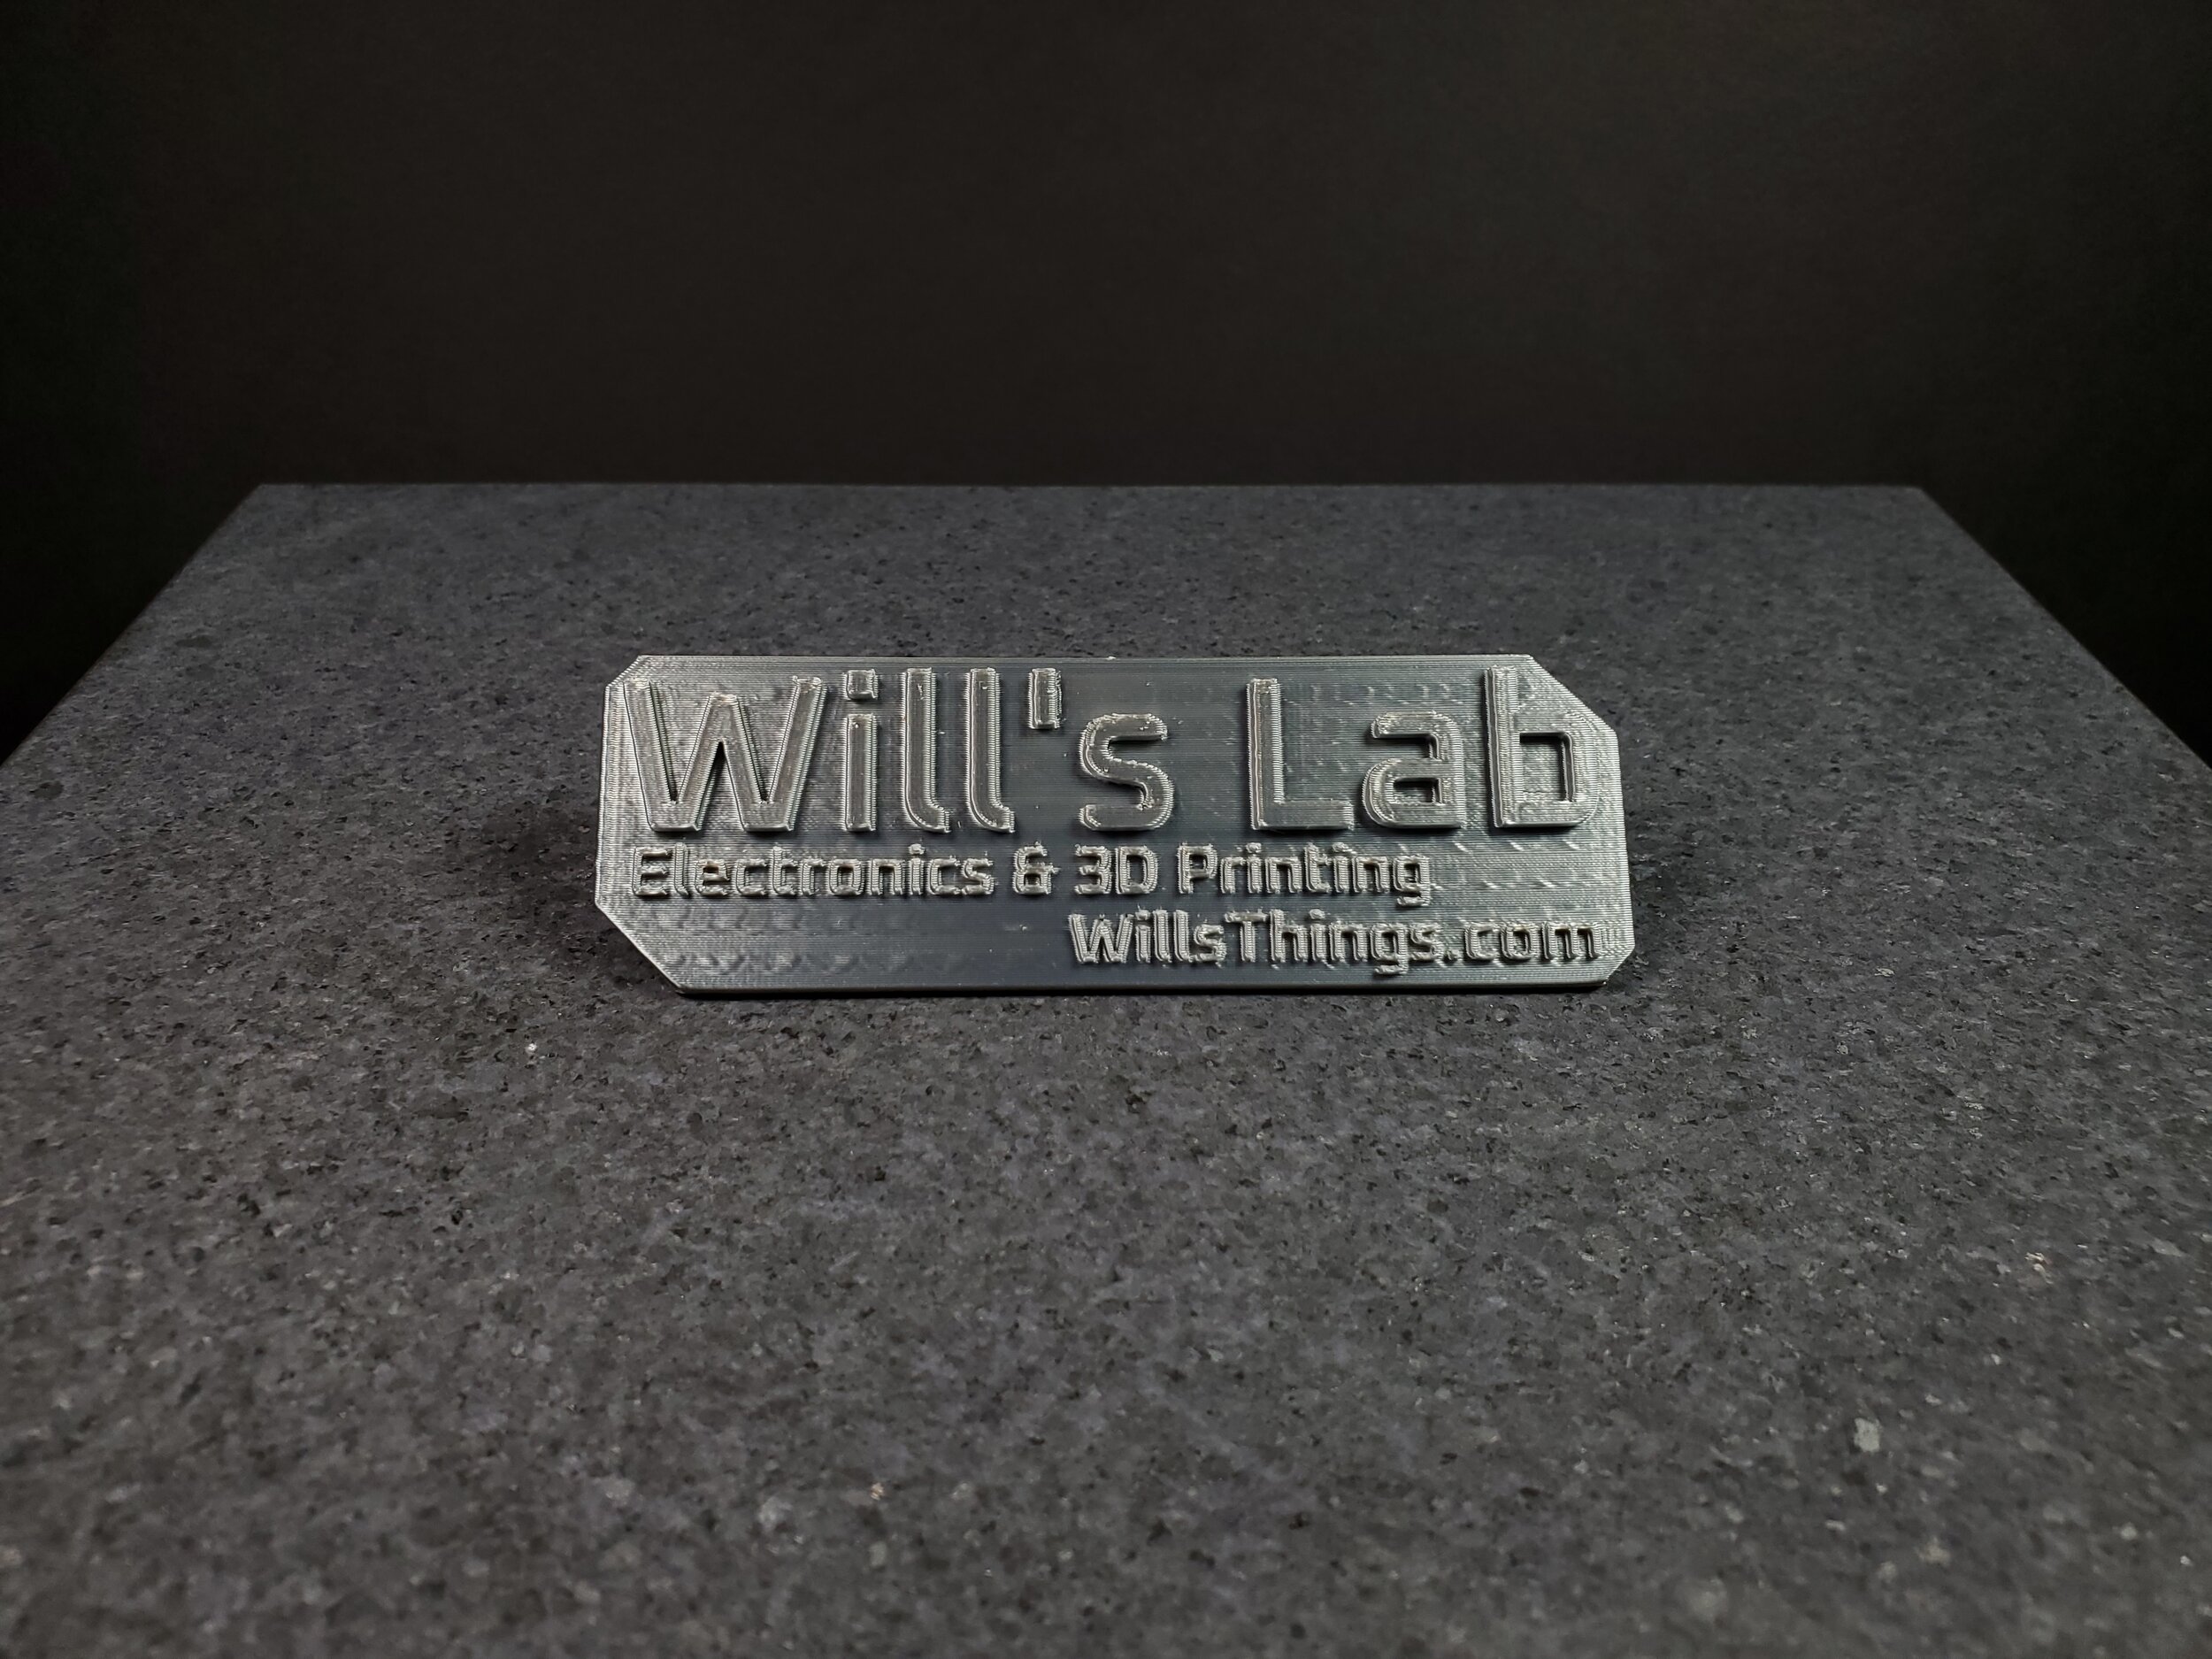
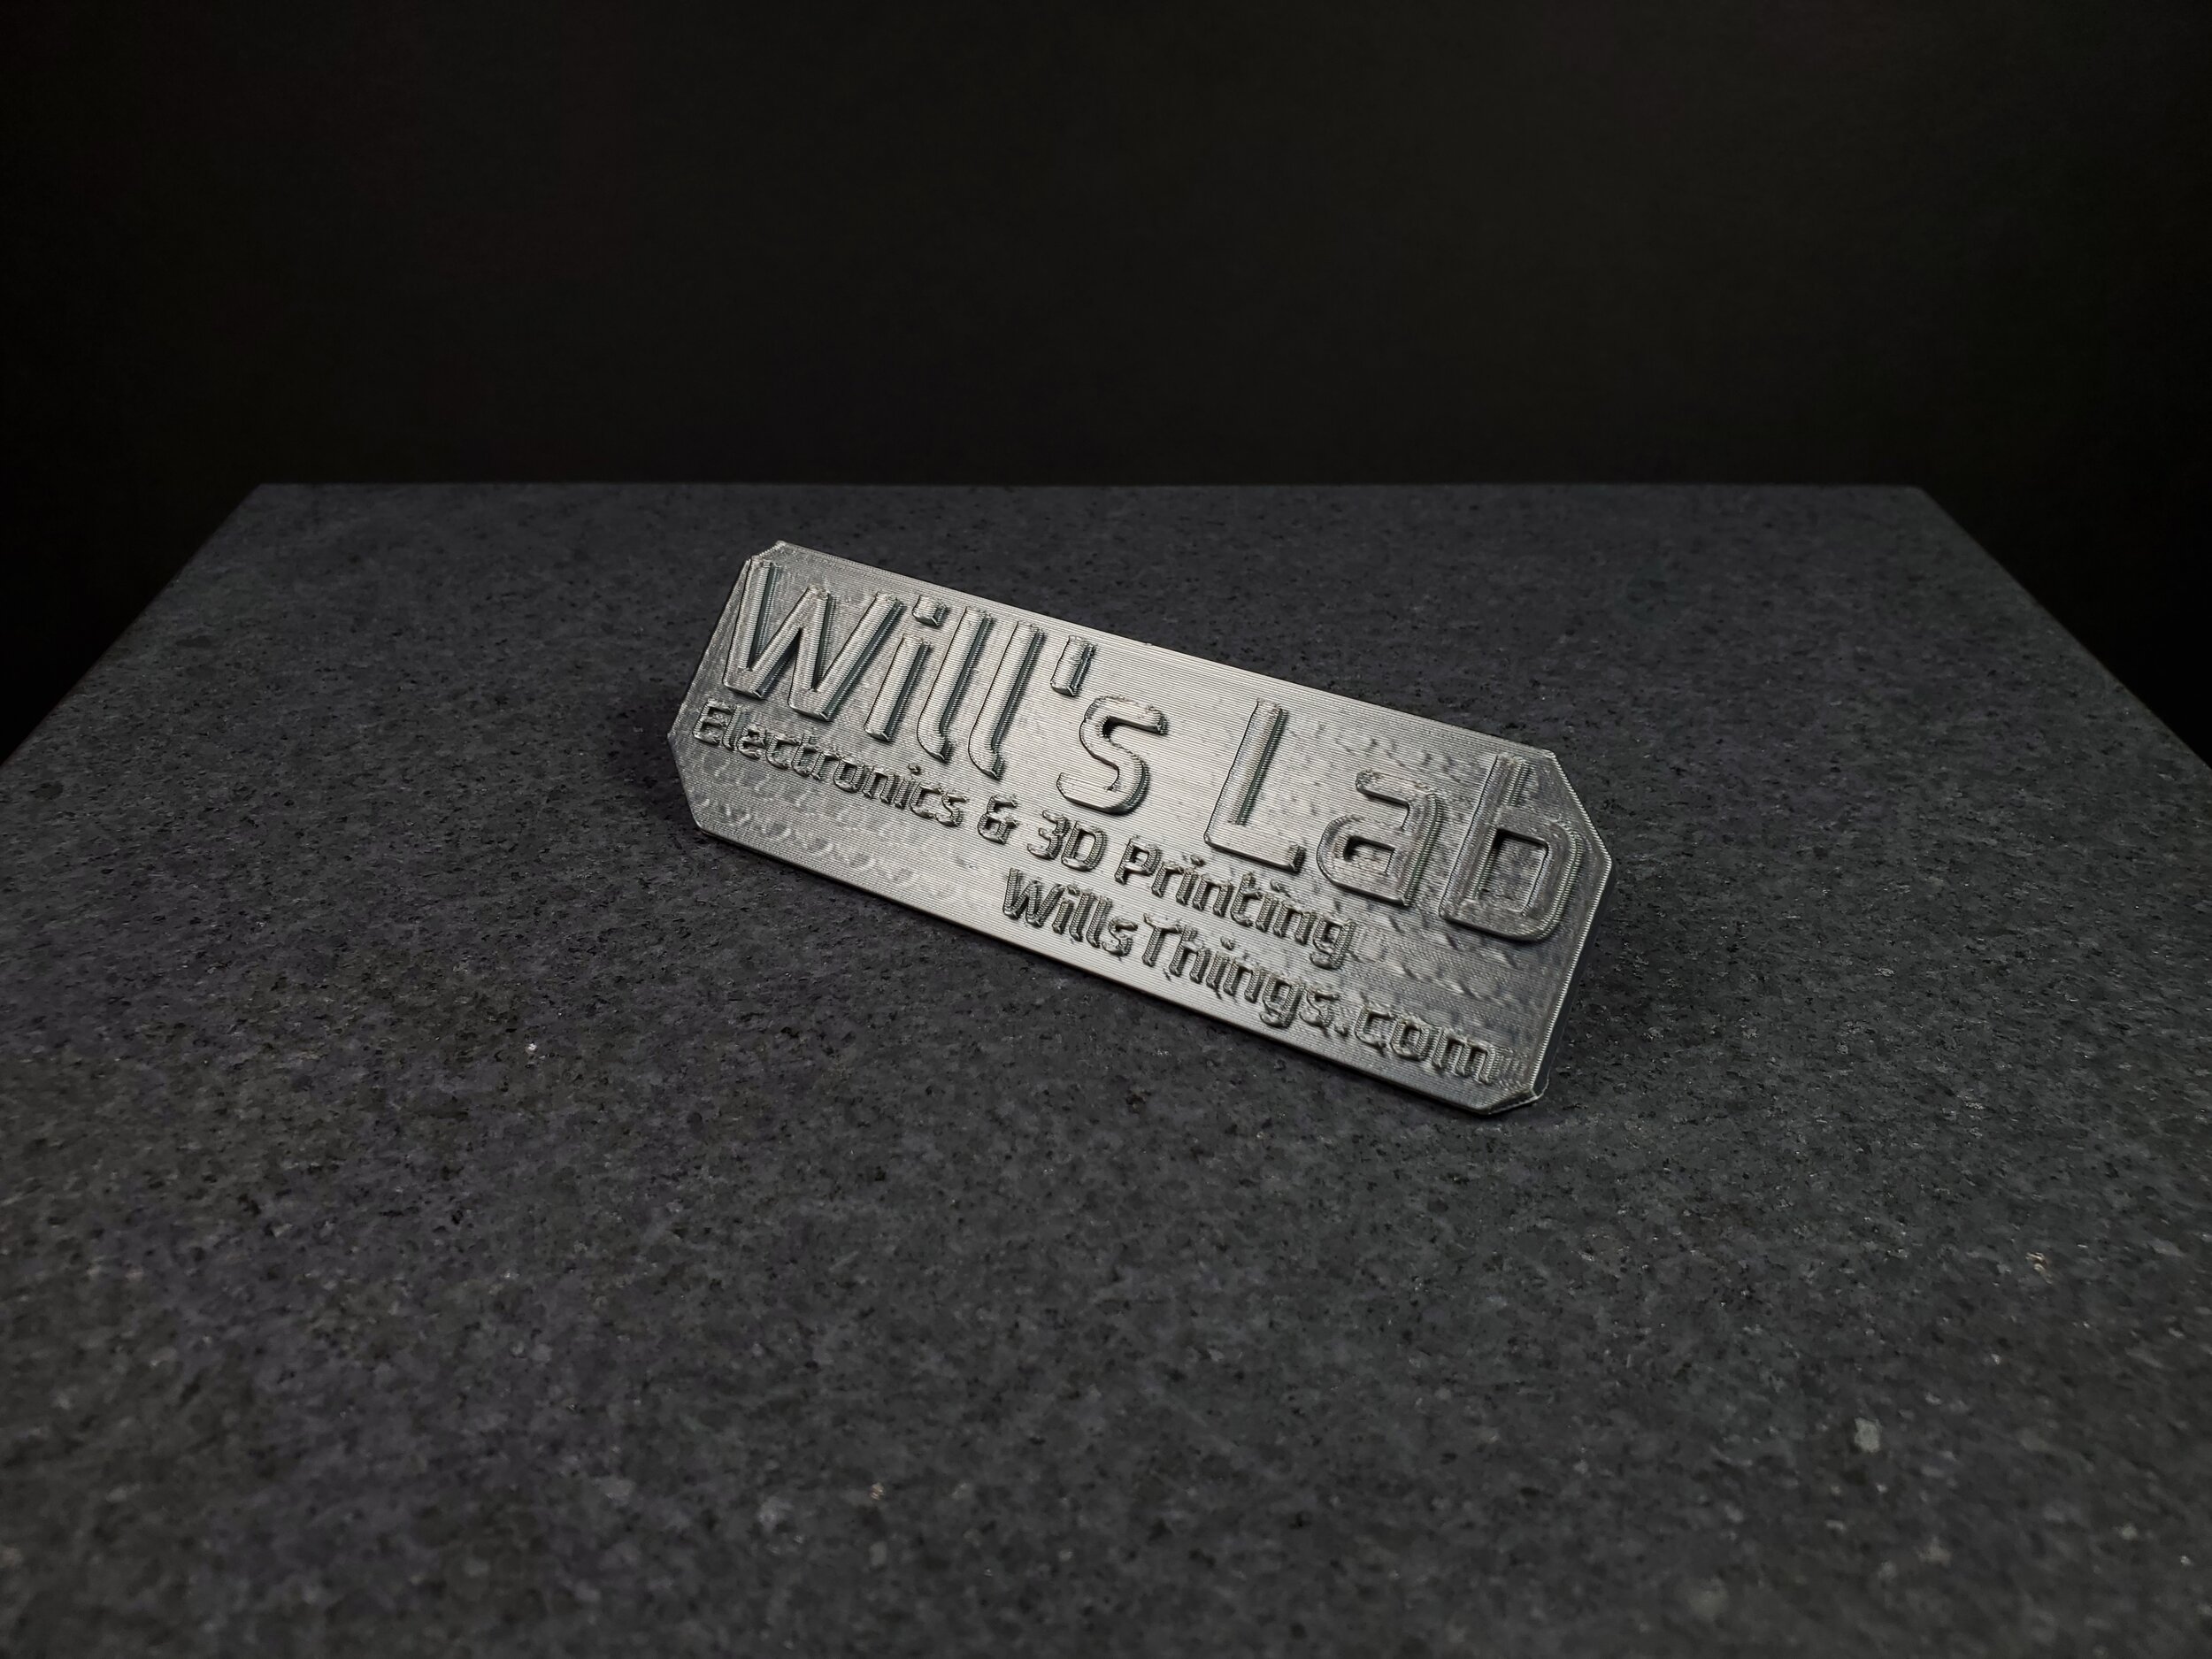
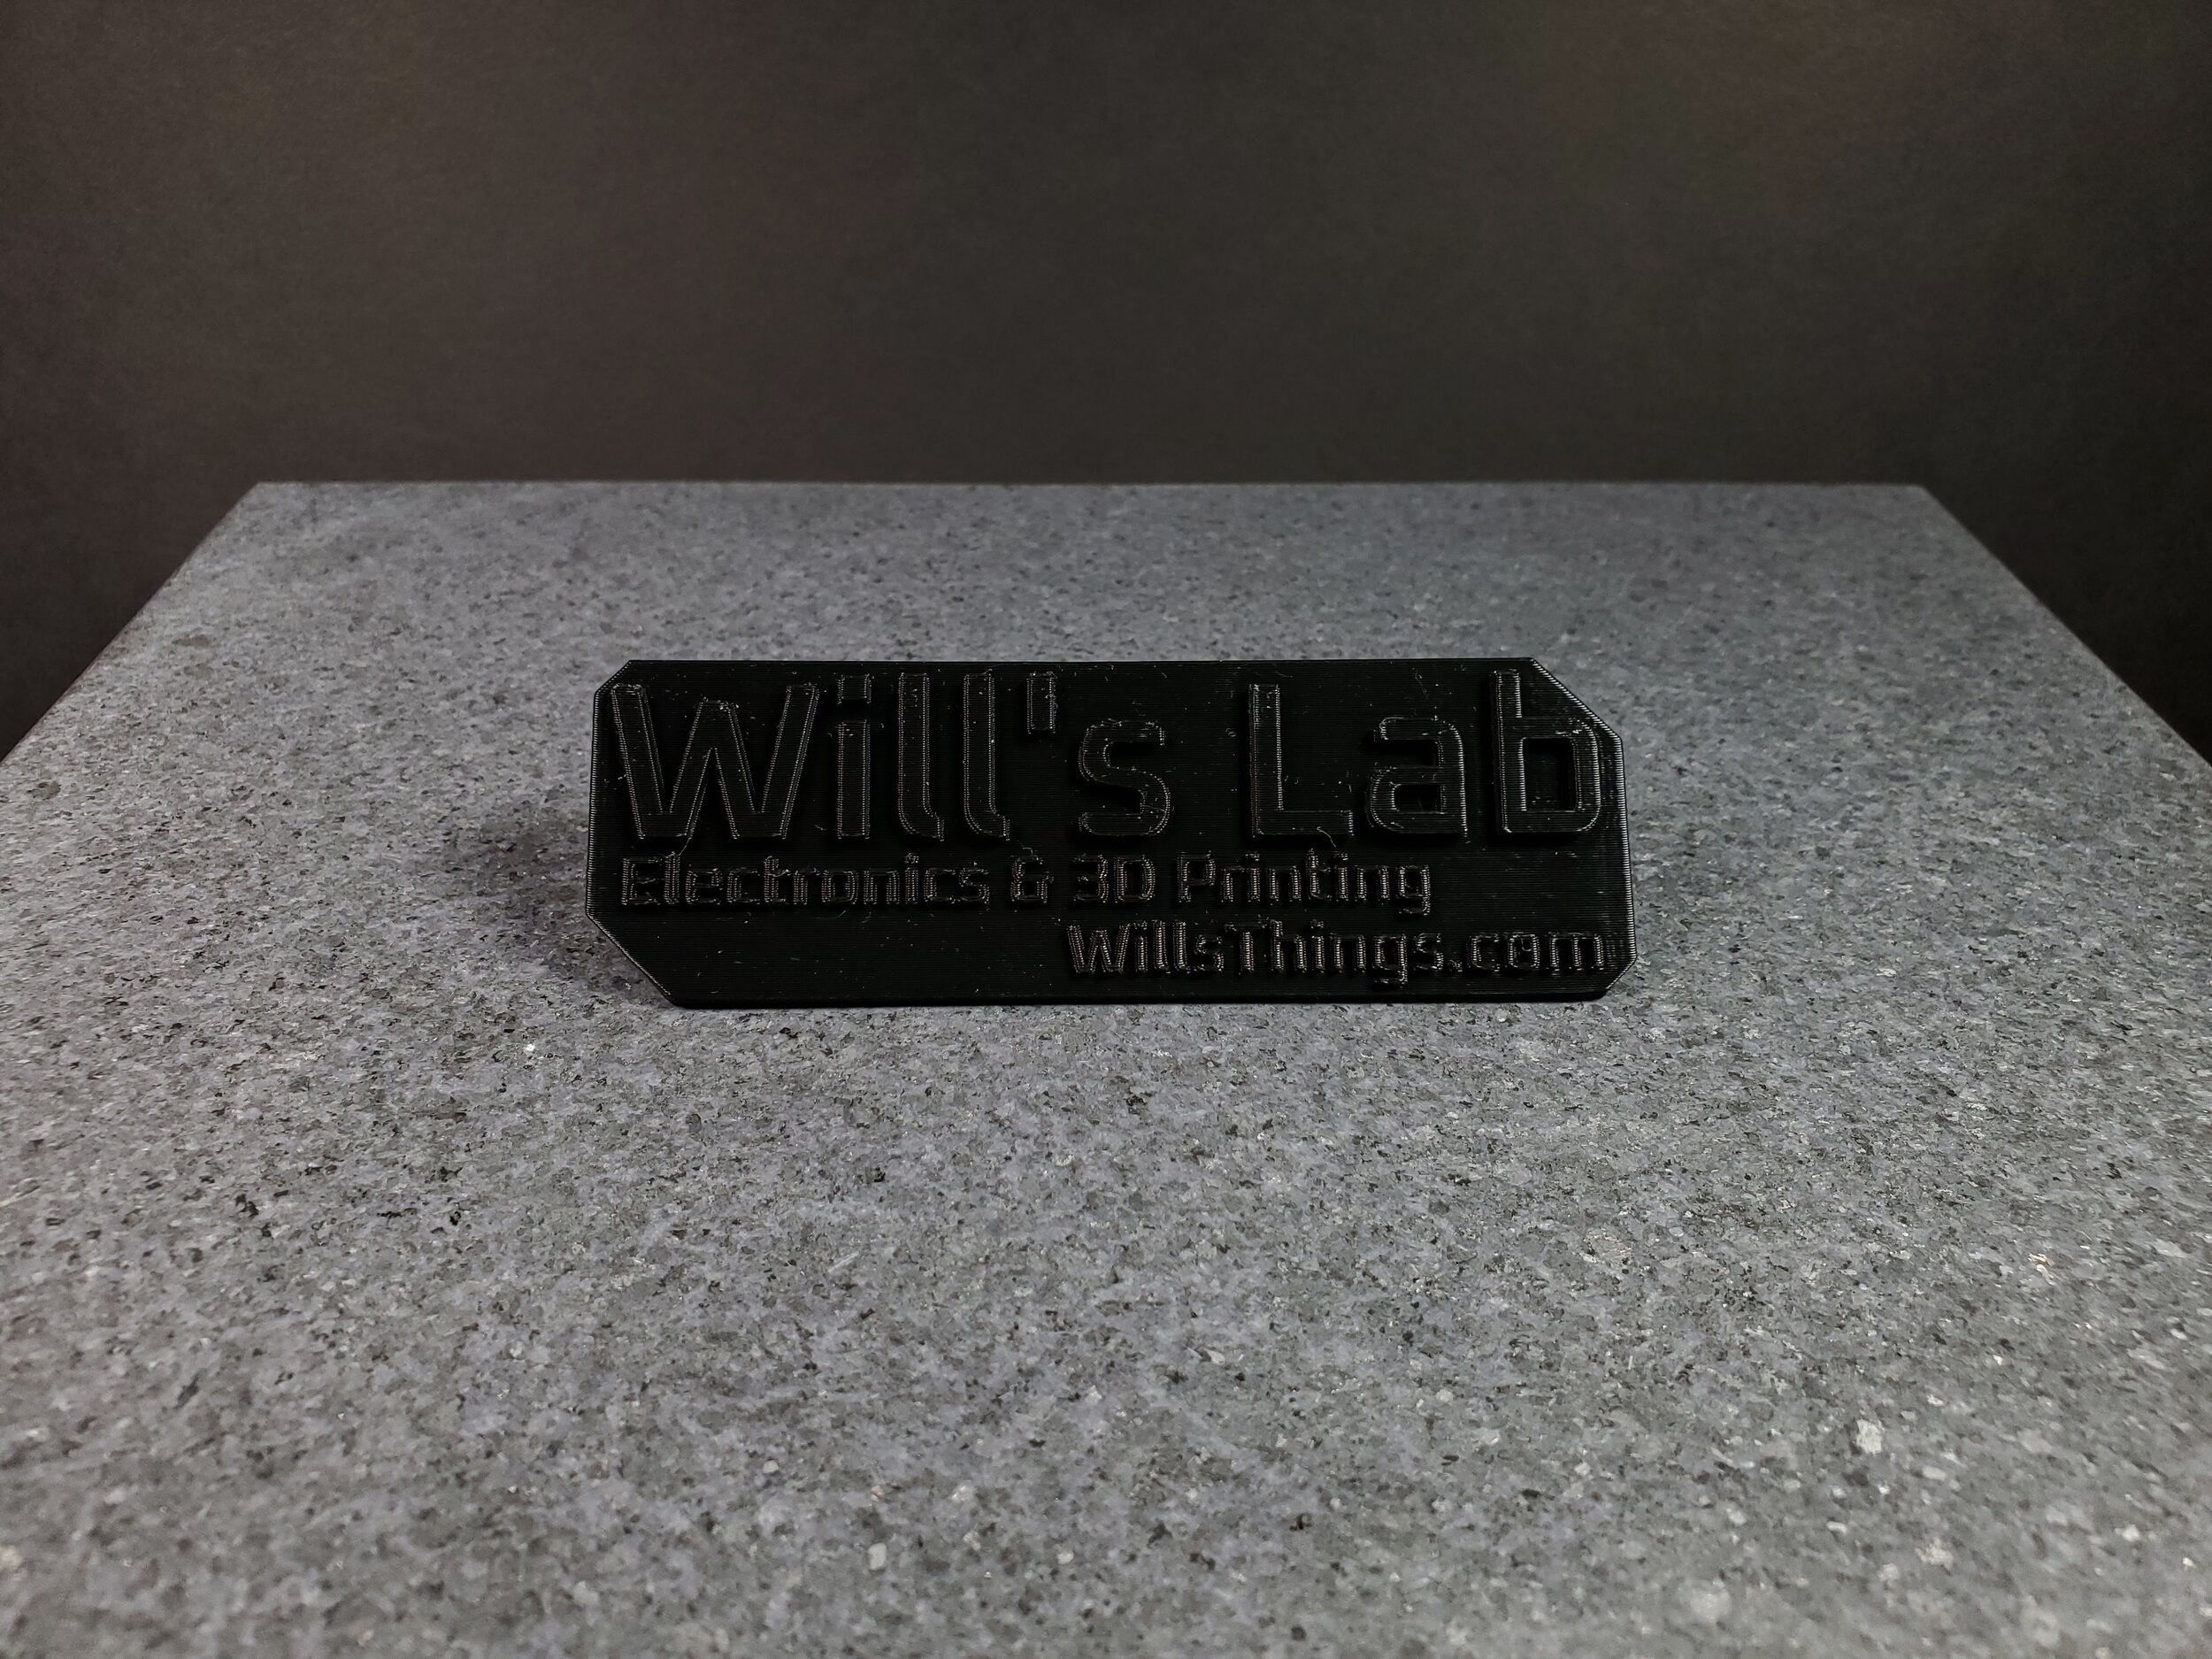
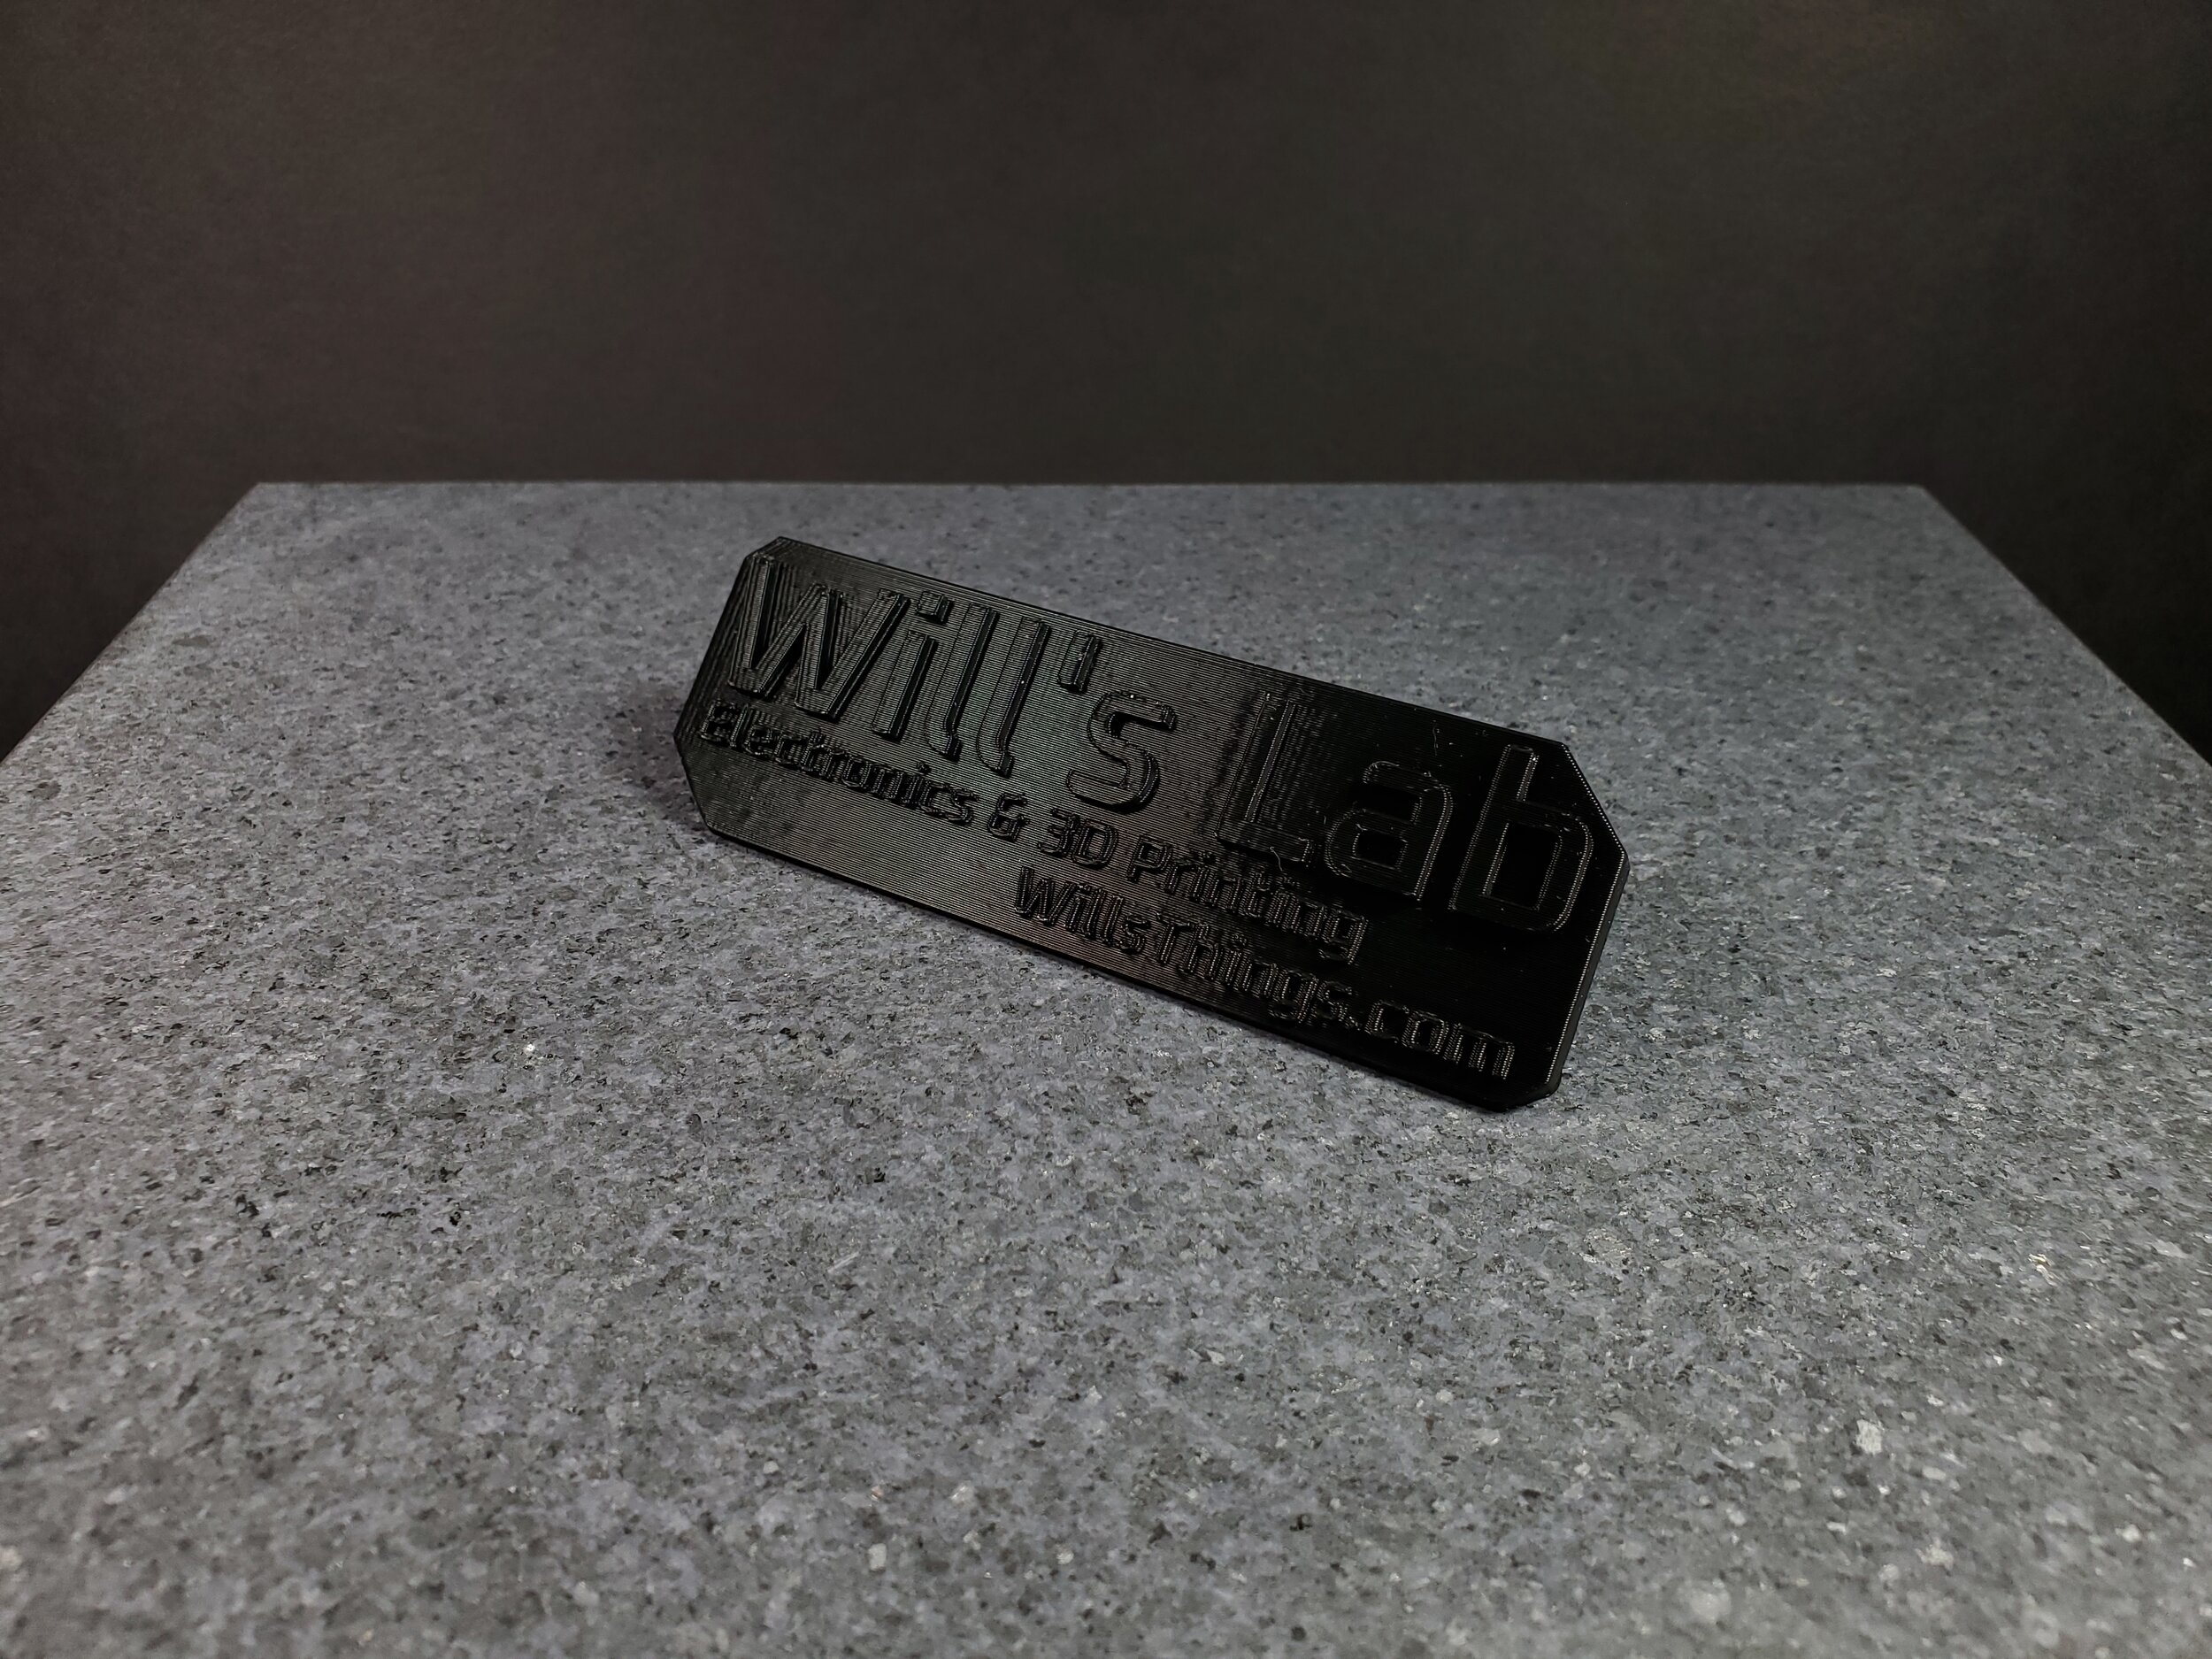
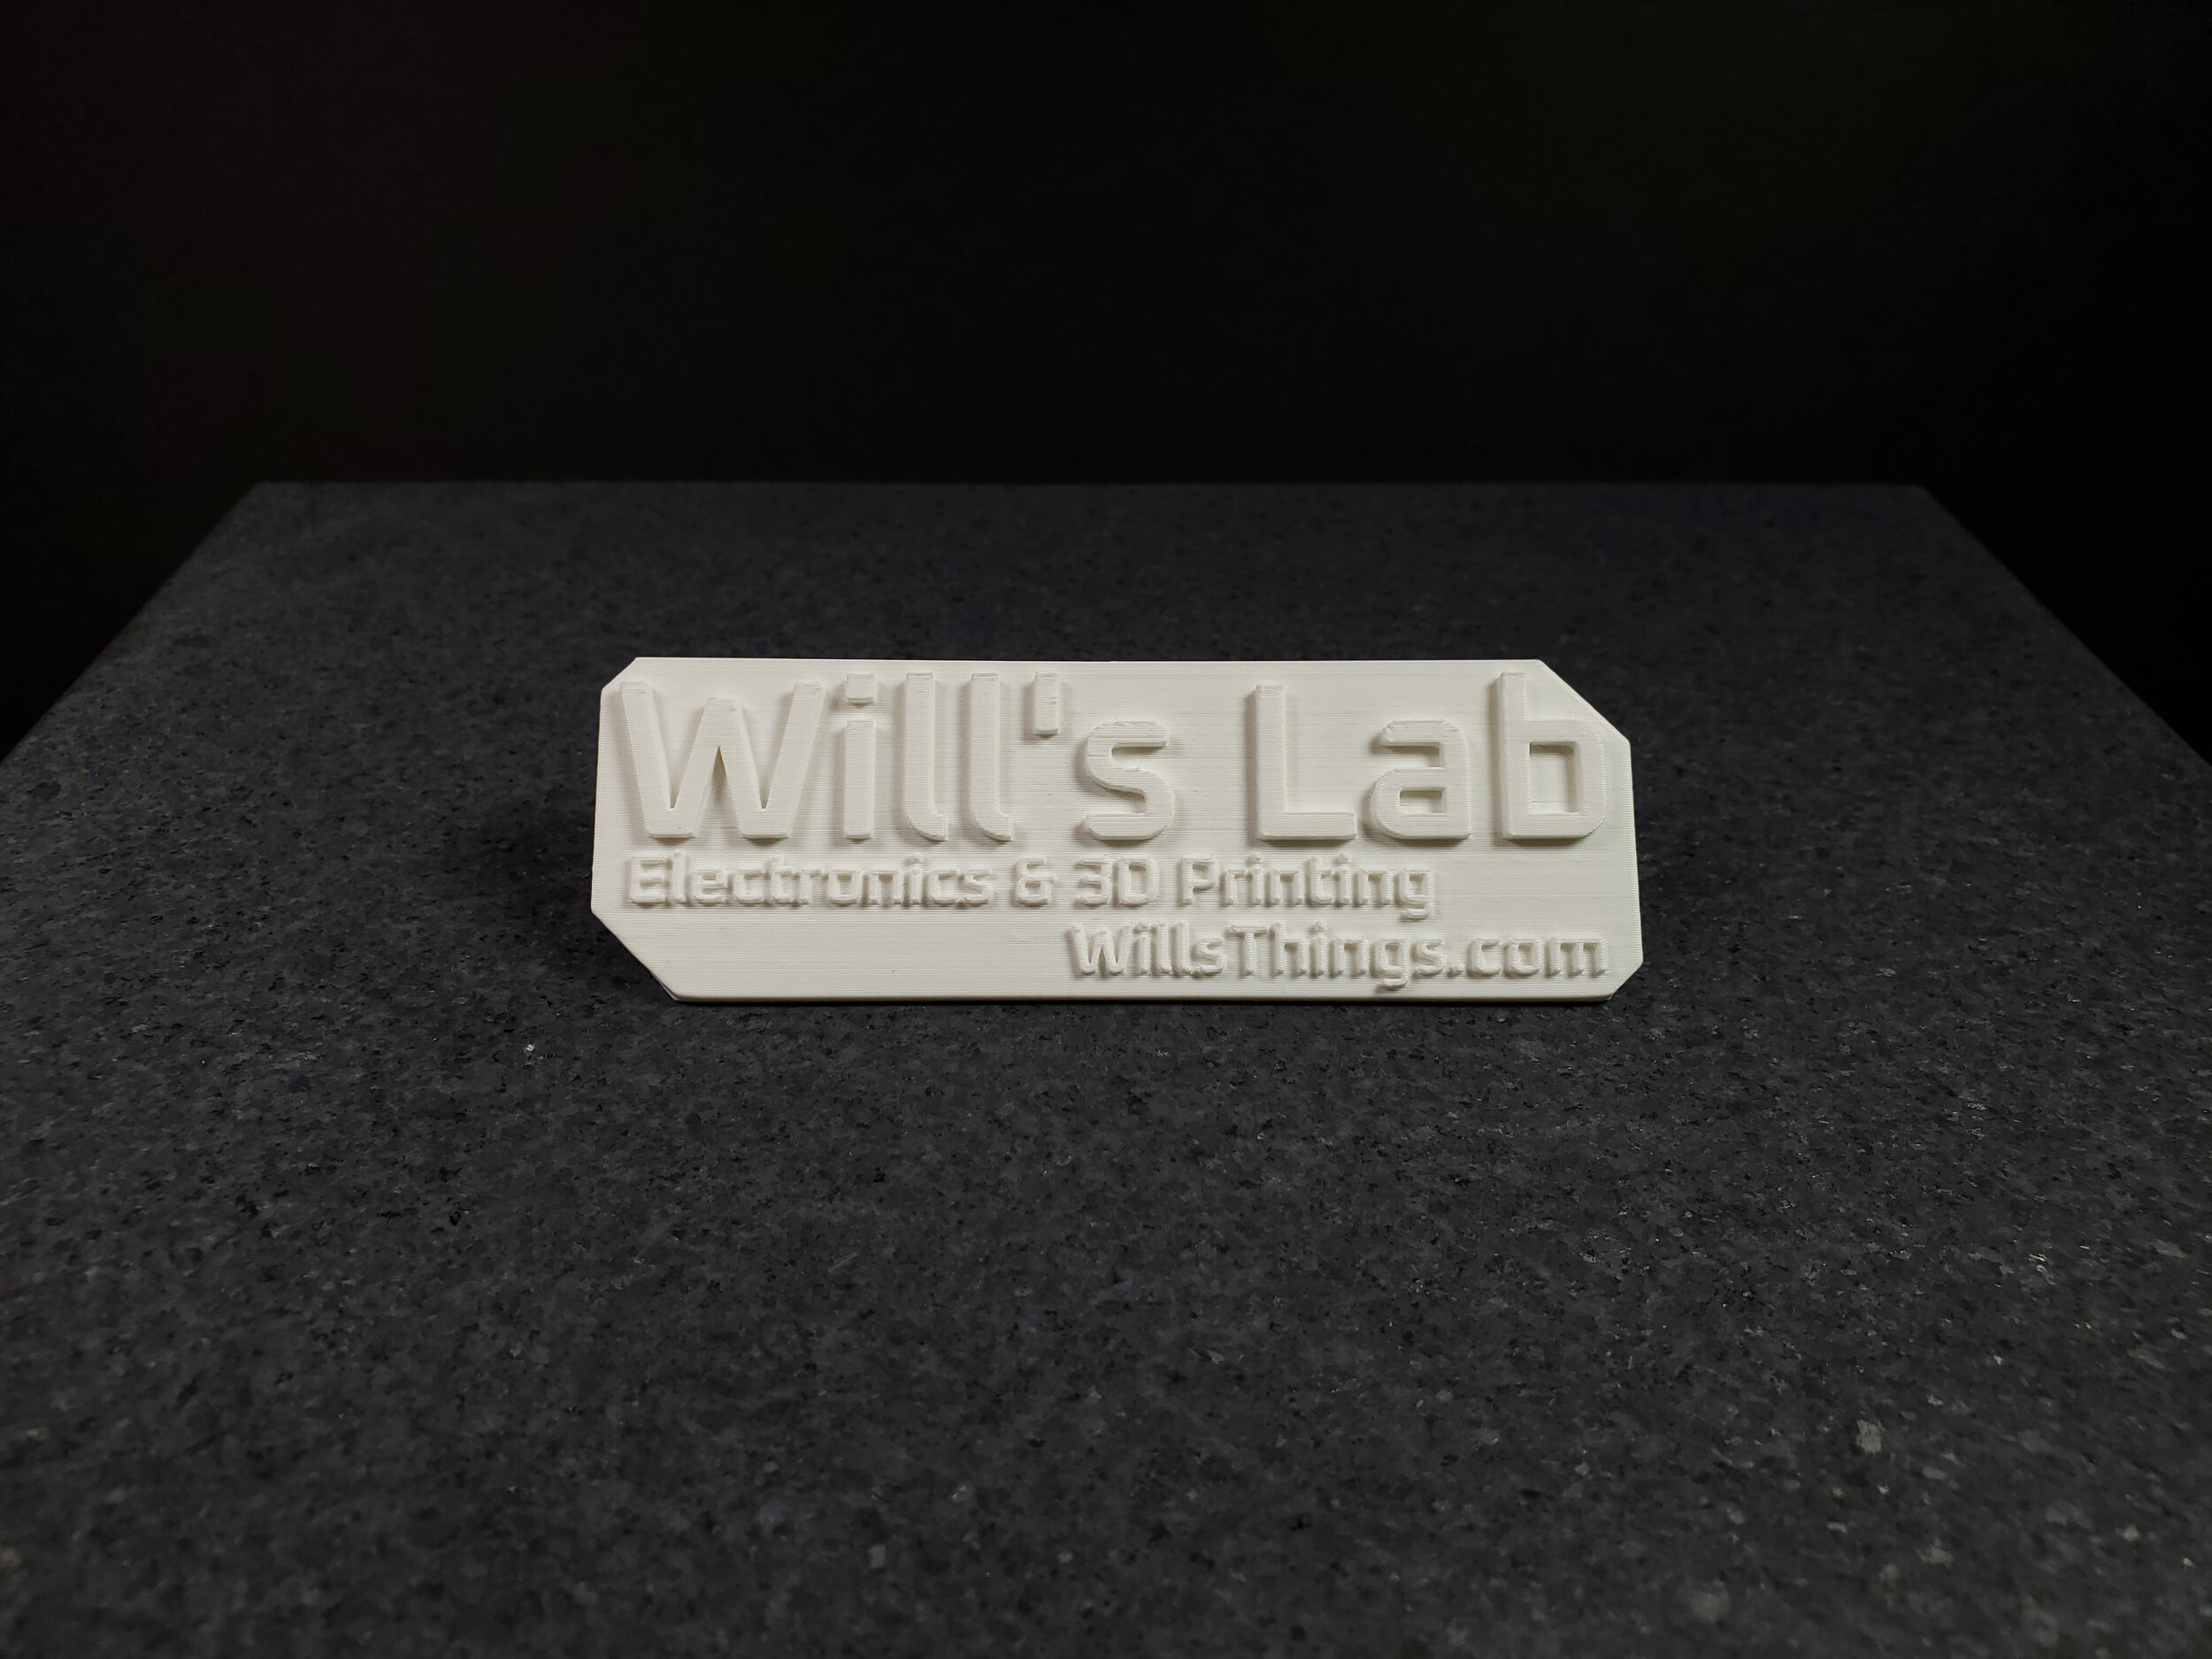
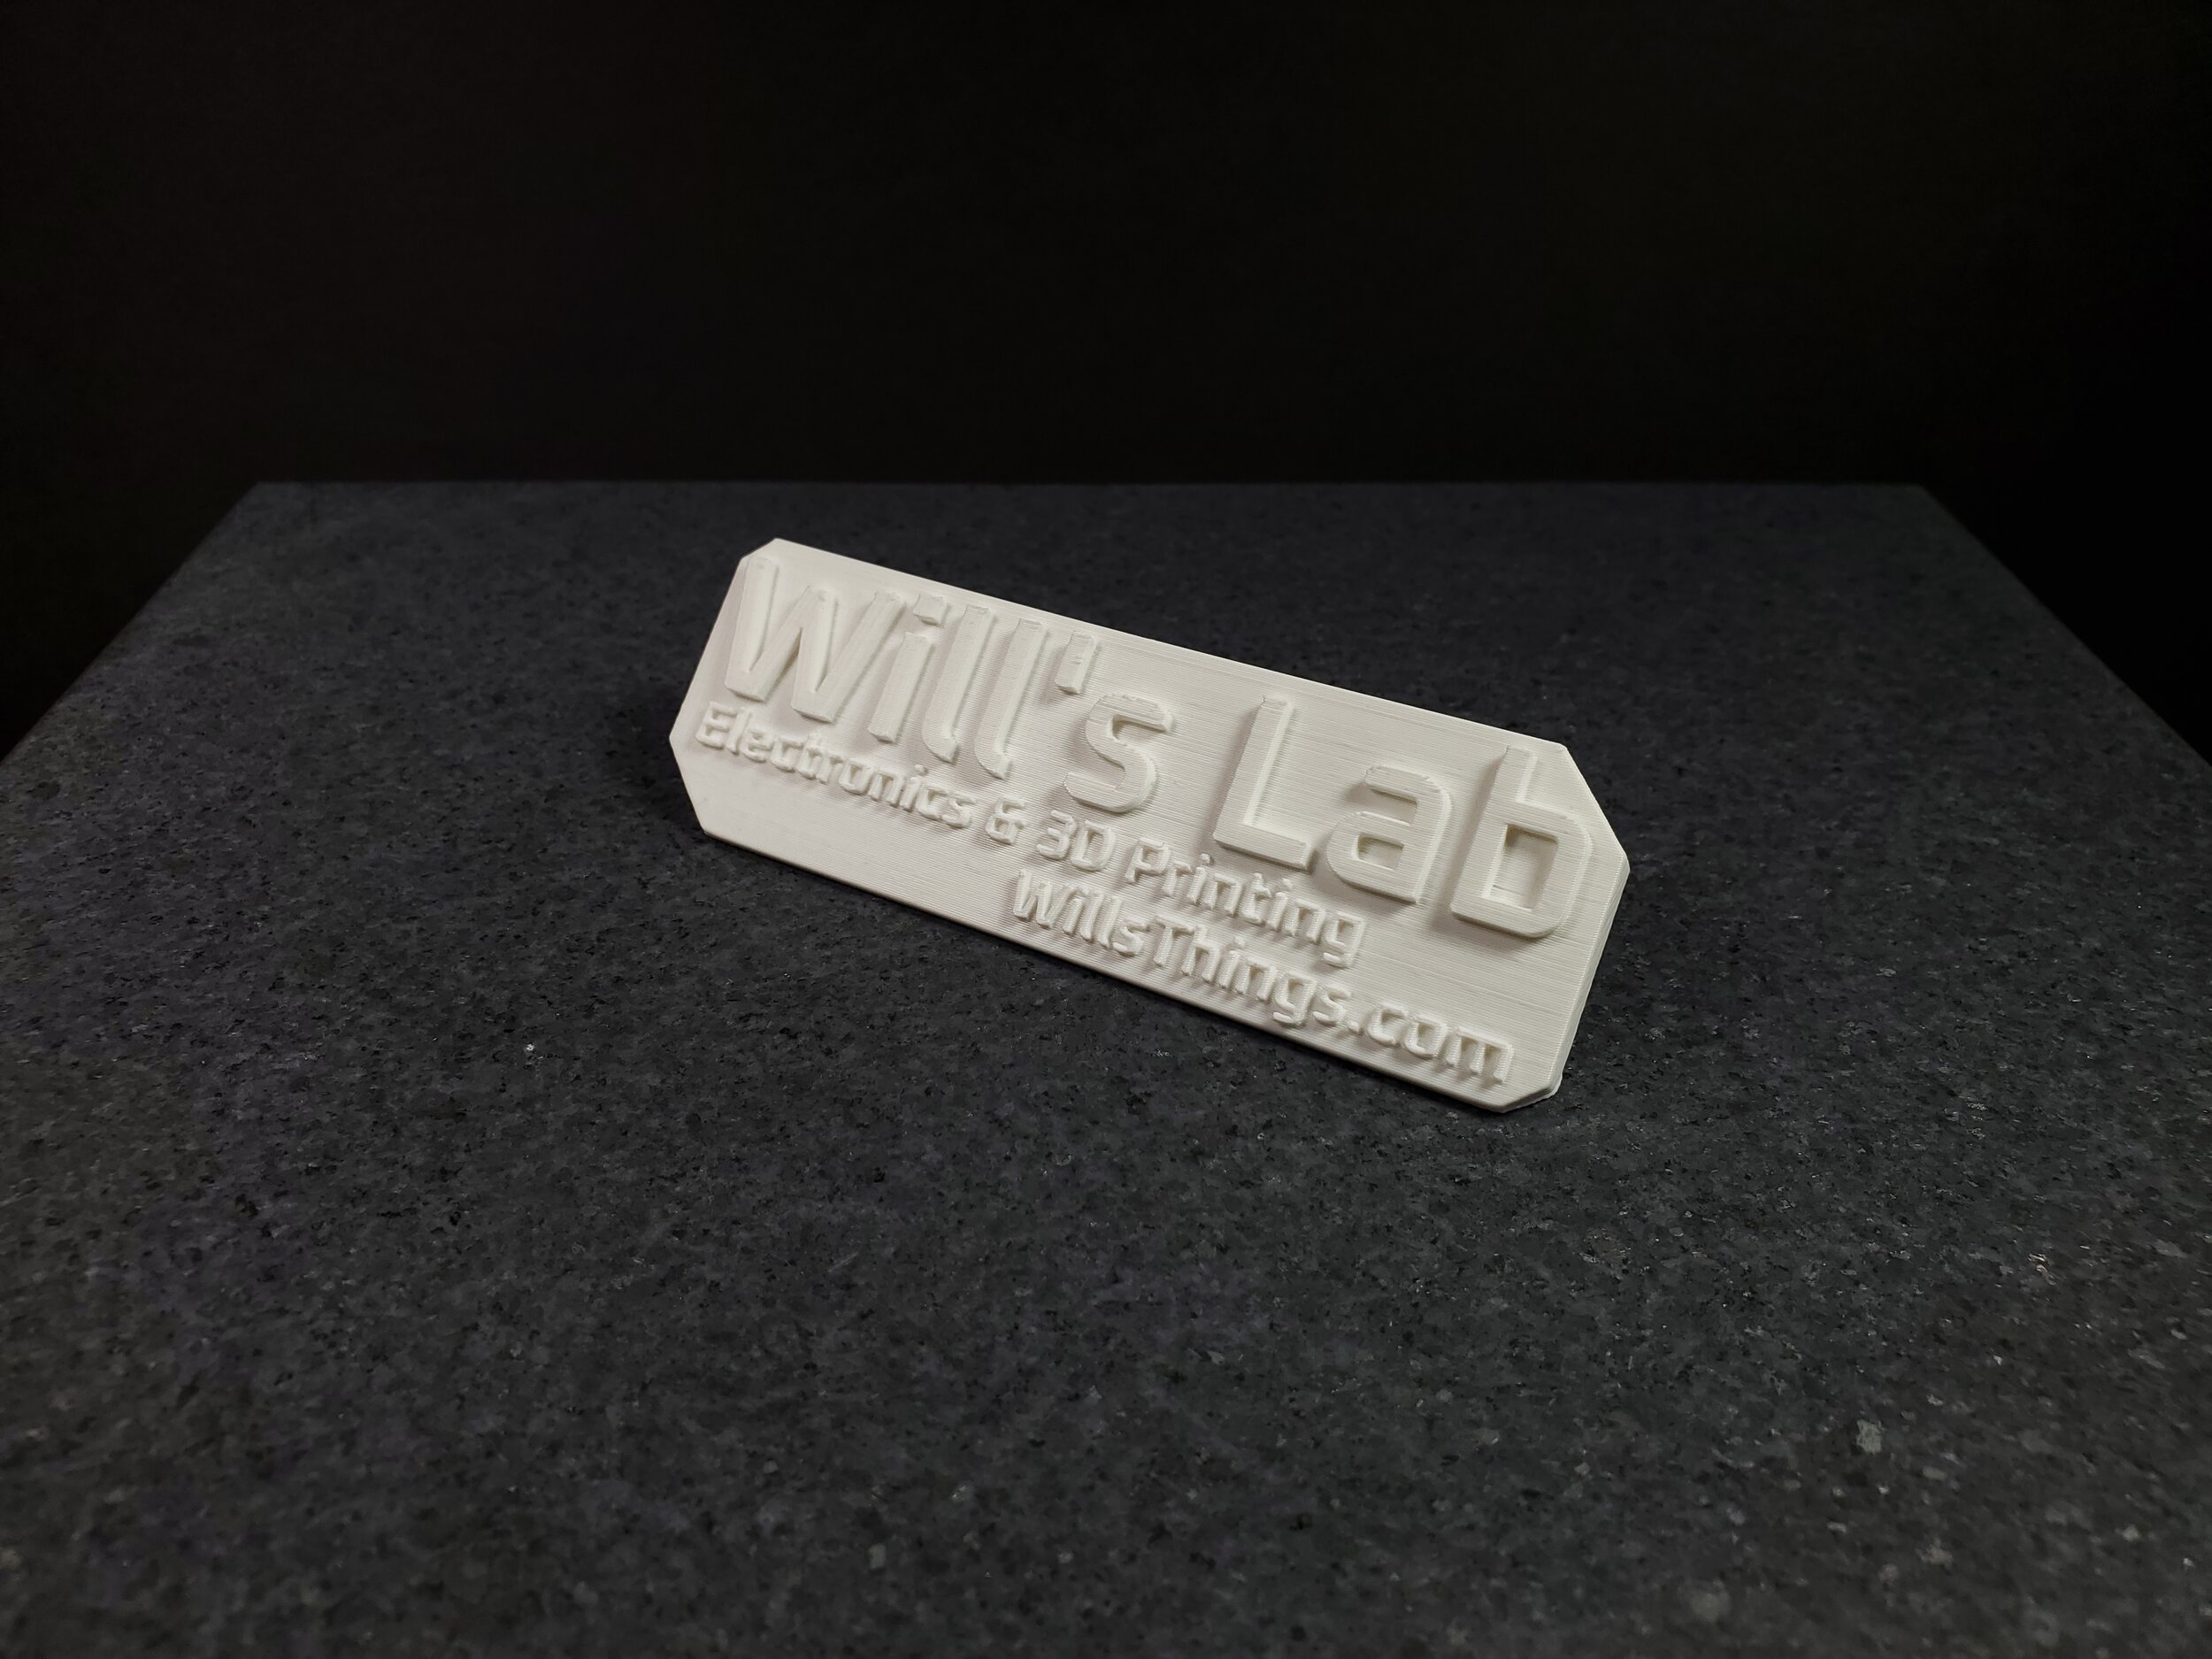
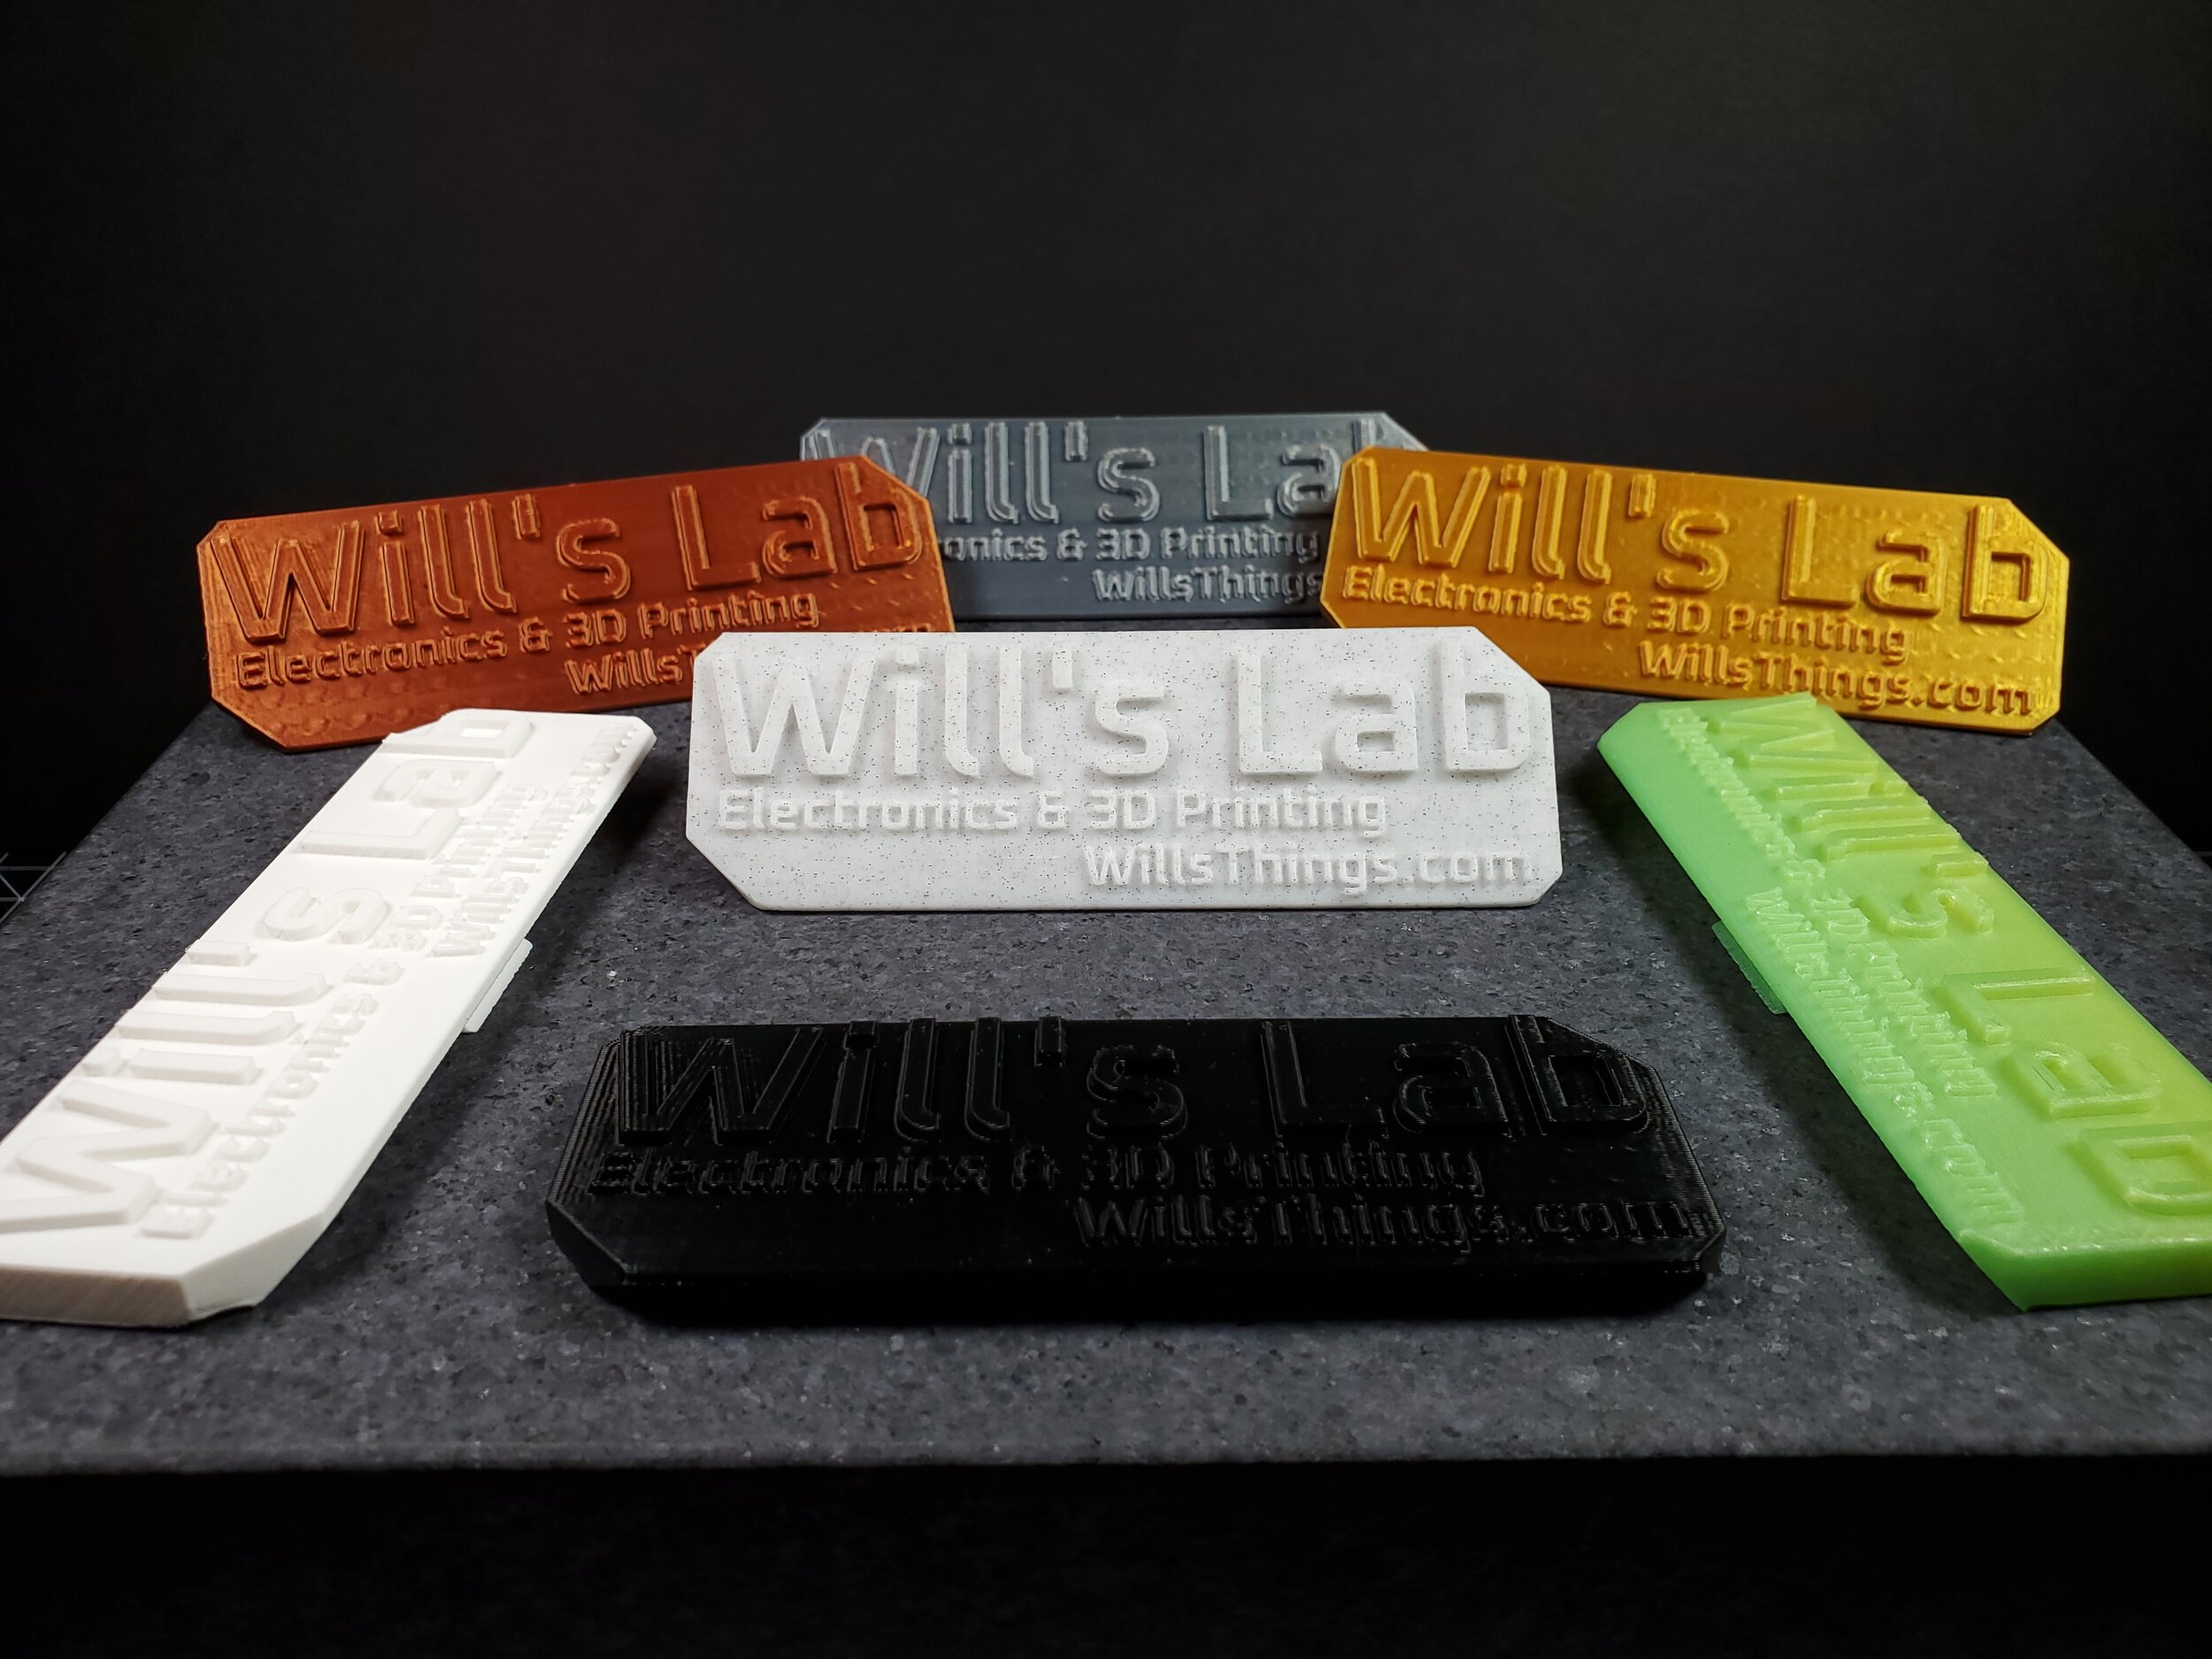
To see the full resolution shots: right click > open image in new tab
Want to print some of these for yourself?
Stay tuned. I have a few more finishing touches to put in, then I’ll be publishing the STLs (But not STEP files; please don’t steal my design!) on MyMiniFactory shortly.